Garmin GPSMAP 64x Owners Manual - Page 14
Changing the Units of Measure
 |
View all Garmin GPSMAP 64x manuals
Add to My Manuals
Save this manual to your list of manuals |
Page 14 highlights
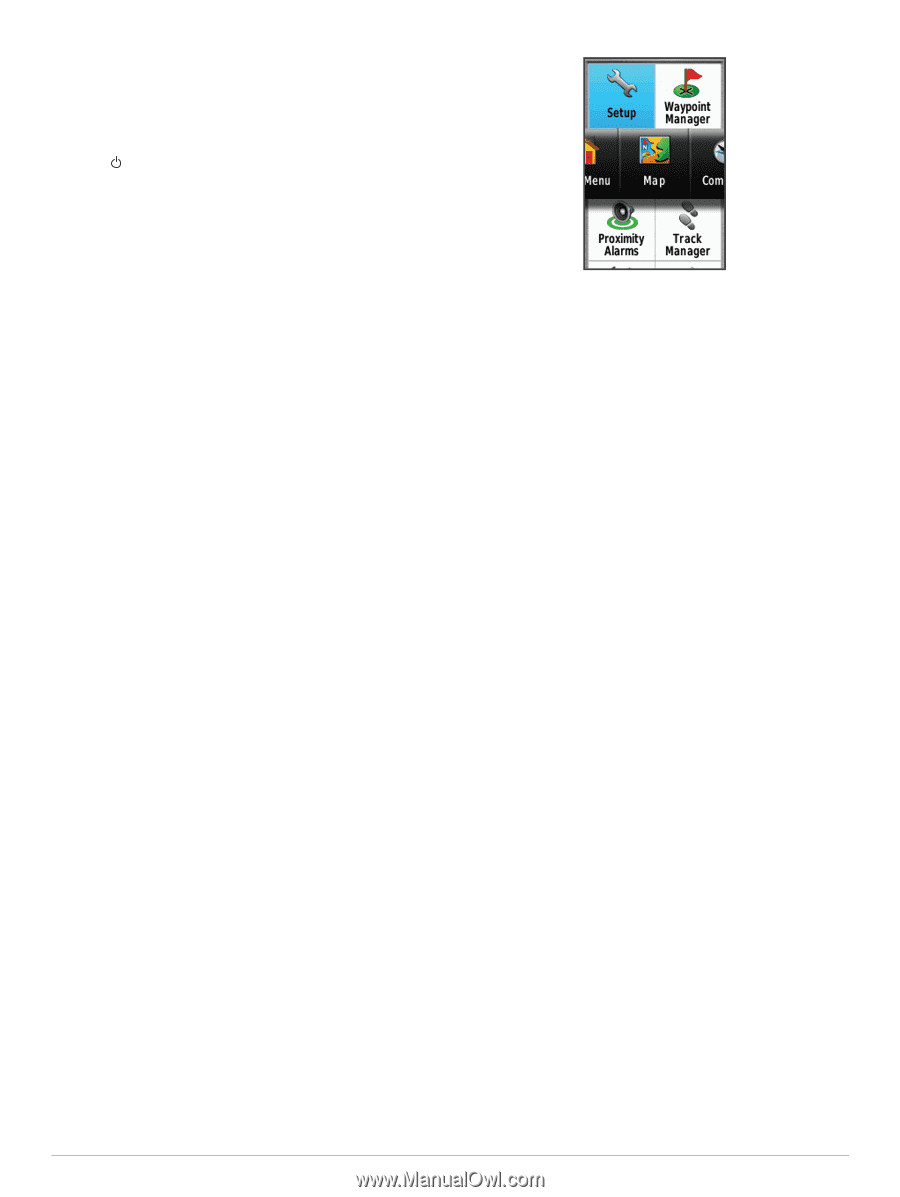
Adjusting the Backlight Brightness Extensive use of screen backlighting can significantly reduce battery life. You can adjust the backlight brightness to maximize the battery life. NOTE: The backlight brightness may be limited when the battery is low. 1 Select . 2 Use the slider to adjust the backlight level. The device may feel warm when the backlight setting is high. Setting the Device Tones You can customize tones for messages, keys, turn warnings, and alarms. 1 Select Setup > Tones > Tones > On. 2 Select a tone for each audible type. Camera Settings Select Setup > Camera. Photo Resolution: Sets the resolution of the photos. Save Photos To: Sets the photo storage location. Review Instructions: Displays brief instructions about taking photos. Marine Settings Select Setup > Marine. Marine Chart Mode: Sets the type of chart the device uses when displaying marine data. Nautical displays various map features in different colors so the marine POIs are more readable and so the map reflects the drawing scheme of paper charts. Fishing (requires marine maps) displays a detailed view of bottom contours and depth soundings and simplifies map presentation for optimal use while fishing. Appearance: Sets the appearance of marine navigation aids on the map. Marine Alarm Setup: Sets alarms for when you exceed a specified drift distance while anchored, when you are off course by a specified distance, and when you enter water of a specific depth. Setting Up Marine Alarms 1 Select Setup > Marine > Marine Alarm Setup. 2 Select an alarm type. 3 Select On. 4 Enter a distance, and select Go. Resetting Data You can reset trip data, delete all waypoints, clear the current track, or restore default values. 1 Select Setup > Reset. 2 Select an item to reset. Changing the Page Sequence 1 Select Setup > Page Sequence. 2 Select a page. 3 Select Move. 4 Move the page up or down in the list. 5 Select ENTER. TIP: You can select PAGE to view the page sequence. Adding a Page 1 Select Setup > Page Sequence. 2 Select Add Page. 3 Select a page to add. Removing a Page 1 Select Setup > Page Sequence. 2 Select a page. 3 Select Remove. 4 Select ENTER. Customizing the Main Menu You can move, add, and delete items in the main menu. 1 From the main menu, select MENU > Change Item Order. 2 Select a menu item. 3 Select an option: • Select Move to change the placement of the item in the list. • Select Insert to add a new item to the list. • Select Remove to delete an item from the list. Changing the Units of Measure You can customize units of measure for distance and speed, elevation, depth, temperature, pressure, and vertical speed. 1 Select Setup > Units. 2 Select a measurement type. 3 Select a unit of measure. Time Settings Select Setup > Time Settings. Time Format: Sets the device to show time in a 12-hour or 24- hour format. Time Zone: Sets the time zone for the device. Automatic sets the time zone automatically based on your GPS position. Position Format Settings NOTE: You should not change the position format or the map datum coordinate system unless you are using a map or chart that specifies a different position format. Select Setup > Position Format. Position Format: Sets the position format in which a location reading appears. Map Datum: Sets the coordinate system on which the map is structured. Map Spheroid: Shows the coordinate system the device is using. The default coordinate system is WGS 84. 10 Customizing the Device
-
 1
1 -
2
-
3
-
4
-
5
-
6
-
7
-
8
-
 9
9 -
 10
10 -
 11
11 -
 12
12 -
 13
13 -
 14
14 -
 15
15 -
 16
16 -
 17
17 -
 18
18 -
 19
19 -
20
 |
 |