Garmin dezl 580 LMT-S Owners Manual - Page 8
Adding a Vehicle Profile
 |
View all Garmin dezl 580 LMT-S manuals
Add to My Manuals
Save this manual to your list of manuals |
Page 8 highlights
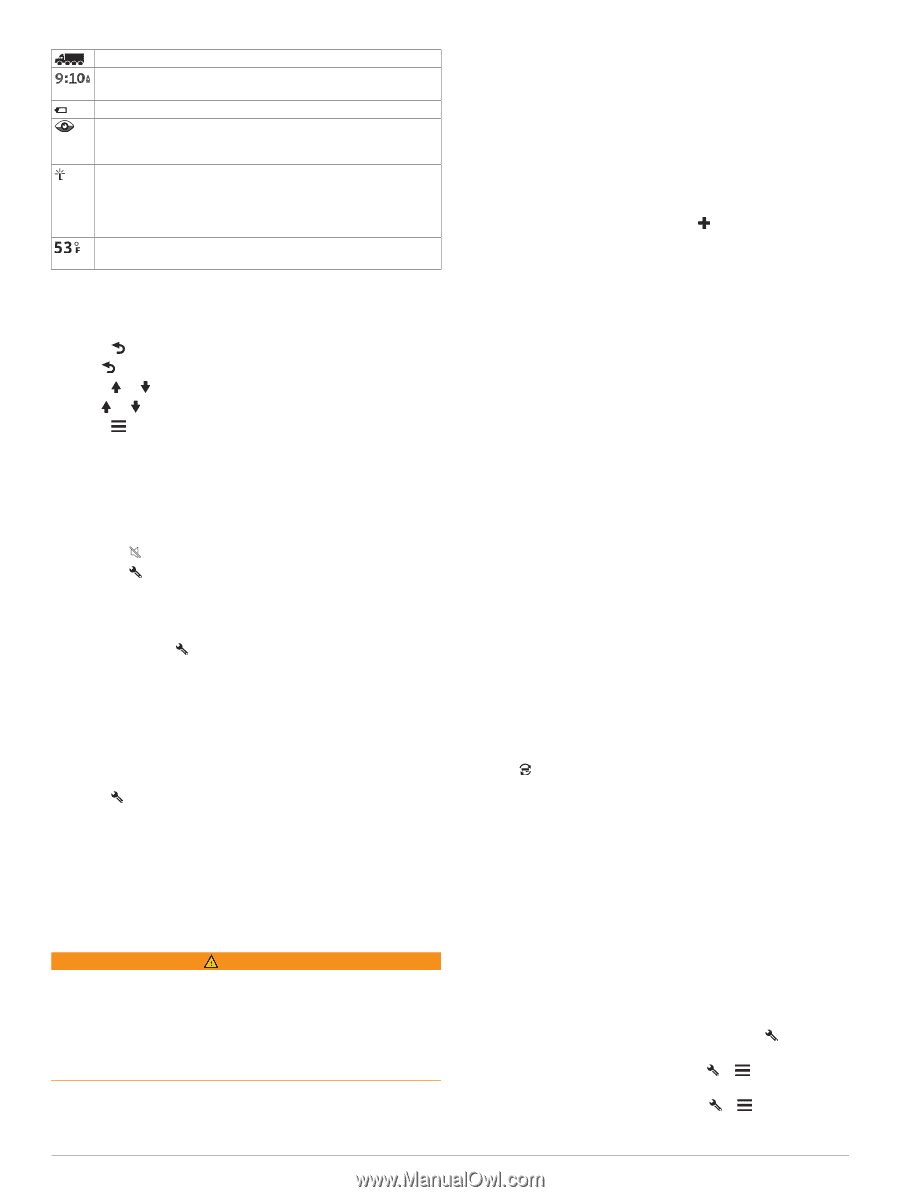
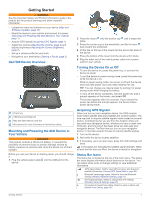
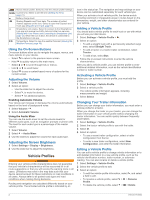
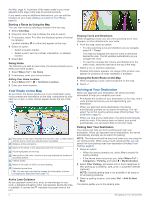
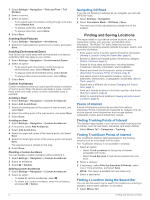
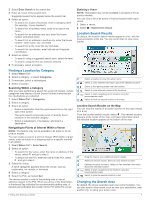
Active vehicle profile. Select to view the vehicle profile settings. Current time. Select to set the time (Setting the Time, page 21). Battery charge level. Sharing Dispatch and Track data. The number of invited viewers appears on the icon. Select to open the Dispatch and Track app (Dispatch and Track, page 16). Smartphone Link status. Select to connect to the Smartphone Link app and receive live traffic data and other live services (Pairing with Your Phone and Connecting to Smartphone Link, page 12). When the icon is blue, the device is connected to the Smartphone Link app. Temperature. Select to view the weather forecast (Viewing the Weather Forecast, page 19). Using the On-Screen Buttons On-screen buttons allow you to navigate the pages, menus, and menu options on your device. • Select to return to the previous menu screen. • Hold to quickly return to the main menu. • Select or to scroll through lists or menus. • Hold or to scroll faster. • Select to see a context-based menu of options for the current screen. Adjusting the Volume 1 Select Volume. 2 Select an option: • Use the slider bar to adjust the volume. • Select to mute the device. • Select for additional options. Enabling Automatic Volume Your device can increase or decrease the volume automatically based on the level of background noise. 1 Select Volume > . 2 Select Automatic Volume. Using the Audio Mixer You can use the audio mixer to set the volume levels for different audio types, such as navigation prompts or phone calls. The level for each audio type is a percentage of the master volume. 1 Select Volume. 2 Select > Audio Mixer. 3 Use the sliders to adjust the volume for each audio type. Adjusting the Screen Brightness 1 Select Settings > Display > Brightness. 2 Use the slider bar to adjust the brightness. Vehicle Profiles WARNING Entering your vehicle profile characteristics does not guarantee that your vehicle's characteristics will be accounted for in all route suggestions or that you will receive the warning icons in all cases. Limitations may exist in the map data such that your device cannot account for these restrictions or road conditions in all cases. Always defer to all posted road signs and road conditions when making driving decisions. Routing and navigation are calculated differently based on your vehicle profile. The activated vehicle profile is indicated by an icon in the status bar. The navigation and map settings on your device can be customized separately for each vehicle type. When you activate a truck vehicle profile, the device avoids including restricted or impassable areas in routes based on the dimensions, weight, and other characteristics you entered for your vehicle. Adding a Vehicle Profile You should add a vehicle profile for each truck or car with which you will use your dēzl device. 1 Select Settings > Vehicle Profile > . 2 Select an option: • To add a straight truck with a permanently attached cargo area, select Straight Truck. • To add a tractor or a tractor-trailer combination, select Tractor. • To add a bus, select Bus. 3 Follow the on-screen instructions to enter the vehicle characteristics. After you add a vehicle profile, you can edit the profile to enter additional detailed information, such as the vehicle identification number or trailer number. Activating a Vehicle Profile Before you can activate a vehicle profile, you must add the profile. 1 Select Settings > Vehicle Profile. 2 Select a vehicle profile. The vehicle profile information appears, including measurements and weight. 3 Select Select. Changing Your Trailer Information Before you can change your trailer information, you must enter a vehicle profile for a tractor. When you change the trailer on your tractor, you can change the trailer information in your vehicle profile without changing the tractor information. You can switch quickly between frequently used trailers. 1 Select Settings > Vehicle Profile. 2 Select the tractor vehicle profile to use with the trailer. 3 Select . 4 Select an option: • To use a recent trailer configuration, select a trailer configuration from the list. • To enter a new trailer configuration, select New Configuration, and enter the trailer information. Editing a Vehicle Profile You can edit a vehicle profile to change vehicle information or to add detailed information to a new vehicle profile, such as the vehicle identification number, trailer number, or odometer reading. You can also rename or delete a vehicle profile. 1 Select Settings > Vehicle Profile. 2 Select the vehicle profile to edit. 3 Select an option: • To edit the vehicle profile information, select , and select a field to edit. • To rename a vehicle profile, select > > Rename Profile. • To delete the vehicle profile, select > > Delete. 2 Vehicle Profiles
-
 1
1 -
2
-
 3
3 -
 4
4 -
 5
5 -
 6
6 -
 7
7 -
 8
8 -
 9
9 -
 10
10 -
 11
11 -
 12
12 -
 13
13 -
14
-
15
-
16
-
17
-
18
-
19
-
20
-
21
-
22
-
23
-
24
-
25
-
26
-
27
-
28
-
29
-
30
-
31
-
32
-
33
-
34
 |
 |