Gateway MX6025 Recovery Guide - Page 4
When you see the message The Recovery ISO Image has been created successfully - driver
 |
View all Gateway MX6025 manuals
Add to My Manuals
Save this manual to your list of manuals |
Page 4 highlights
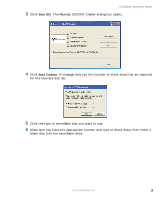
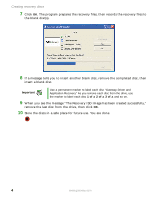
Creating recovery discs 7 Click OK. The program prepares the recovery files, then records the recovery files to the blank disc(s). 8 If a message tells you to insert another blank disc, remove the completed disc, then insert a blank disc. Important Use a permanent marker to label each disc "Gateway Driver and Application Recovery." As you remove each disc from the drive, use the marker to label each disc 1 of x, 2 of x, 3 of x, and so on. 9 When you see the message "The Recovery ISO Image has been created successfully," remove the last disc from the drive, then click OK. 10 Store the discs in a safe place for future use. You are done. 4 www.gateway.com
-
 1
1 -
 2
2 -
 3
3 -
 4
4 -
 5
5 -
 6
6 -
 7
7 -
 8
8 -
 9
9 -
 10
10 -
11
-
12
-
13
-
14
 |
 |
4
www.gateway.com
Creating recovery discs
7
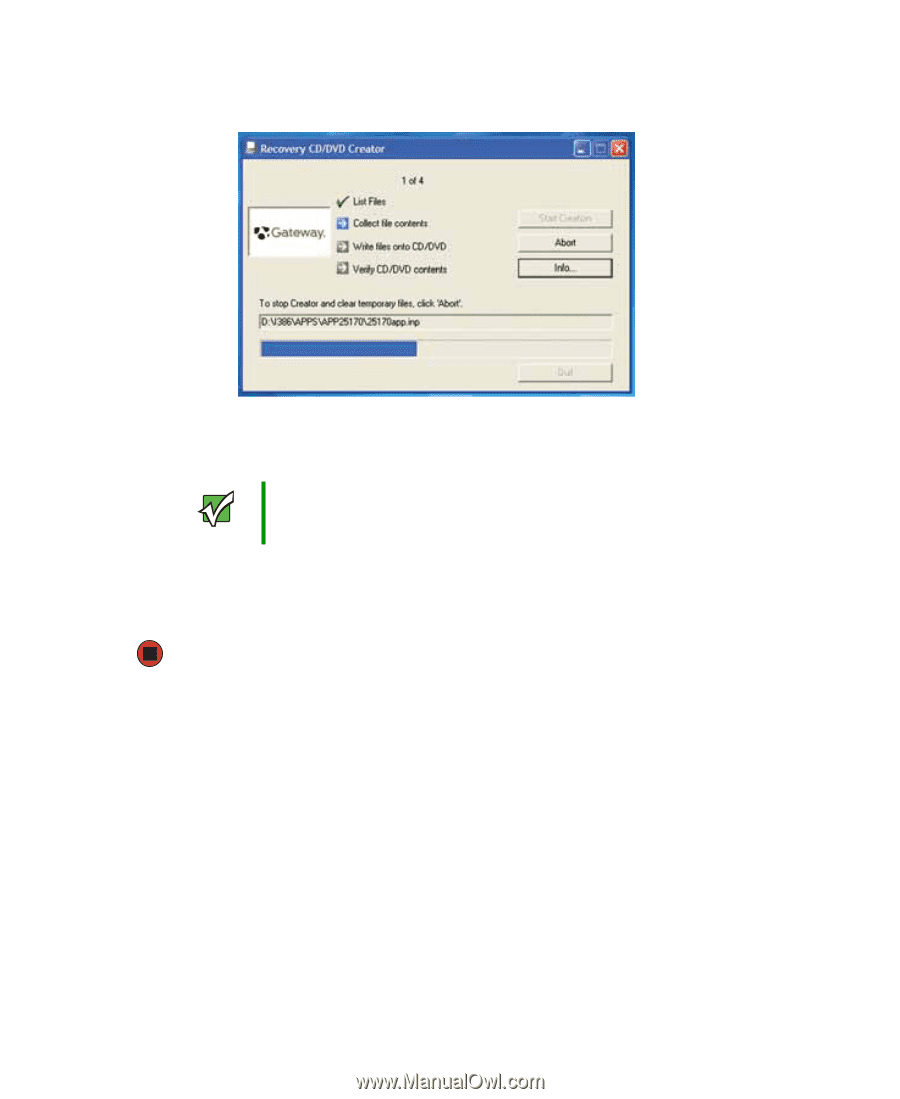
Click
OK
. The program prepares the recovery files, then records the recovery files to
the blank disc(s).
8
If a message tells you to insert another blank disc, remove the completed disc, then
insert a blank disc.
9
When you see the message “The Recovery ISO Image has been created successfully,”
remove the last disc from the drive, then click
OK
.
10
Store the discs in a safe place for future use. You are done.
Important
Use a permanent marker to label each disc “Gateway Driver and
Application Recovery.” As you remove each disc from the drive, use
the marker to label each disc
1 of
x
,
2 of
x
,
3 of
x
, and so on.