GE WPDH8900JMV Owners Manual - Page 15
Demand Response, INSTALLATION, QUICK GUIDE, SETTINGS MENU - dryer
 |
UPC - 084691178521
View all GE WPDH8900JMV manuals
Add to My Manuals
Save this manual to your list of manuals |
Page 15 highlights
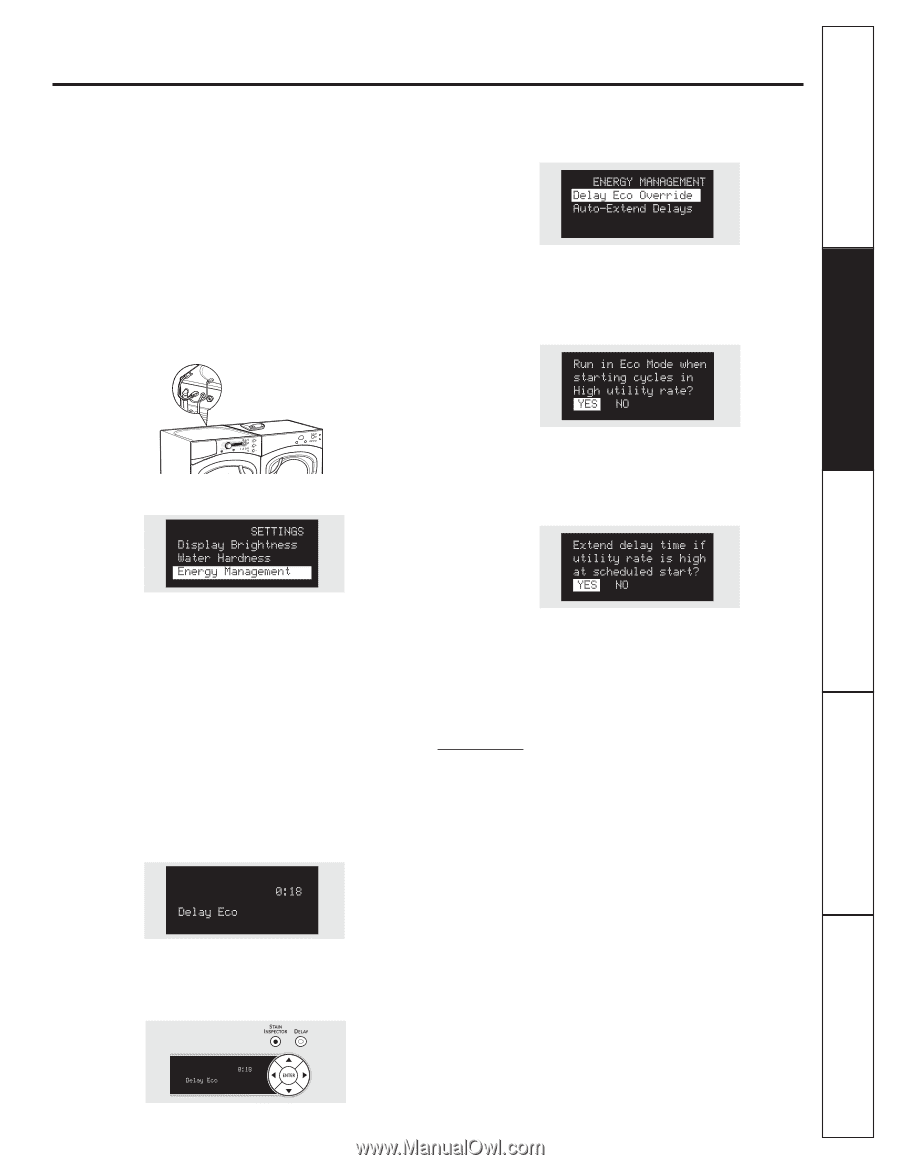
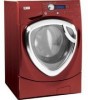
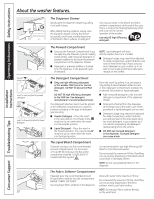
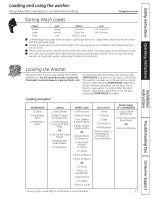
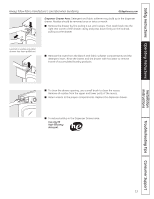
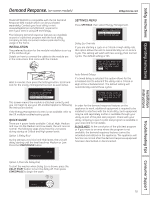
Safety Instructions Operating Instructions Installation Instructions Demand Response. (on some models) GEAppliances.com Model WPDH8910 is compatible with the GE Demand Response (DR) module which can be purchased separately. Contact your local utility or visit www.GEAppliances.com/demand_response to see if your area is using DR technology. The following demand response features are available as part of a pilot test program with the local utility company to help consumers reduce peak electricity usage in the home. INSTALLATION The preferred location for the module installation is on top of the clothes dryer. Details on how to connect the cables to the module are in the instructions that come with the module. SETTINGS MENU Press SETTINGS; then select Energy Management. Delay Eco Override If you are starting a cycle in a Critical or High utility rate, this option allows the unit to automatically run on an Eco Cycle. This setting will wash with less energy than normal cycles. The default setting is YES. Wait 5 minutes; then press the Settings button. Scroll and look for the energy management screen as seen below. Auto-Extend Delays If a timed delay is selected, this option allows for the scheduled start to extend if the utility rate is Critical or High at the scheduled start. The default setting will automatically extend these cycles. This screen means the module is attached correctly and you can begin to use your DR-enabled appliance following the instructions below. If the Energy Management Screen is not available, refer to the DR module troubleshooting guide. QUICK GUIDE There are 4 power levels available: Critical, High, Medium and Low. On the Medium and Low levels, the unit runs as normal. The following steps show how the unit reacts during startup at Critical and High power levels. Option 1 (Delay Eco) During startups at Critical and High levels, the unit will delay starting until the level becomes Medium or Low. Press the START/PAUSE button. In order for the demand response features on the appliance to work, additional equipment is required to be installed to interface with the local utility. Such equipment may be sold separately and/or is available through your utility as part of the pilot test program. Check with your utility company to see if a pilot test program is available in your area and for full details. PLEASE NOTE: At the conclusion of the pilot test program or if you move to an area where the program is not available, the demand response features cannot be activated and utilized on the appliance. The appliance will function as normal after the demand response equipment has been deactivated or disconnected. Option 2 (Override Delay Eco) To start the washer when Delay Eco is shown, press the DELAY START button to turn the delay off. Then press START/PAUSE to begin the wash. Troubleshooting Tips Consumer Support 15
-
 1
1 -
2
-
3
-
4
-
5
-
6
-
7
-
8
-
9
-
 10
10 -
 11
11 -
 12
12 -
 13
13 -
 14
14 -
 15
15 -
 16
16 -
 17
17 -
 18
18 -
 19
19 -
 20
20 -
21
-
22
-
23
-
24
-
25
-
26
-
27
-
28
-
29
-
30
-
31
-
32
-
33
-
34
-
35
-
36
-
37
-
38
-
39
-
40
-
41
-
42
-
43
-
44
-
45
-
46
-
47
-
48
-
49
-
50
-
51
-
52
-
53
-
54
-
55
-
56
-
57
-
58
-
59
-
60
-
61
-
62
-
63
-
64
-
65
-
66
-
67
-
68
-
69
-
70
-
71
-
72
-
73
-
74
-
75
-
76
-
77
-
78
-
79
-
80
-
81
-
82
-
83
-
84
 |
 |