Gigabyte GA-M68MT-S2 Manual - Page 35
Making a SATA RAID Driver Diskette, Installing the SATA RAID Driver and Operating System
 |
View all Gigabyte GA-M68MT-S2 manuals
Add to My Manuals
Save this manual to your list of manuals |
Page 35 highlights
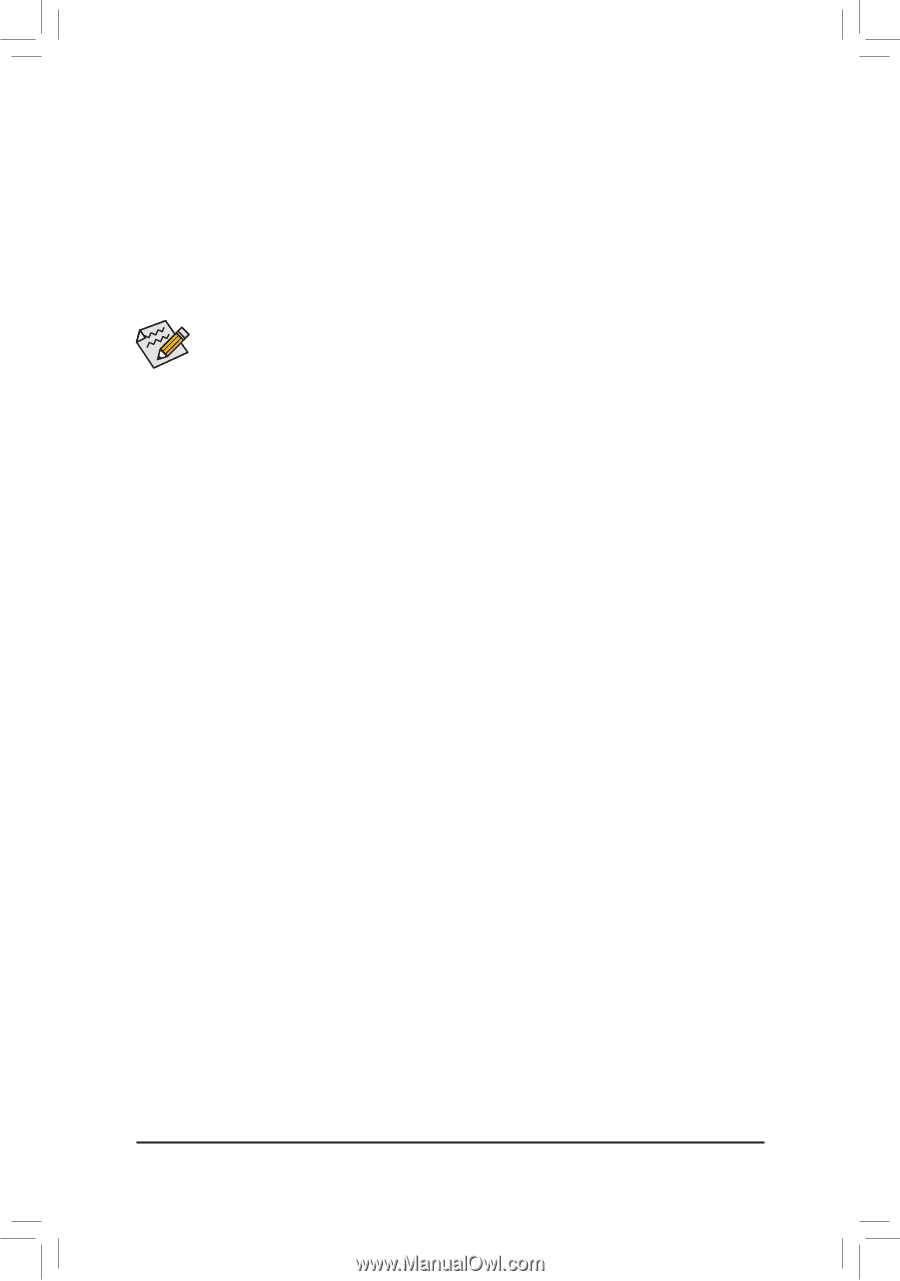
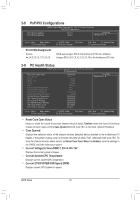
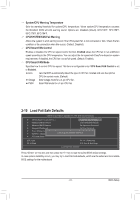
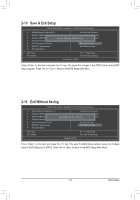
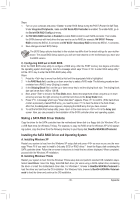
Steps: 1. Turn on your computer and press to enter BIOS Setup during the POST (Power-On Self-Test). Under Integrated Peripherals, make sure NV Serial-ATA Controller is enabled. To enable RAID, go to the Serial-ATA RAID Config sub-menu. 2. Set NV SATA RAID function to Enabled to enable RAID control for each SATA connector. Then enable the SATA channels with hard drives that you want to use for RAID (for example, NV SATA 1 Primary RAID controls the SATA2_0 connector and NV SATA 1 Secondary RAID controls the SATA2_1 connector). 3. Save changes and exit BIOS Setup. The BIOS Setup options described in this section may differ from the exact settings for your motherboard. The actual BIOS Setup options you will see shall depend on the motherboard you have and the BIOS version. C. Configuring RAID set in RAID BIOS Enter the RAID BIOS setup utility to configure a RAID array. After the POST memory test begins and before the operating system boot begins, look for a message which says "Press to enter RAID setup utility." Hit the key to enter the NVIDIA RAID setup utility. Steps: 1. Press the key to move from field to field until the appropriate field is highlighted. 2. In the RAID Mode field, use the up or down arrow key to select a RAID mode. The following procedure dem- onstrates how a RAID 0 array (Striping) is created. 3. In the Striping Block field, use the up or down arrow key to set the striping block size. The striping block size can be set from 4 KB to 128 KB. 4. Next, press to move to the Free Disks block. Select the target hard drives using the up or down arrow key and use the right arrow key to add the hard drives to the Array Disks block. 5. Press . A message which says "Clear disk data?" appears. Press to confirm. (If the hard drives contain a previously created RAID array, you need to press to clear the data in the hard drives.) After that, the Array List screen appears, displaying the RAID array that you have created. 6. To exit the NVIDIA RAID setup utility, press in the main menu or + in the Array List screen. Now, you can proceed to the installation of the SATA controller driver and operating system. Making a SATA RAID Driver Diskette Copy the driver for the SATA controller from the motherboard driver disk to a floppy disk (for Windows XP) or a USB flash drive (for Windows 7/Vista). For example, to copy the RAID driver for Windows XP 32-bit operating system, copy the driver from the following directory to your floppy disk: BootDrv\UDA\WinXP\sataraid Installing the SATA RAID Driver and Operating System A. Installing Windows XP Restart your system to boot from the Windows XP setup disk and press as soon as you see the message "Press F6 if you need to install a 3rd party SCSI or RAID driver." Insert the floppy disk containing the SATA controller driver. Follow the on-screen instructions to install the two drivers displayed. When completed, proceed with the Windows XP installation. B. Installing Windows 7/Vista Restart your system to boot from the Windows 7/Vista setup disk and perform standard OS installation steps. Select Load Driver. Insert the floppy disk/USB flash drive (for users using a SATA optical drive) containing the driver or insert the motherboard driver disk. For Windows 7, browse to BootDrv\UDA\Win7\sataraid to load the driver and continue the OS installation. For Windows Vista, browse to BootDrv\UDA\Win Vista\sataraid to load the driver and continue the OS installation. - 35 - Appendix
-
 1
1 -
2
-
3
-
4
-
5
-
6
-
7
-
8
-
9
-
10
-
11
-
12
-
13
-
14
-
15
-
16
-
17
-
18
-
19
-
20
-
21
-
22
-
23
-
24
-
25
-
26
-
27
-
28
-
29
-
 30
30 -
 31
31 -
 32
32 -
 33
33 -
 34
34 -
 35
35 -
 36
36 -
 37
37 -
 38
38 -
 39
39 -
 40
40
 |
 |