Gigabyte GSmart G1317D Quick Guide - GSmart G1317D English Version - Page 11
Install USB Driver, Android Manager, Set up, Getting Started
 |
View all Gigabyte GSmart G1317D manuals
Add to My Manuals
Save this manual to your list of manuals |
Page 11 highlights
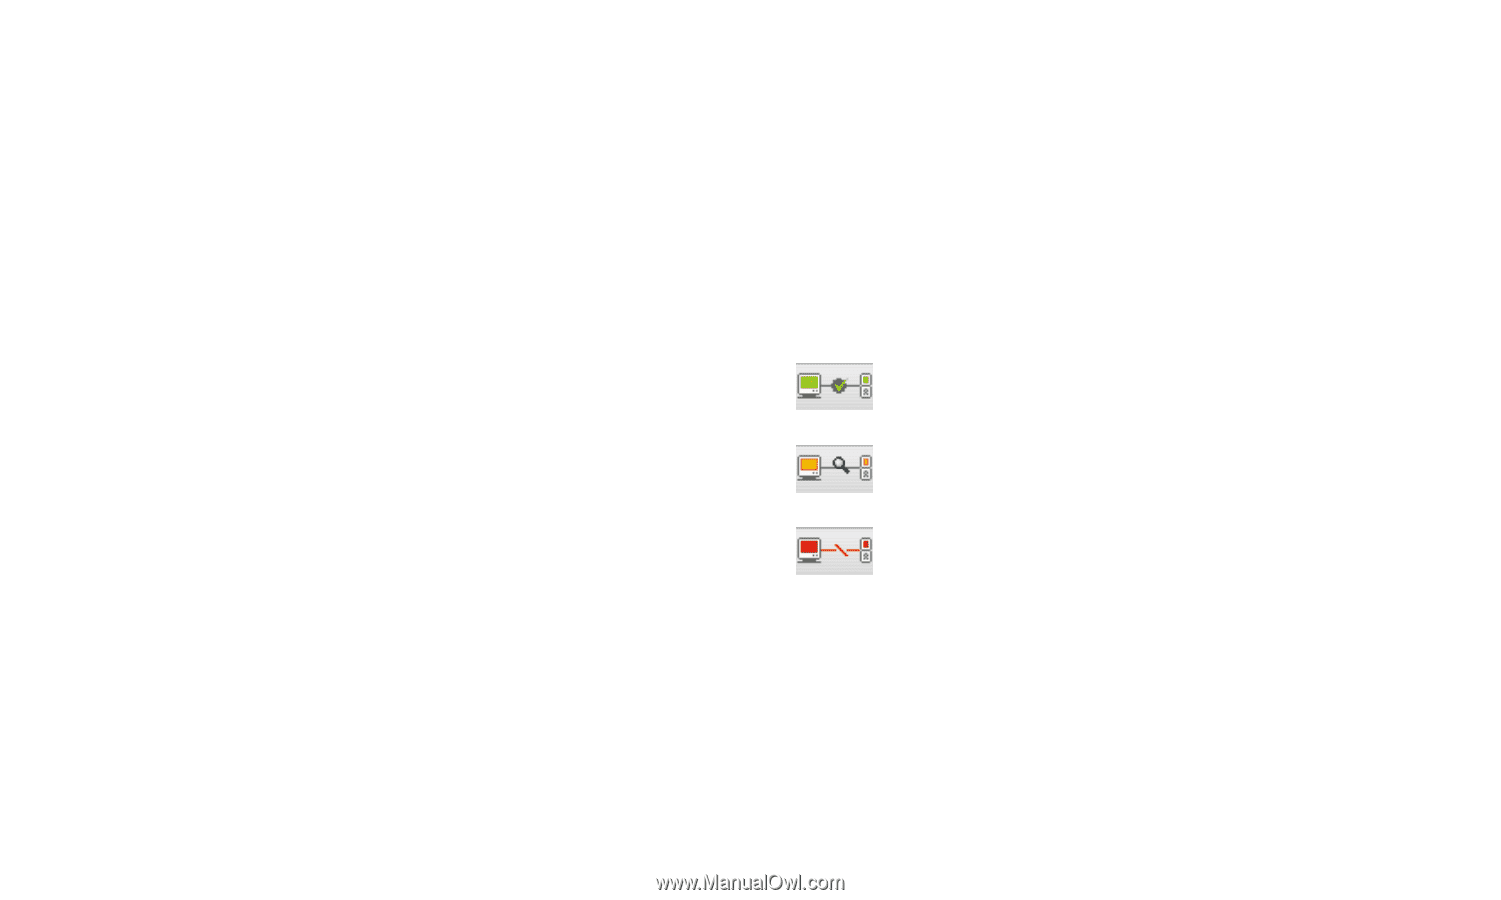
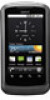
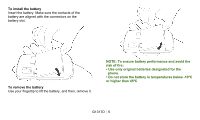
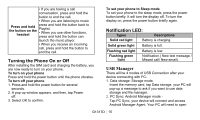
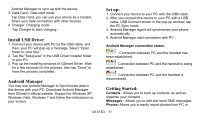
Android Manager to sync up with the device. 3. Data Card : Data card mode。 Tap Data Card, you can use your phone as a modem, Share your data connection with other devices. 4. Charger: Charging mode。 Tap Charger to start charging.。 Install USB Driver 1. Connect your device with PC by the USB cable, and then, your PC will pop-up a message. Select "Open folder to view files." 2. Tap the "Setup.exe" in the USB Driver Installer folder in your PC. 3. Pop up the installing windows of GSmart Driver. Wait for a few seconds for the process, then tap "Done" to have the process completed. Android Manager You may use Android Manager to Synchronize data in this device with your PC. Download Android Manager from GSmart's official website. Support for Windows XP, Windows Vista, Windows 7 and follow the instructions on your screen. Set up: 1. Connect your device to your PC with the USB cable. 2. After you connect this device to your PC with a USB cable, USB Connect shown in the pop-up window, tap the PC Sync mode. 3. Android Manager Agent will synchronize your phone automatically. 4. Android Manager start connection with PC。 Android Manager connection status: Connection between PC and the handset has been established. Connection between PC and the handset is being established. Connection between PC and the handset is disconnected. Getting Started: Contacts : Allows you to back up contacts, as well as organize your contacts . Messages : Allows you to edit and send SMS messages. Photos: Allows you to easily import photos from PC or G1317D│ 11
-
 1
1 -
2
-
3
-
4
-
5
-
 6
6 -
 7
7 -
 8
8 -
 9
9 -
 10
10 -
 11
11 -
 12
12 -
 13
13 -
 14
14 -
 15
15
 |
 |