Haier HLC19R1 User Manual - Page 19
Menu Operations
 |
UPC - 688057324234
View all Haier HLC19R1 manuals
Add to My Manuals
Save this manual to your list of manuals |
Page 19 highlights
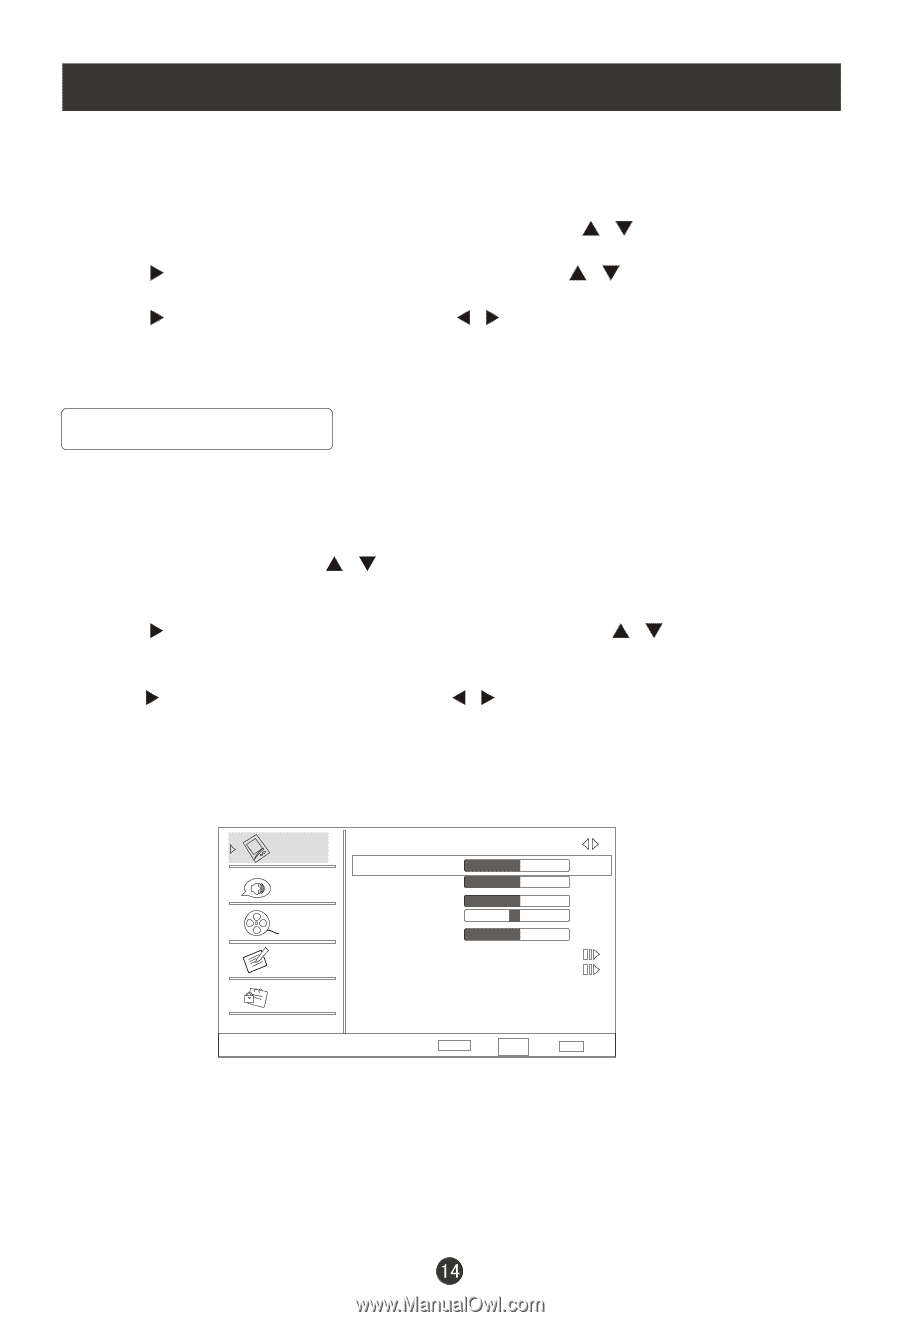
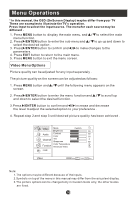
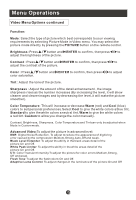
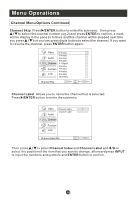
Menu Operations * In this manual, the OSD (On Screen Display) may be differ from your TV These are examples to illustrate the TV's operation. Press Input to select the input source. The menu for each source may be different . 1. Press MENU button to display the main menu, and / to select the main menu function. 2. Press /ENTER button to enter the sub menu and / to go up and down to select the desired option . 3. Press /ENTER button to confirm and / to make changes to the parameters. 4. Press EXIT button to return to the main menu. 5. Press MENU button to exit the menu screen. Video Menu Options Picture quality can be adjusted for any input separately . The picture quality on the screen can be adjusted as follows: 1. Press MENU button and / until the following menu appears on the screen. 2. Press /ENTER button to enter the menu function and / to scroll up and down to select the desired function. 3.Press /ENTER button to confirm and / increase and decrease the level to adjust the selected option to your preference . 4. Repeat step 2 and step 3 until desired picture quality has been achieved . Video Mode Brightness Custom 50 Audio Contrast 50 Color 50 Channel Tint 0 Sharpness 50 Color Temperature Function Advanced Video Lock Video ENTER Adjust CH+/- Select EXIT Back VOL+/- Note: 1.The options may be different because of the inputs. 2.Symbols on top of the menu in this manual may differ from the actual set display. 3.The picture options can be changed only in Custom mode only, the other modes are fixed.
-
 1
1 -
2
-
3
-
4
-
5
-
6
-
7
-
8
-
9
-
10
-
11
-
12
-
13
-
 14
14 -
 15
15 -
 16
16 -
 17
17 -
 18
18 -
 19
19 -
 20
20 -
 21
21 -
 22
22 -
 23
23 -
 24
24 -
25
-
26
-
27
-
28
-
29
-
30
-
31
-
32
-
33
-
34
-
35
-
36
-
37
-
38
-
39
-
40
-
41
-
42
-
43
-
44
-
45
-
46
-
47
-
48
-
49
 |
 |