Haier HRF-689FF User Manual - Page 13
Refrigerator compartment, Dismounting and installing the cubed ice tray
 |
View all Haier HRF-689FF manuals
Add to My Manuals
Save this manual to your list of manuals |
Page 13 highlights
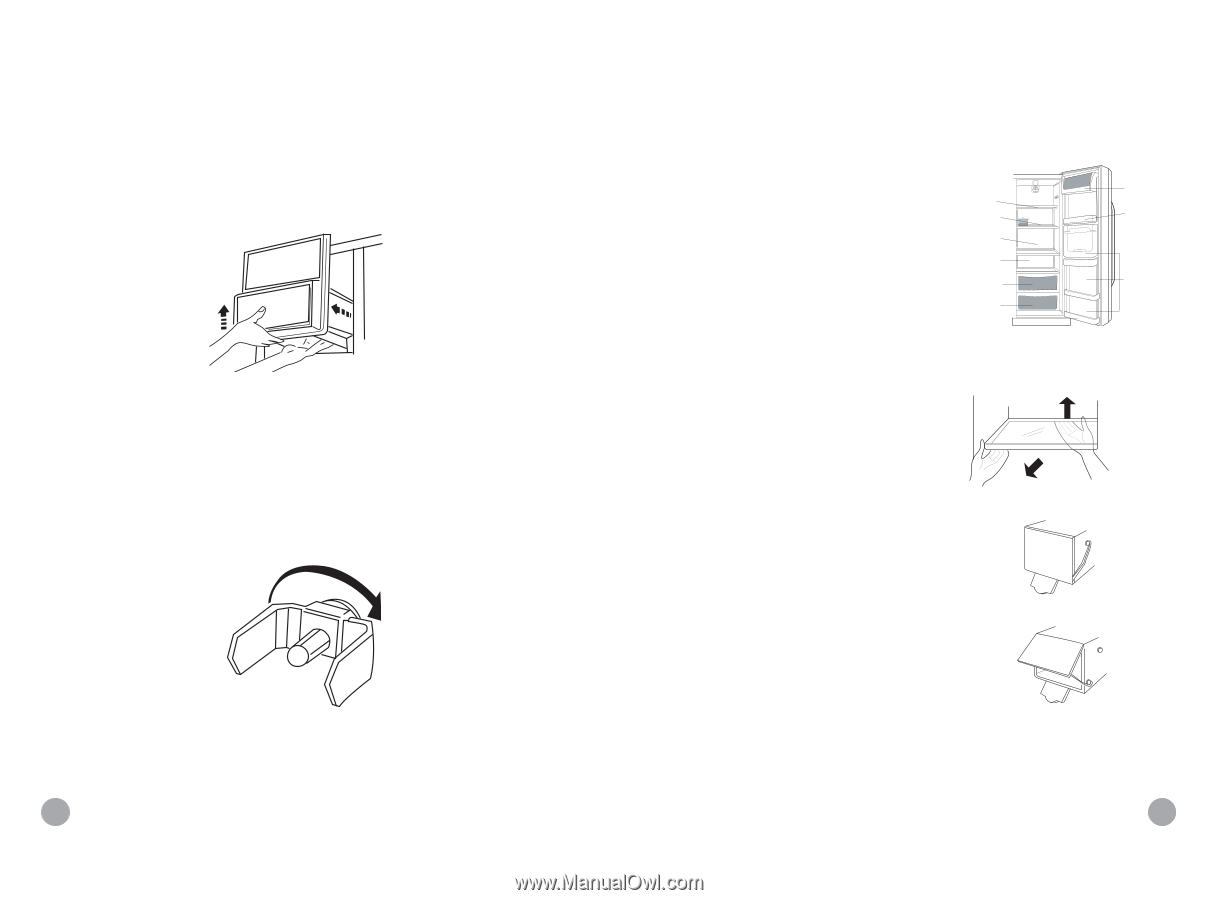
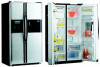
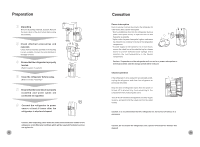
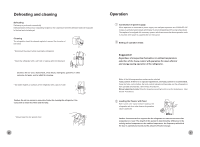
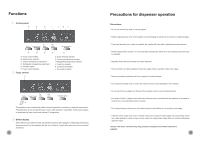
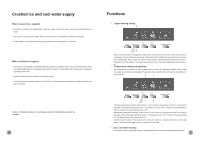
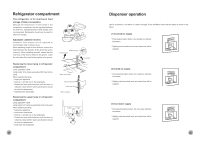
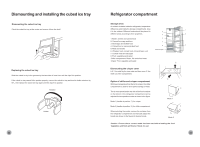
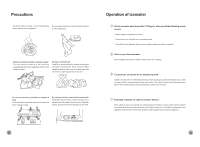
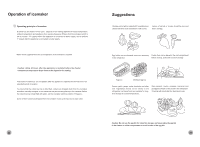
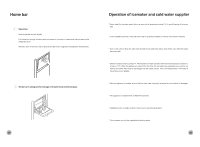
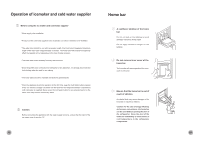
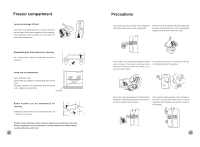
Dismounting and installing the cubed ice tray Dismounting the cubed ice tray Pinch the cubed ice tray at the center and remove it from the shelf. Replacing the cubed ice tray Slide the cubed ice try to the grooves by the two sides of inner liner until the clips fit to position. If the cubed ice tray cannot fit the position properly, remove the cubed ice tray and turn the holder structure by 90°„, then replace the cubed ice tray again until the clips fit to position. Rotation Holder 22 Refrigerator compartment Storage areas As cold air circulates inside the refrigerator, temperature differences exist inside the storage compartments. Area 6 is the coldest. Different foods should be placed in different areas according to their properties. 1. Butter, cheese and canned food 2. Canned beverage and beer 3. Beverages and bottled food 4. Pickled food or canned pickled food 5. Meat and snacks 6. Wheaten food, canned food, milk and bean curd 7. Cooked meat and sausages 8. Fruit, vegetables and salad Chiller compartment: Butter, fish and sliced meat Crisper: Fruit, vegetable and salad 4 5 6 7 8 Chiller/Crisper Dismounting the crisper cover Lift the shelf by the inner side and then move the shelf out of the compartment. Option of chiller and crisper compartment With lower temperature than that in the crisper, the chiller compartment is used for short period storage of meat. The air vent opened at the rear side of the food container on the bottom in the refrigerator compartment can be adjusted for two operation modes as shown in the figure. Mode 1 (handle at position ) for crisper. Mode 2 (handle at position ) for chiller compartment. When switching the modes, remove the container from the refrigerator compartment and manually adjust the handle (as shown in the figure) for desired mode. Mode 1 Mode 2 Caution: Ensure that a correct mode has been set before loading the food. Vegetables and fruits will freeze if mode 2 is set. 1 2 3 11
-
 1
1 -
2
-
3
-
4
-
5
-
6
-
7
-
 8
8 -
 9
9 -
 10
10 -
 11
11 -
 12
12 -
 13
13 -
 14
14 -
 15
15 -
 16
16 -
 17
17 -
 18
18
 |
 |