HealthRider 875 P Instruction Manual - Page 14
Connect Your Home Stereo
 |
View all HealthRider 875 P manuals
Add to My Manuals
Save this manual to your list of manuals |
Page 14 highlights
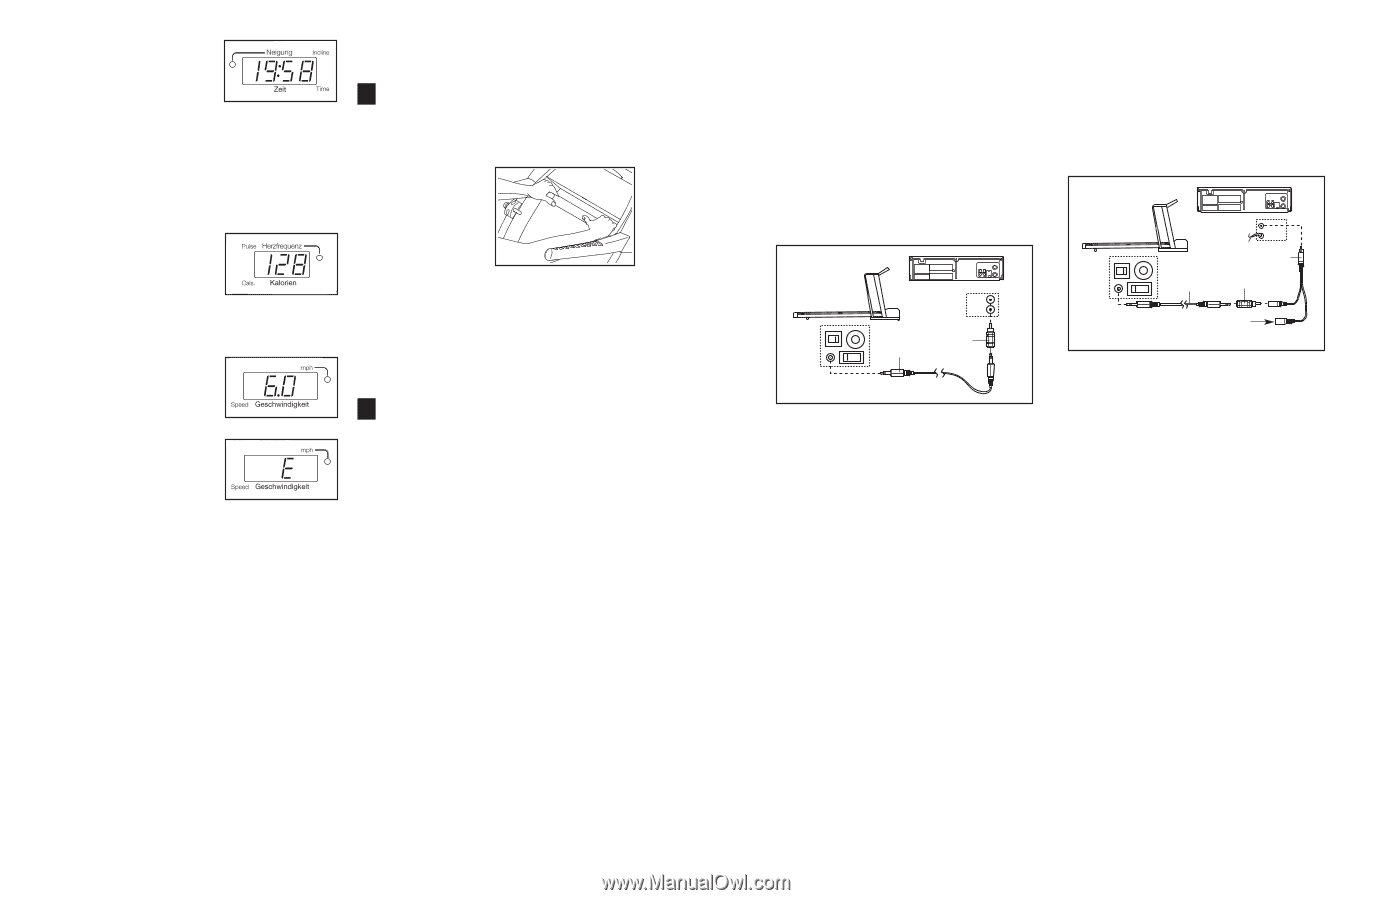
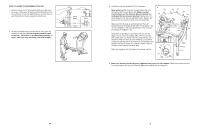
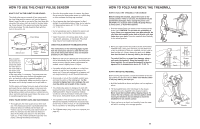
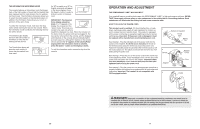
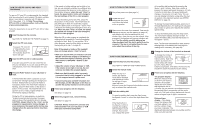
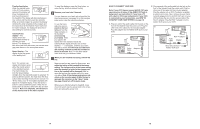
Time/Incline display- When the manual mode or the iFIT.com mode is selected, this display will show the elapsed time and the incline level of the treadmill. The display will alternate between one number and the other every few seconds. When a workout program is selected, the display will show the time remaining in the program and the incline level of the treadmill. Note: Each time the incline changes, the display will show the incline setting for several seconds. Calories/Pulse display-This display shows the approximate number of calories you have burned. This display will also show your heart rate when you use the handgrip pulse sensor or the chest pulse sensor. Speed display-This display shows the speed of the walking belt Note: The console can display information using either the metric system or the standard system. The mph indicator beside the Speed display will light when the standard system is selected. To select a different system, first hold down the Stop button whilst inserting the key into the console. An "M" for metric or an "E" for English (standard) will appear in the Speed display. Press the Speed + button to select a different system. When the desired system is selected, remove the key and then reinsert it. Note: For simplicity, all instructions in this manual refer to the metric system. To reset the displays, press the Stop button, remove the key, and then reinsert the key. 6 Measure your heart rate if desired. You can measure your heart rate using either the chest pulse sensor (see page 10) or the handgrip pulse sensor (see the instructions below). To use the handgrip pulse sensor, stand on the foot rails and hold the metal contacts on the handrail- avoid moving your hands. When your pulse is detected, the Pulse indicator beside the Calories/Pulse display will light, two or three dashes (- - -) will appear, and then your heart rate will be shown. For the most accurate heart rate reading, continue to hold the contacts for about 15 seconds. Note: For the best results, make sure that your hands are clean. 7 When you are finished exercising, remove the key. Step onto the foot rails, press the Stop button, and adjust the incline of the treadmill to the lowest setting. The incline must be at the lowest setting when the treadmill is folded to the storage position or the treadmill will be damaged. Next, remove the key from the console and put it in a secure place. Note: If the displays and various indicators on the console remain lit after the key is removed, the console is in the "demo" mode. See page 22 and turn off the demo mode. When you are finished using the treadmill, move the on/off switch near the power cord to the off position and unplug the power cord. HOW TO CONNECT YOUR VCR Note: If your VCR has an unused AUDIO OUT jack, see instruction A below. If the AUDIO OUT jack is being used, see instruction B. If you have a TV with a built-in VCR, see instruction B. If your VCR is connected to your home stereo, see HOW TO CONNECT YOUR HOME STEREO on page 18. A. Plug one end of the audio cable into the jack on the front of the treadmill near the power cord. Plug the other end of the cable into the included adapter. Plug the adapter into the AUDIO OUT jack on your VCR. B. Plug one end of the audio cable into the jack on the front of the treadmill near the power cord. Plug the other end of the cable into the included adapter. Plug the adapter into an RCA Y-adapter (available at electronics stores). Next, remove the wire that is currently plugged into the AUDIO OUT jack on your VCR and plug the wire into the unused side of the RCA Y-adapter. Plug the RCA Y-adapter into the AUDIO OUT jack on your VCR. B ANT. IN VIDEO AUDIO IN CH 34 OUT RF OUT A ANT. IN VIDEO AUDIO IN CH 34 OUT RF OUT AUDIO OUT RIGHT LEFT Audio Adapter Cable RCA Y-adapter Audio Cable Adapter Wire removed from AUDIO OUT jack 14 19
-
 1
1 -
2
-
3
-
4
-
5
-
6
-
7
-
8
-
 9
9 -
 10
10 -
 11
11 -
 12
12 -
 13
13 -
 14
14 -
 15
15 -
 16
16 -
 17
17 -
 18
18
 |
 |