HealthRider S250i Treadmill English Manual - Page 10
Warning
 |
View all HealthRider S250i Treadmill manuals
Add to My Manuals
Save this manual to your list of manuals |
Page 10 highlights
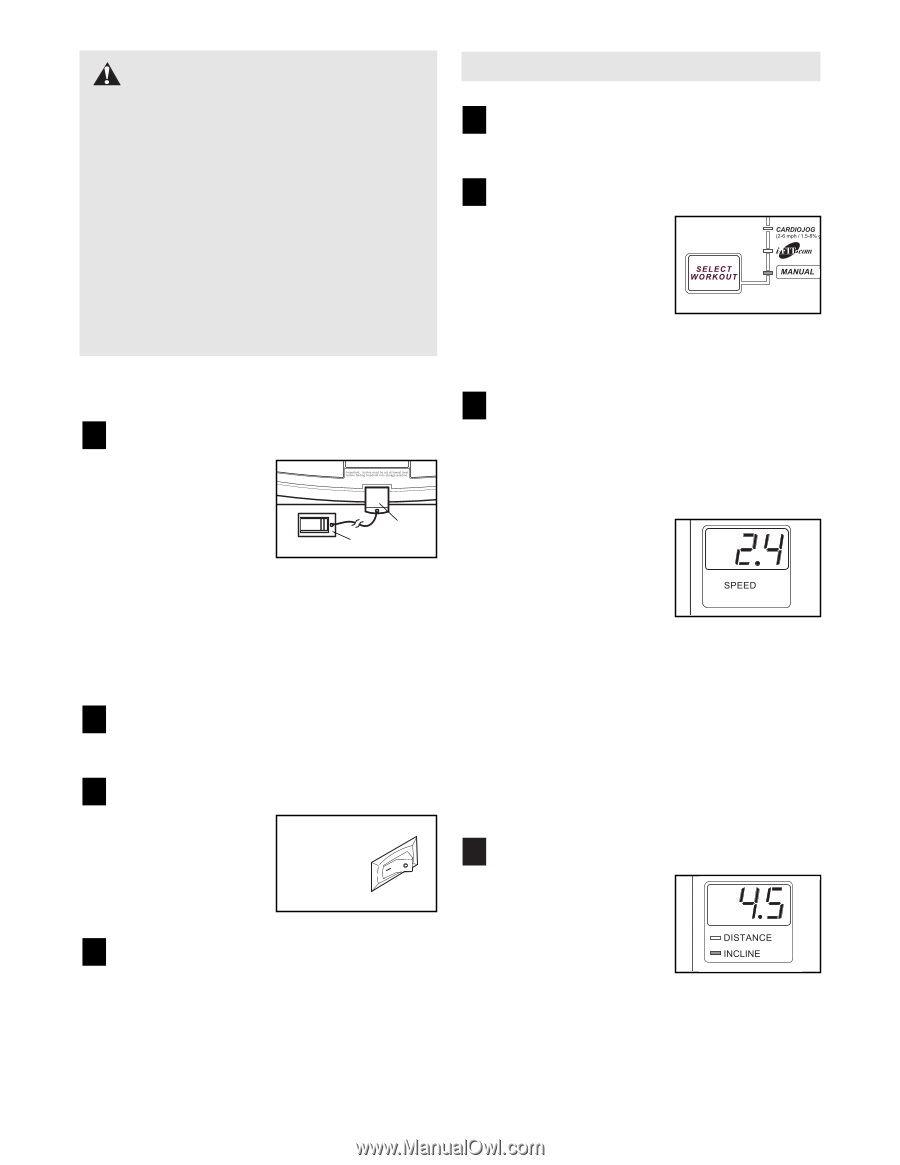
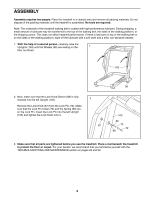
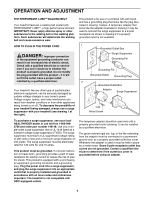
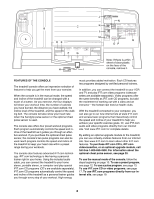
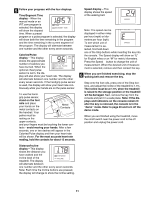
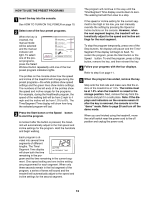
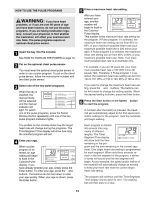
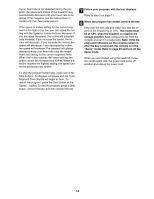
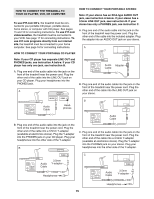
WARNING: To reduce the risk of serious injury, read the following precautions before operating the console. ¥ Do not stand on the walking belt when turning on the power or starting the walking belt. ¥ Always attach the clip (see ÒHÓon page 8) to your waistband when using the treadmill. ¥ The treadmill is capable of high speeds. Adjust the speed in small increments. ¥ To reduce the risk of electric shock, keep liquids away from the console and place only a sealed water bottle in the console. HOW TO TURN ON THE POWER 1 Attach the clip to the waistband of your clothes. Stand on the foot rails of the treadmill. Find the clip at- tached to the key, and slide the clip onto the waistband Key Clip of your clothes. Next, insert the key fully into the console. Test the clip by carefully taking a few steps backward until the key is pulled from the console. If the key is not pulled from the console, adjust the posi- tion of the clip as needed. Then, remove the key from the console. 2 Plug in the power cord. See page 8. 3 Move the on/off switch to the on position. Locate the on/off switch on the treadmill near the power cord. Move the switch to the on position. On Position 4 Insert the key fully into the console. When the key is inserted, the four displays and various indicators on the console will light. HOW TO USE THE MANUAL MODE 1 Insert the key into the console. See HOW TO TURN ON THE POWER at the left. 2 Select the manual mode. When the key is inserted, the manual mode will be selected and the manual indicator will light. If a program has been selected, press the Select Workout button repeatedly to select the manual mode. 3 Press the Start button or the Speed v button to start the walking belt. A moment after the button is pressed, the walking belt will begin to move at 1.0 mph. Hold the handrails and begin walking. As you exercise, adjust the speed of the walking belt as desired by pressing the Speed buttons. Each time one of the buttons is pressed, the speed will change by 0.1 mph. If one of the buttons is held down, the speed will change in increments of 0.5 mph. To stop the walking belt, press either of the Stop buttons. The four displays will pause and the Time/Segment Time display will begin to flash. To restart the walking belt, press the Start button or the Speed v button. To stop the walking belt and reset the displays, press a Stop button, remove the key, and then reinsert the key. 4 Adjust the incline of the treadmill. To vary the intensity of your exercise, adjust the incline of the treadmill as desired with the Incline buttons. Each time one of the buttons is pressed, the incline will change by 0.5%. The incline range is 1.5% to 10%. Note: After the buttons are pressed, it may take a moment for the treadmill to reach the selected incline setting. 10
-
 1
1 -
2
-
3
-
4
-
 5
5 -
 6
6 -
 7
7 -
 8
8 -
 9
9 -
 10
10 -
 11
11 -
 12
12 -
 13
13 -
 14
14 -
 15
15 -
16
-
17
-
18
-
19
-
20
-
21
-
22
-
23
-
24
-
25
-
26
-
27
-
28
-
29
-
30
 |
 |