HP 3150 HP LaserJet 3150 Product - (English US) Getting Started Guide - Page 77
Scanning an item
 |
UPC - 879889002135
View all HP 3150 manuals
Add to My Manuals
Save this manual to your list of manuals |
Page 77 highlights
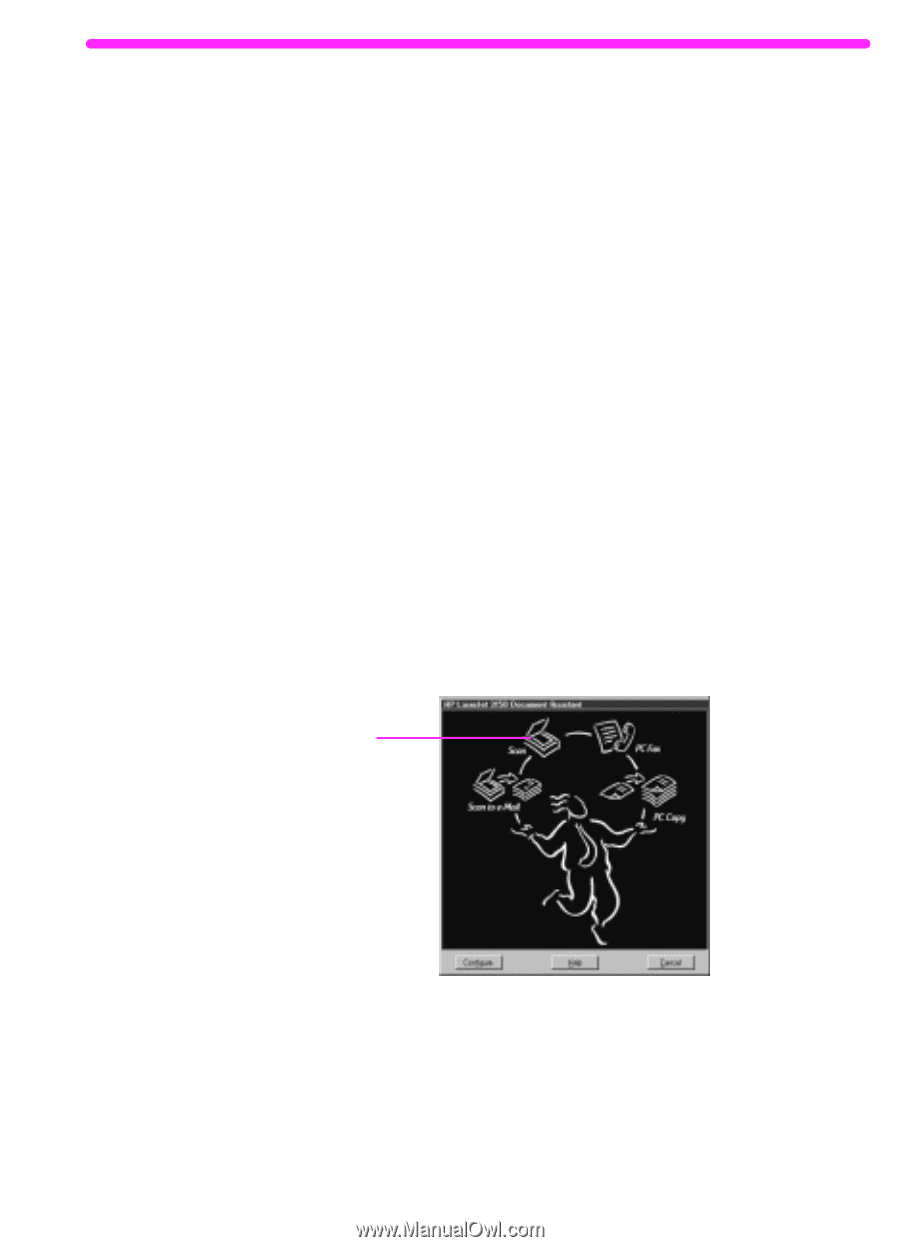
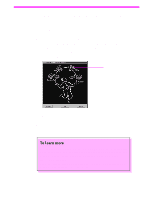
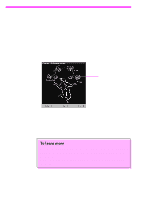
Scanning an item You must have installed the software to scan an item. You can start a scan from the Document Assistant or the JetSuite Pro software by clicking Scan. (To see and use the Document Assistant, the product must be directly connected to your computer.) When the next dialog box opens, you have three destination options: Scan to JetSuite Desktop Viewer, Scan to File, or Scan to Text. q Select Scan to JetSuite Desktop Viewer (the default) to place the item in the document viewer of the JetSuite Pro software. Using this program, you can annotate, organize, and store important documents. q Select Scan to File to create a file of the item without viewing it now. q Select Scan to Text, to convert the item to editable text and open it as an unnamed file in your word-processing program. To scan using the Document Assistant 1 Load the document into the document feeder tray. 2 When the Document Assistant appears, click anywhere on it to activate it. 3 Click Scan. Click here 4 In the dialog box that appears, adjust any options, such as contrast, ensure Scan to JetSuite Desktop Viewer is selected, and click Start Scan. 5 After it has been scanned, the item appears in the document viewer. Explore the options: Add annotations and hyperlinks, and then send the item to fax, print, or another task. EN Exploring the software 75
-
 1
1 -
2
-
3
-
4
-
5
-
6
-
7
-
8
-
9
-
10
-
11
-
12
-
13
-
14
-
15
-
16
-
17
-
18
-
19
-
20
-
21
-
22
-
23
-
24
-
25
-
26
-
27
-
28
-
29
-
30
-
31
-
32
-
33
-
34
-
35
-
36
-
37
-
38
-
39
-
40
-
41
-
42
-
43
-
44
-
45
-
46
-
47
-
48
-
49
-
50
-
51
-
52
-
53
-
54
-
55
-
56
-
57
-
58
-
59
-
60
-
61
-
62
-
63
-
64
-
65
-
66
-
67
-
68
-
69
-
70
-
71
-
 72
72 -
 73
73 -
 74
74 -
 75
75 -
 76
76 -
 77
77 -
 78
78 -
 79
79 -
 80
80 -
 81
81 -
 82
82 -
83
-
84
-
85
-
86
-
87
-
88
-
89
-
90
 |
 |