HP Designjet 700 HP DesignJet 700 user guide - Page 73
Menu Graphics Used in this Manual
 |
View all HP Designjet 700 manuals
Add to My Manuals
Save this manual to your list of manuals |
Page 73 highlights
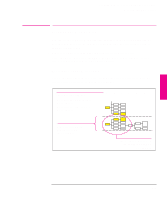
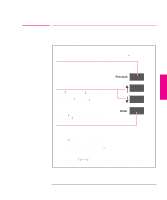
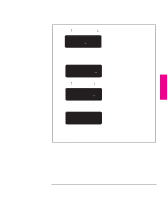
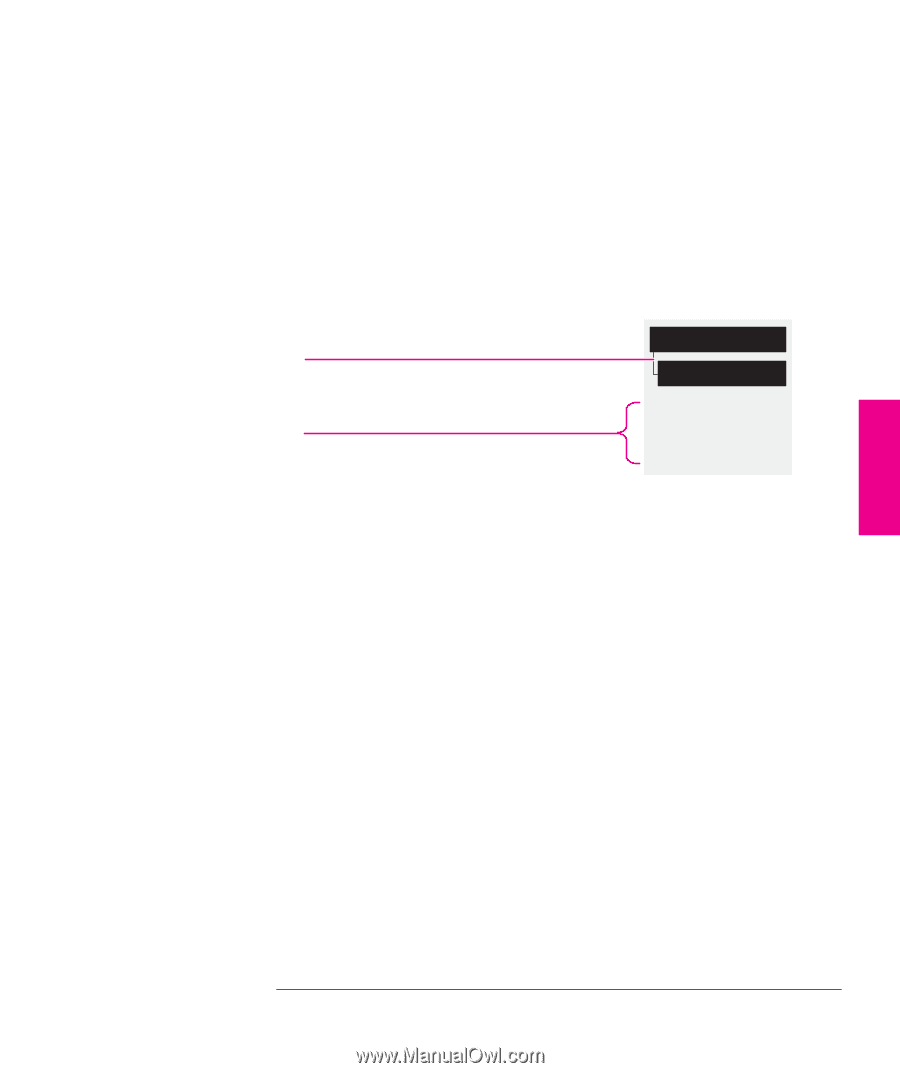
Learning How To Use the Front-Panel Display Navigating the Menu System Menu Graphics Used in this Manual At the end of this chapter, there are some examples of navigating the menu system, showing all the menu displays available. In the rest of this manual, when you need to use the menu system, a simple menu graphic will appear in the left margin giving a concise explanation of how to navigate to the exact place. The graphics look similar to this, but further levels may be shown: Represents pressing Enter Menu mode required, and other useful information for item First column selection Second column selection Full menu mode Default: 0 Affects next plot sent Stays after power off FRONT-PANEL 2 TUTORIAL 2-9
-
 1
1 -
2
-
3
-
4
-
5
-
6
-
7
-
8
-
9
-
10
-
11
-
12
-
13
-
14
-
15
-
16
-
17
-
18
-
19
-
20
-
21
-
22
-
23
-
24
-
25
-
26
-
27
-
28
-
29
-
30
-
31
-
32
-
33
-
34
-
35
-
36
-
37
-
38
-
39
-
40
-
41
-
42
-
43
-
44
-
45
-
46
-
47
-
48
-
49
-
50
-
51
-
52
-
53
-
54
-
55
-
56
-
57
-
58
-
59
-
60
-
61
-
62
-
63
-
64
-
65
-
66
-
67
-
 68
68 -
 69
69 -
 70
70 -
 71
71 -
 72
72 -
 73
73 -
 74
74 -
 75
75 -
 76
76 -
 77
77 -
 78
78 -
79
-
80
-
81
-
82
-
83
-
84
-
85
-
86
-
87
-
88
-
89
-
90
-
91
-
92
-
93
-
94
-
95
-
96
-
97
-
98
-
99
-
100
-
101
-
102
-
103
-
104
-
105
-
106
-
107
-
108
-
109
-
110
-
111
-
112
-
113
-
114
-
115
-
116
-
117
-
118
-
119
-
120
-
121
-
122
-
123
-
124
-
125
-
126
-
127
-
128
-
129
-
130
-
131
-
132
-
133
-
134
-
135
-
136
-
137
-
138
-
139
-
140
-
141
-
142
-
143
-
144
-
145
-
146
-
147
-
148
-
149
-
150
-
151
-
152
-
153
-
154
-
155
-
156
-
157
-
158
-
159
-
160
-
161
-
162
-
163
-
164
-
165
-
166
-
167
-
168
-
169
-
170
-
171
-
172
-
173
-
174
-
175
-
176
-
177
-
178
-
179
-
180
-
181
-
182
-
183
-
184
-
185
-
186
-
187
-
188
-
189
-
190
-
191
-
192
-
193
-
194
-
195
-
196
-
197
-
198
-
199
-
200
-
201
-
202
-
203
-
204
-
205
-
206
-
207
-
208
-
209
-
210
-
211
-
212
-
213
-
214
-
215
-
216
-
217
-
218
-
219
-
220
-
221
-
222
 |
 |
2-9
Menu Graphics Used in this Manual
At the end of this chapter, there are some examples of navigating the menu system,
showing all the menu displays available.
In the rest of this manual, when you need
to use the menu system, a simple menu graphic will appear in the left margin
giving a concise explanation of how to navigate to the exact place.
The graphics look similar to this, but further levels may be shown:
First column selection
Second column selection
Represents pressing
Enter
Menu mode required, and other useful
information for item
Full menu mode
Default: 0
Affects next plot sent
Stays after power off
Learning How To Use the Front-Panel Display
Navigating the Menu System
FRONT-PANEL
TUTORIAL
2