HP J9028A User Manual - Page 12
Installation Procedure, Installation Precautions
 |
View all HP J9028A manuals
Add to My Manuals
Save this manual to your list of manuals |
Page 12 highlights
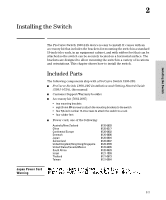
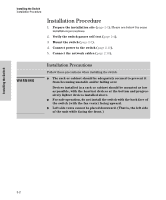
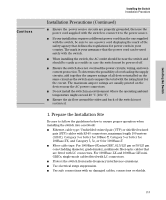
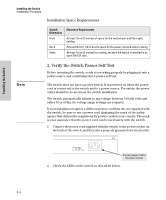
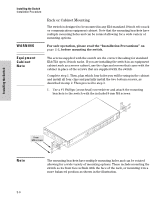
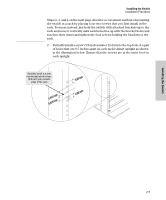
Installing the Switch Installation Procedure Installation Procedure 1. Prepare the installation site (page 2-3). Please see below for some installation precautions. 2. Verify the switch passes self test (page 2-4). 3. Mount the switch (page 2-5). 4. Connect power to the switch (page 2-10). 5. Connect the network cables (page 2-10). WARNING Installation Precautions Follow these precautions when installing the switch. ■ The rack or cabinet should be adequately secured to prevent it from becoming unstable and/or falling over. Devices installed in a rack or cabinet should be mounted as low as possible, with the heaviest devices at the bottom and progressively lighter devices installed above. ■ For safe operation, do not install the switch with the back face of the switch (with the fan vents) facing upward. ■ Left side vents cannot be placed downward. (That is, the left side of the unit while facing the front.) Installing the Switch 2-2
-
 1
1 -
2
-
3
-
4
-
5
-
6
-
 7
7 -
 8
8 -
 9
9 -
 10
10 -
 11
11 -
 12
12 -
 13
13 -
 14
14 -
 15
15 -
 16
16 -
 17
17 -
18
-
19
-
20
-
21
-
22
-
23
-
24
-
25
-
26
-
27
-
28
-
29
-
30
-
31
-
32
-
33
-
34
-
35
-
36
-
37
-
38
-
39
-
40
-
41
-
42
-
43
-
44
-
45
-
46
-
47
-
48
-
49
-
50
 |
 |