HP MP4 Digital Signage Player 4200 Quick Reference Guide - Page 9
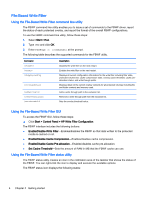
Using the Enhanced Write Filter GUI, Start > Control Panel > HP Write Filter Configuration
 |
View all HP MP4 Digital Signage Player 4200 manuals
Add to My Manuals
Save this manual to your list of manuals |
Page 9 highlights
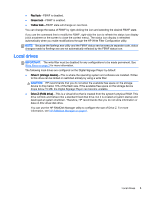
Command -disable -enable -commitanddisable Description Disables the write filter on the specified volume after the next reboot. Enables the write filter on the specified volume after the next reboot. Commits all current cached data and disables the write filter on the specified volume after the next reboot. Using the Enhanced Write Filter GUI To access the EWF GUI, follow these steps: ▲ Click Start > Control Panel > HP Write Filter Configuration. The EWF interface includes the following buttons: ● Enable/Disable EWF-Enables or disables the EWF on the specified volume. ● Overlay Configuration-Displays the overlay information and is a combination of the information supplied when executing ewfmgr.exe c: -Description and ewfmgr.exe c: -Gauge from the command line. ● Clear Boot Command-Clears any boot commands that were entered via the command line. ● Commit Data to Volume-Commits all current cached data to the specified volume after the next reboot. Using the Enhanced Write Filter status utility The EWF status utility creates an icon in the notification area of the taskbar that shows the status of the filter. You can right-click the icon to display and execute the available options. The EWF status icon displays the following states: ● Red lock-EWF is disabled. ● Green lock-EWF is enabled. ● Yellow lock-EWF state will change on next boot. You can change the status of EWF by right-clicking the icon and selecting the desired EWF state. If you use the command line to modify the EWF, right-click the icon to refresh the status icon display (click anywhere on the screen to close the context menu). The status icon display is refreshed automatically when you make modifications through the HP Write Filter Configuration utility. NOTE: Because the ewfmgr.exe utility and the EWF status service execute separate code, status changes by ewfmgr.exe are not automatically reflected by the EWF status icon. Write filters 3
-
 1
1 -
2
-
3
-
 4
4 -
 5
5 -
 6
6 -
 7
7 -
 8
8 -
 9
9 -
 10
10 -
 11
11 -
 12
12 -
 13
13 -
 14
14 -
15
-
16
-
17
-
18
-
19
 |
 |
