HP Media Center m390n HP Media Center Desktop PCs - Creating DVDs and CDs With - Page 15
To record a DVD or VCD with menus
 |
View all HP Media Center m390n manuals
Add to My Manuals
Save this manual to your list of manuals |
Page 15 highlights
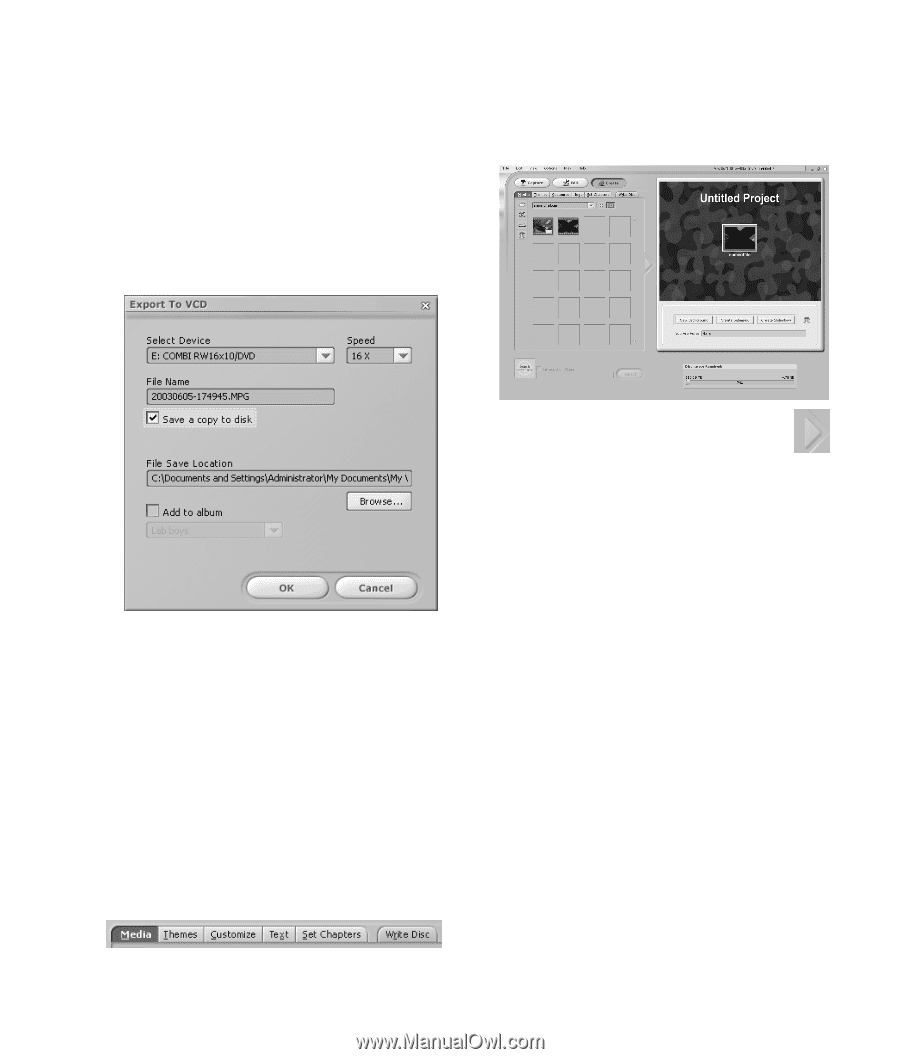
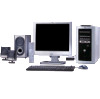
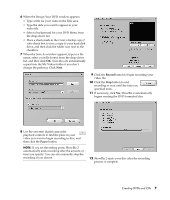
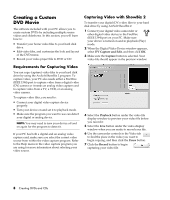
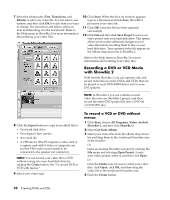
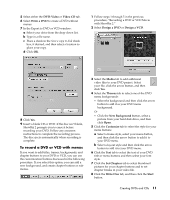
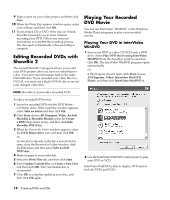
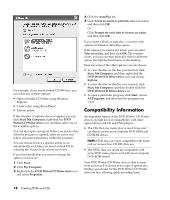
5 Select either the DVD-Video or Video CD tab. 6 Select Write a DVD to create a DVD without menus. 7 In the Export to DVD or VCD window: a Select your drive from the drop-down list. b Type in a file name. c Place a check in the Save a copy to disk check box, if desired, and then select a location to place your copy. d Click OK. 1 Follow steps 1 through 5 in the previous procedure, "Recording a DVD or VCD Movie with ShowBiz 2." 2 Select Design a DVD or Design a VCD. 8 Click Yes. 9 Insert a blank CD or DVD. If the disc isn't blank, ShowBiz 2 prompts you to erase it before recording your DVD. Follow any onscreen instructions to complete the recording process. The disc ejects automatically when recording is complete. To record a DVD or VCD with menus If you want to add titles, frames, backgrounds, and chapter buttons to your DVD or VCD, you can use the customization buttons discussed in the following procedure. If you select this option, you can add a new background, and create chapter buttons or submenus. 3 Select the Media tab to add additional video files to your DVD project. Select your file, click the arrow button, and then click Yes. 4 Select the Themes tab to select one of the DVD menu backgrounds: • Select the background and then click the arrow button to add it as your DVD menu background. Or • Click the New Background button, select a picture from your hard disk drive, and then click Open. 5 Click the Customize tab to select the style for your menu buttons: a Select a frame style, select your menu button, and then click the arrow button to add it to your DVD menu. b Select a layout style and then click the arrow button to add it to your DVD menu. 6 Click the Text tab to select the text of your DVD title or menu buttons and then select your font style. 7 Click the Set Chapters tab to select thumbnail pictures for your chapter buttons and to set chapter breaks in your video file. 8 Click the Write Disc tab, and then click the Start button. Creating DVDs and CDs 11
-
 1
1 -
2
-
3
-
4
-
5
-
6
-
7
-
8
-
9
-
 10
10 -
 11
11 -
 12
12 -
 13
13 -
 14
14 -
 15
15 -
 16
16 -
 17
17 -
 18
18 -
 19
19 -
 20
20 -
21
-
22
-
23
-
24
 |
 |