HP Media Center m477.uk HP Pavilion Desktop PCs - (English) Creating DVDs and - Page 14
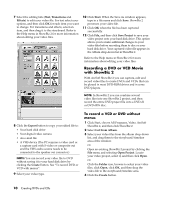
Recording a DVD or VCD Movie, with ShowBiz 2
 |
View all HP Media Center m477.uk manuals
Add to My Manuals
Save this manual to your list of manuals |
Page 14 highlights
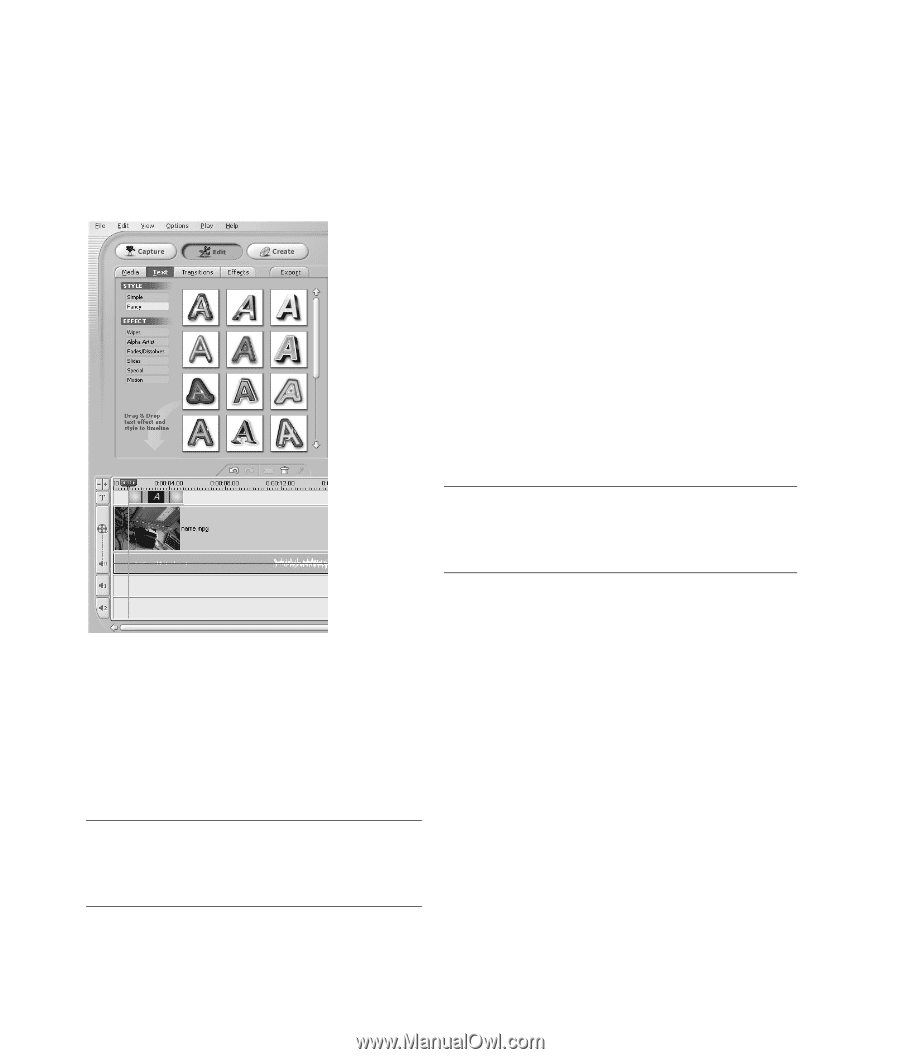
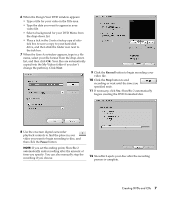
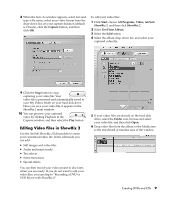
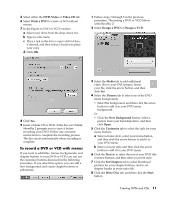
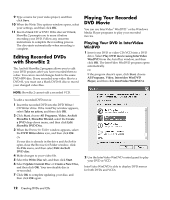
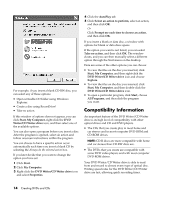
7 Select the editing tabs (Text, Transitions and Effects) to edit your video file. For text select your options, and then click OK for each item you want to change. For transitions and effects, select an item, and then drag it to the storyboard. Refer to the Help menu in ShowBiz 2 for more information about editing your video files. 10 Click Start. When the Save As window appears, type in a file name and click Save. ShowBiz 2 processes your video file. 11 Click OK when the file has been captured successfully. 12 Click File, and then click Save Project to save your video project onto your hard disk drive. This option allows you to make additional changes to your video files before recording them to disc or your hard disk drive. Your captured video file appears in the Album drop-down list in ShowBiz 2. Refer to the Help menu in ShowBiz 2 for more information about editing your video files. Recording a DVD or VCD Movie with ShowBiz 2 With ArcSoft ShowBiz 2 you can capture, edit and record video files to create DVDs and VCDs that can be played in most DVD-ROM drives and in some DVD players. NOTE: In ShowBiz 2 you can combine several video files into one ShowBiz 2 project, and then record the entire DVD project file onto a DVD+R or DVD+RW disc. 8 Click the Export button to copy your edited file to: • Your hard disk drive • Your digital video camera • An e-mail file • A VHS device (The PC requires a video card or a capture card with S-video or composite out and the VHS audio source needs to be connected to the speaker out connector.) NOTE: You can record your video file to DVD without saving it to your hard disk drive by clicking the Create button. See "To record DVD or VCD with menus". 9 Select your video type. To record a VCD or DVD without menus 1 Click Start, choose All Programs, Video, ArcSoft ShowBiz 2, and then click ShowBiz 2. 2 Select Get From Album. 3 Select your video files from the album drop-down list, and drag them to the storyboard/timeline area of the window. Or Open an existing ShowBiz 2 project by clicking the File menu and selecting Open Project. Locate your video project, select it, and then click Open. Or Click the Folder icon, browse to select your video files, click Open, click OK, and then drag the video file to the storyboard/timeline area. 4 Click the Create button. 10 Creating DVDs and CDs
-
 1
1 -
2
-
3
-
4
-
5
-
6
-
7
-
8
-
 9
9 -
 10
10 -
 11
11 -
 12
12 -
 13
13 -
 14
14 -
 15
15 -
 16
16 -
 17
17 -
 18
18 -
 19
19 -
20
-
21
-
22
-
23
-
24
 |
 |