HP P4000 9.0 HP StorageWorks P4000 SAN Solution Quick Start Guide - Page 2
Step 3, Setting up the SAN - review
 |
View all HP P4000 manuals
Add to My Manuals
Save this manual to your list of manuals |
Page 2 highlights
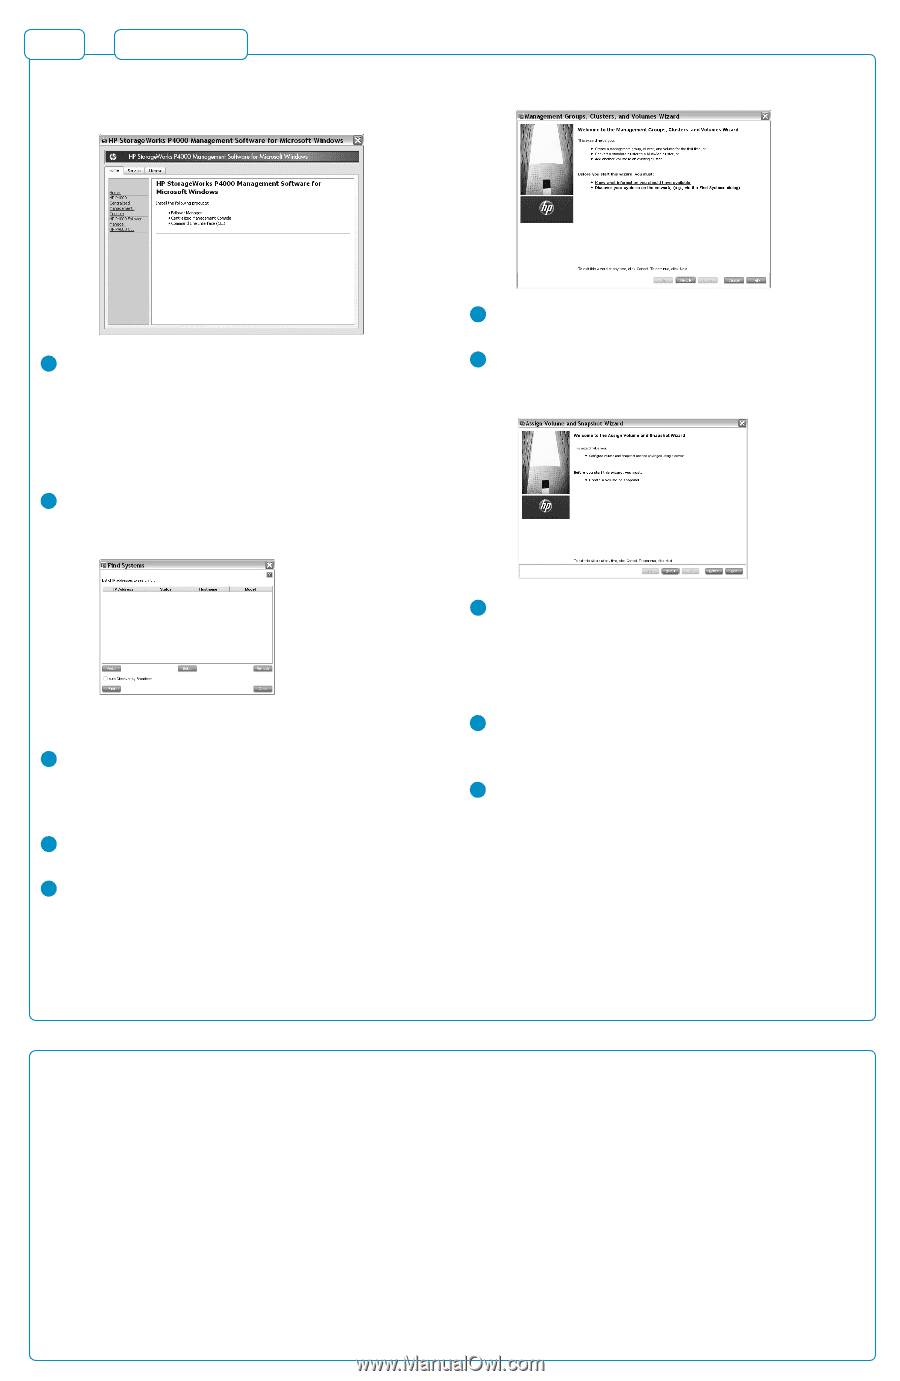
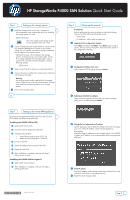
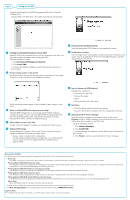
Step 3 Setting up the SAN Using the HP StorageWorks P4000 Management Software for Microsoft Windows DVD: Insert the DVD in the DVD drive. The installer should launch automatically. 1 Installing the Centralized Management Console (CMC) Install the CMC on the computer that you will use to administer the SAN. You need administrative privileges while installing the CMC. Using the installation wizard: 1. Click Centralized Management Console. 2. Click Install CMC. 3. Continue through the installation wizard, following the instructions on each window. 2 Discover storage systems on the network Use Find Systems to discover the storage systems on the network, using either IP addresses or the Auto discover by broadcast checkbox. 6 Download and install iSCSI initiator(s) Install the appropriate iSCSI initiator on your application servers. 7 Enable access to volumes Use the Assign Volume and Snapshot wizard to prepare the volume for server access. You set up application servers in the management group, and then assign volumes to the servers. The found storage systems appear in the Available Systems category in the CMC. 3 Verify or configure RAID and configure network settings Verify the RAID configuration on your storage systems before creating a management group. You can only reconfigure RAID on storage systems that are in the Available Systems pool. Change network settings, including bonding NICs, before creating a management group. 4 Verify software version is up to date Use the "Check for Updates" to update your software to the latest version. 5 Setting up SAN storage Use the Management Groups, Clusters and Volumes wizard to set up the storage configuration and create a storage volume. • Using a 2-node or multi-site SAN configuration You may need to install the failover manager that runs on VMware ESX Server or Hyper-V Server for automated failover configurations or multi-site SANs. 8 Log in to volumes via iSCSI initiator(s) Configure the initiator(s) to ... • Connect to the cluster VIP. • Discover the targets. • Log on. • Format the disks with a file system. 9 Next Steps: • Check the Alarms panel and resolve any alarms. • Check the Best Practices Analyzer under the Configuration Summary. 10 (Optional) Install the Failover Manager Install the Failover Manager onto a separate server on the network. Caution: Install the Failover Manager on a system that has access to the SAN subnet. Do not install it on the SAN itself. Using the installation wizard: 1. Click Failover Manager. 2. Click Install FOM. 3. Continue through the installation wizard, following the instructions on each window. 4. Click Finish to exit the wizard and start the Failover Manager. Documentation Available For detailed instructions about using the HP StorageWorks P4000 SAN Solution, see the following resources. • Online Help Click Help > Help Topics from the menu bar to open the Online Help. Context sensitive help is available by clicking the question mark on any window. • HP StorageWorks P4000 SAN Solution User Guide Find complete instructions for configuring and managing storage systems and clustered storage volumes in the User Guide. The User Guide is available in PDF format, installed in the same directory as the Centralized Management Console program files. • HP StorageWorks P4000 VSA Installation and Configuration Guide Find detailed instructions for planning and installing the VSA and getting started with the Centralized Management Console. • HP StorageWorks P4000 Remote Copy User Guide Find information about configuring and using asynchronous replication of storage volumes and snapshots across geographic distances. • HP StorageWorks P4000 Multi-Site HA/DR Solution Pack User Guide Find detailed instructions for designing and implementing the Multi-Site SAN features to synchronously and automatically mirror data between geographic sites. Release Notes Review the Release Notes for the latest information about the product. The latest versions of these documents can be found by browsing to http://www.hp.com/support/manuals. Click Disk Storage Systems in the storage section and then select the product P4000 SAN Solution. Support Contacts For worldwide technical support information, see the HP support website: http://www.hp.com/support
-
 1
1 -
 2
2
 |
 |