HP Photosmart 7600 HP Photosmart Networking Guide - Page 7
Install the printer software on a Windows 2000 or XP client, From the Windows
 |
View all HP Photosmart 7600 manuals
Add to My Manuals
Save this manual to your list of manuals |
Page 7 highlights
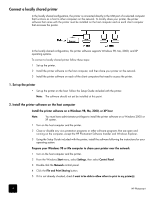
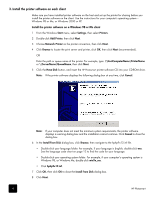
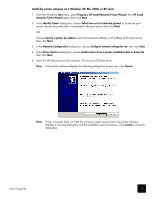
9 Accept the default name for your printer (recommended) or enter a new name. To use this printer as your default printer, click Yes. 10 Click Finish. Install the printer software on a Windows 2000 or XP client Note: You must have administrator privileges to install the printer software on a Windows 2000 or XP system. 1 From the Windows Start menu, select Settings, then select Printers (for Windows 2000). OR From the Windows Start menu, select Printers and Faxes (for Windows XP). 2 Double-click Add Printer, then click Next. 3 Choose Network Printer as the printer connection, then click Next. 4 Click Next to browse for a printer (recommended). OR Select Type the printer name and enter the printer's name and path. OR Select Connect to a printer on the Internet or on your intranet and enter the printer's address. 5 In the Shared printers box, double-click the host computer on which the printer is installed, select the printer, then click Next. Note: If the host computer does not use Windows 2000 or XP, you will need to install the printer software from the printer software CD or from a shared network drive. 6 To use this printer as your default printer, click Yes, then click Next. 7 Click Finish. networking guide 7
-
 1
1 -
 2
2 -
 3
3 -
 4
4 -
 5
5 -
 6
6 -
 7
7 -
 8
8 -
 9
9 -
 10
10 -
 11
11 -
 12
12 -
13
-
14
-
15
 |
 |