HP Photosmart R717 HP Photosmart R717 Digital Camera with HP Instant Share - Q - Page 10
Set the Date and Time
 |
View all HP Photosmart R717 manuals
Add to My Manuals
Save this manual to your list of manuals |
Page 10 highlights
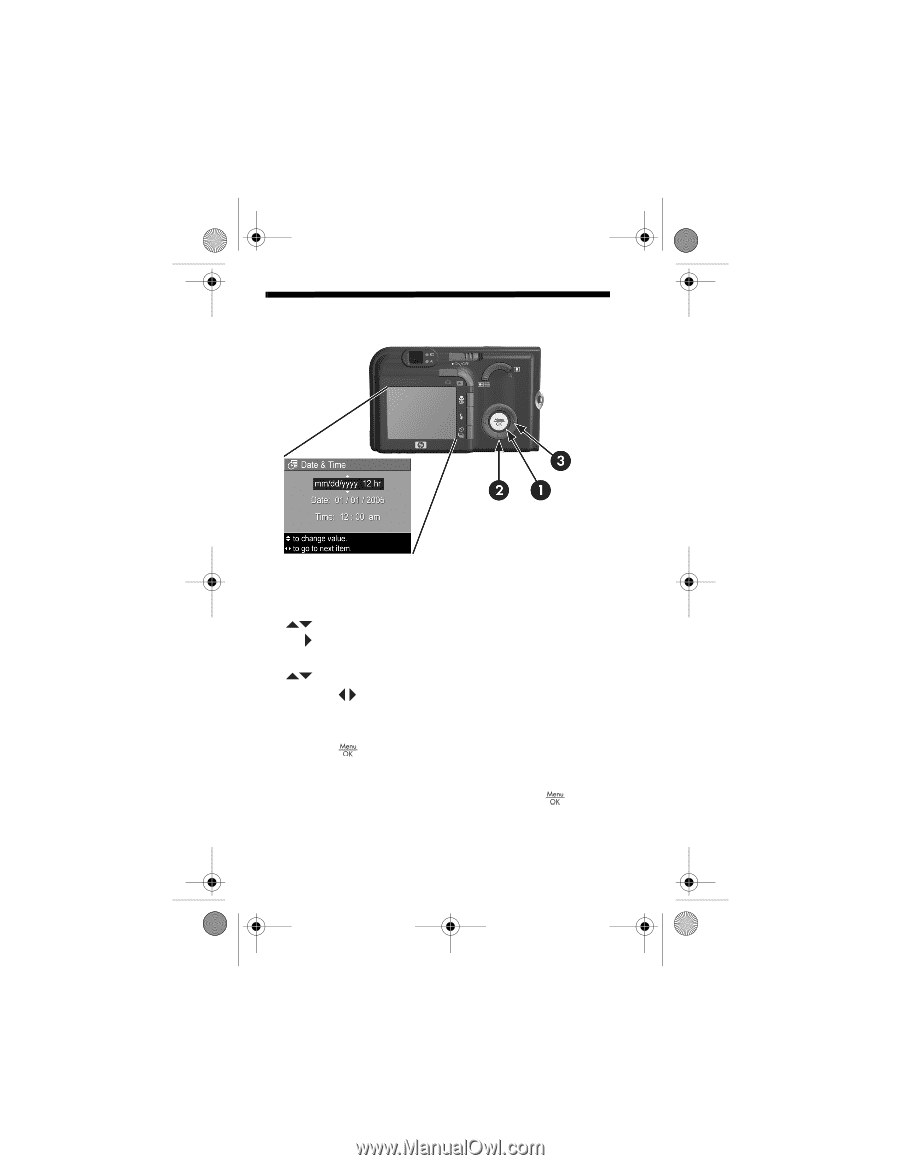
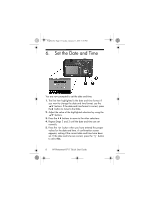
T2QSG.fm Page 8 Tuesday, January 11, 2005 5:50 PM 6. Set the Date and Time You are now prompted to set the date and time. 1. The first item highlighted is the date and time format. If you want to change the date and time format, use the buttons. If the date and time format is correct, press the button to move to the Date. 2. Adjust the value of the highlighted selection by using the buttons. 3. Press the buttons to move to the other selections. 4. Repeat Steps 2 and 3 until the date and time are set correctly. 5. Press the button when you have entered the proper values for the date and time. A confirmation screen appears, asking if the correct date and time have been set. If the date and time are correct, press the button to select Yes. 8 HP Photosmart R717 Quick Start Guide
-
 1
1 -
2
-
3
-
4
-
 5
5 -
 6
6 -
 7
7 -
 8
8 -
 9
9 -
 10
10 -
 11
11 -
 12
12 -
 13
13 -
 14
14 -
 15
15 -
16
-
17
-
18
-
19
-
20
-
21
-
22
-
23
-
24
-
25
-
26
-
27
-
28
-
29
-
30
-
31
-
32
-
33
-
34
-
35
-
36
-
37
-
38
-
39
-
40
-
41
-
42
-
43
-
44
 |
 |