HP Scanjet 8200c HP Scanjet 8200 series - (English) Setup Poster - Page 1
HP Scanjet 8200c Manual
 |
View all HP Scanjet 8200c manuals
Add to My Manuals
Save this manual to your list of manuals |
Page 1 highlights
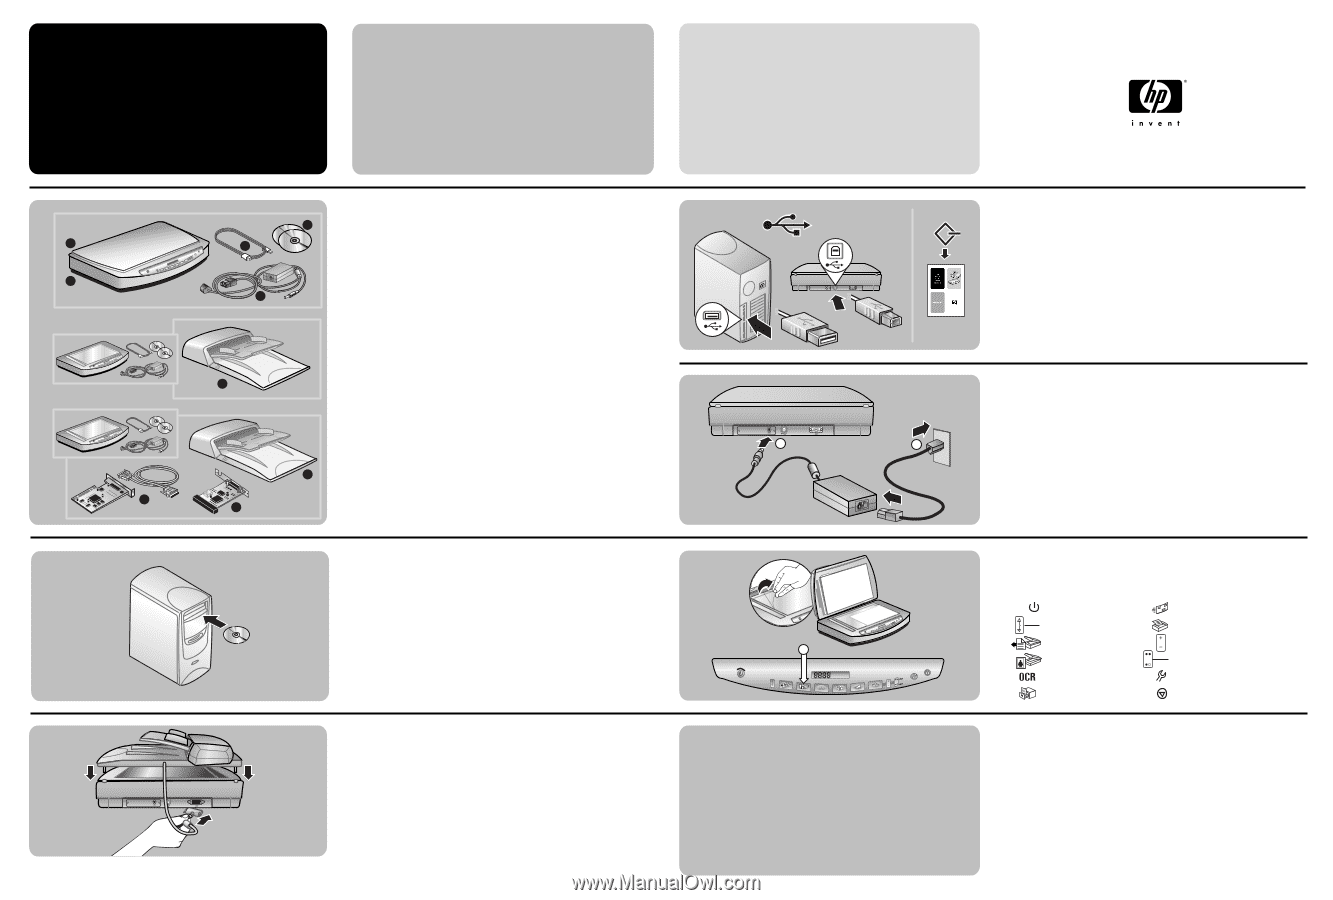
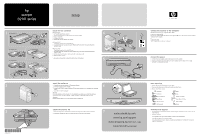
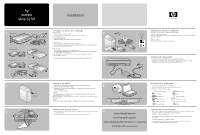
hp scanjet 8200 series setup 1 HP Scanjet 8200 2 1 HP Scanjet 8250 HP Scanjet 8290 8 2 3 *C9930−90102* C9930-90102 check the box contents HP Scanjet 8200 3 1 HP Scanjet digital flatbed scanner 4 2 Scanner lid with built-in Transparent Materials Adapter (TMA) 4 3 One or more CDs 4 Hi-Speed USB cable 5 Power cable and AC adapter (two pieces) HP Scanjet 8250* Everything except the lid in the 8200 plus: 5 6 15 page-per-minute Automatic Document Feeder (ADF) with built-in Transparent Materials Adapter (TMA) HP Scanjet 8290 Everything except the lid in the 8200 plus: 7 25 page-per-minute Automatic Document Feeder (ADF) with built-in Transparent Materials Adapter (TMA) 8 SCSI kit (contains SCSI cable, SCSI card for PC, and software CD) 9 SCSI module for scanner 6 * Latin America model 8250 contains the SCSI kit and SCSI module 5 7 9 1 2 install the software 1. Uninstall any previous versions of HP scanning software. 2. Close all programs on the computer. 6 3 Locate the HP Photo & Imaging software CD that is appropriate for your language and operating system. 4. Insert the CD into the computer. Windows Follow the instructions on the screen. Or, if the installation program does not start automatically: On the Start menu, click Run, and type: x:setup.exe (where x is the letter of the CD drive). Macintosh 3 Double-click the installer icon on the CD and follow the instructions. attach the scanner lid 1. Insert the hinges on the scanner lid or ADF into the hinge slots on the back of the scanner. 2. Connect the accessories cable to the ADF/TMA port on the back of the scanner. 7 www.scanjet.hp.com www.hp.com/support www.shopping.hp.com (U.S. only) www.hp.com (worldwide) connect the scanner to the computer Choose the attachment type: Hi-Speed USB or SCSI.* Connect with Hi-SpeedUSB Connect the Hi-Speed USB cable between the Hi-Speed USB port on the scanner and the Hi-Speed USB port on the computer. or Connect with SCSI *Refer to Appendix A in the User's Manual. connect the power 1. Connect the power adapter cable to the power port on the scanner. 2. Connect one end of the power cable to the power adapter, and the other end to a surge protector or a grounded wall outlet. start scanning 1. Remove the protective film from the scanner glass. 2. Place a picture face down on the scanner glass and close the lid. 3. Press the Scan Picture button. Powersave E-mail Destination Copy Scan Document To Number of Copies Scan Picture Color/Black & White Edit Text (OCR) Button Settings File Document Cancel find help and support • For information on installation problems, customer support, and how to use the scanner, see the User's Manual. • Visit these websites: www.scanjet.hp.com for product updates, promotions and scanning tips www.hp.com/support for customer support www.shopping.hp.com (U.S. only) or www.hp.com (worldwide) for ordering HP accessories, supplies, and products
-
 1
1 -
 2
2
 |
 |