HP Xw6600 HP xw Workstation Series - Diskette drive installation - Page 5
Caution - heatsink
 |
UPC - 883585731121
View all HP Xw6600 manuals
Add to My Manuals
Save this manual to your list of manuals |
Page 5 highlights
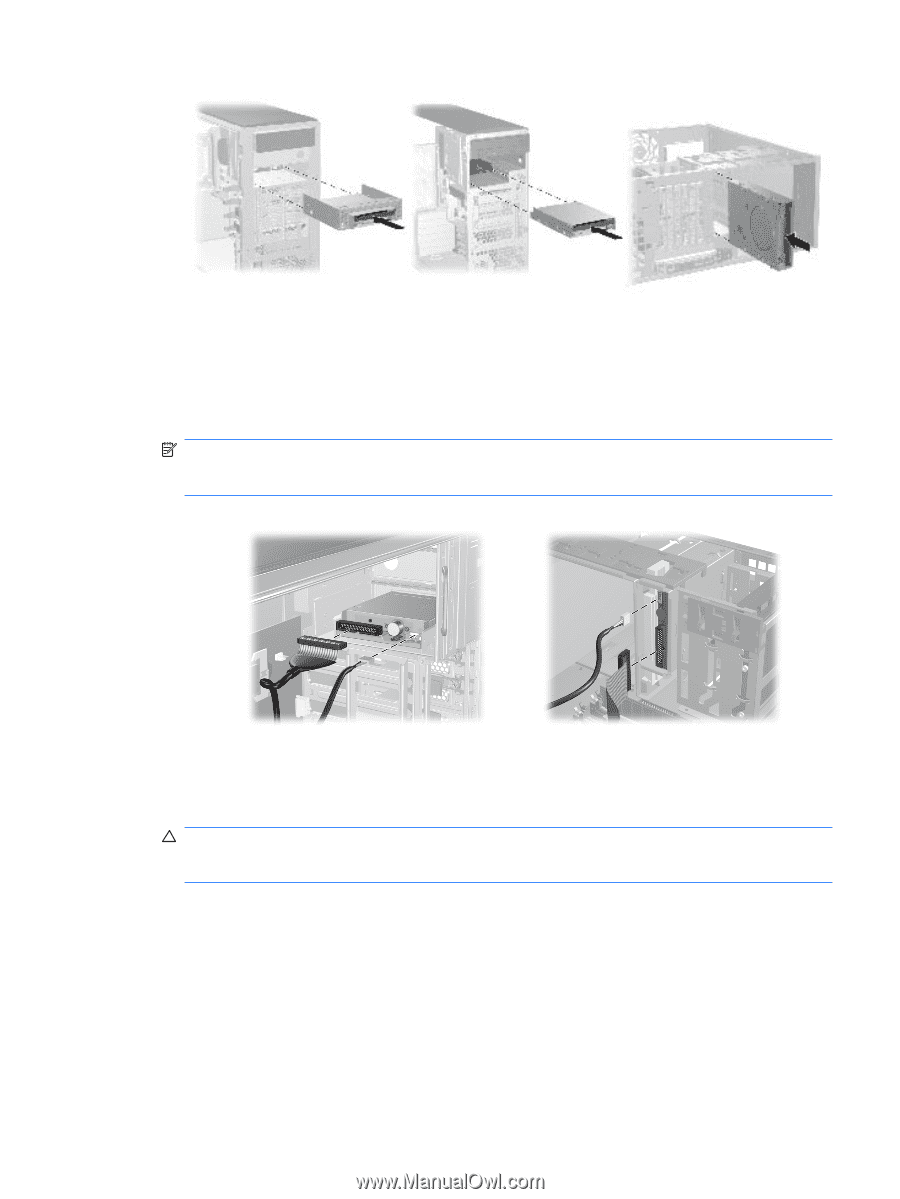
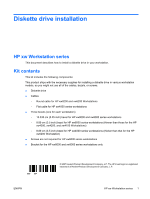
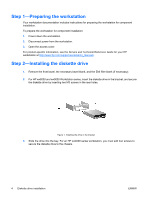
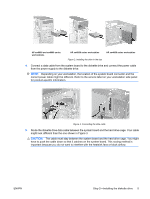
HP xw8000 and xw9000 series workstations HP xw6000 series workstation HP xw4000 series workstation Figure 2. Installing the drive in the bay 4. Connect a data cable from the system board to the diskette drive and connect the power cable from the power supply to the diskette drive. NOTE: Depending on your workstation, the location of the system board connector and the correct power cable might be different. Refer to the service label on your workstation side panel for product-specific information. Figure 3. Connecting the data cable 5. Route the diskette drive data cable between the system board and the hard drive cage. Your cable might look different than the one shown in Figure 3. CAUTION: The cable must stay between the system board and the hard drive cage. You might have to push the cable down so that it catches on the system board. This routing method is important because you do not want to interfere with the heatsink fans or block airflow. ENWW Step 2-Installing the diskette drive 5
-
 1
1 -
 2
2 -
 3
3 -
 4
4 -
 5
5 -
 6
6
 |
 |