HP Z600 CRU Dataport DX115 kit Installation - Page 6
HP xw6000 Workstation series, HP 600 and 800 Workstations, CAUTION
 |
UPC - 884962074053
View all HP Z600 manuals
Add to My Manuals
Save this manual to your list of manuals |
Page 6 highlights
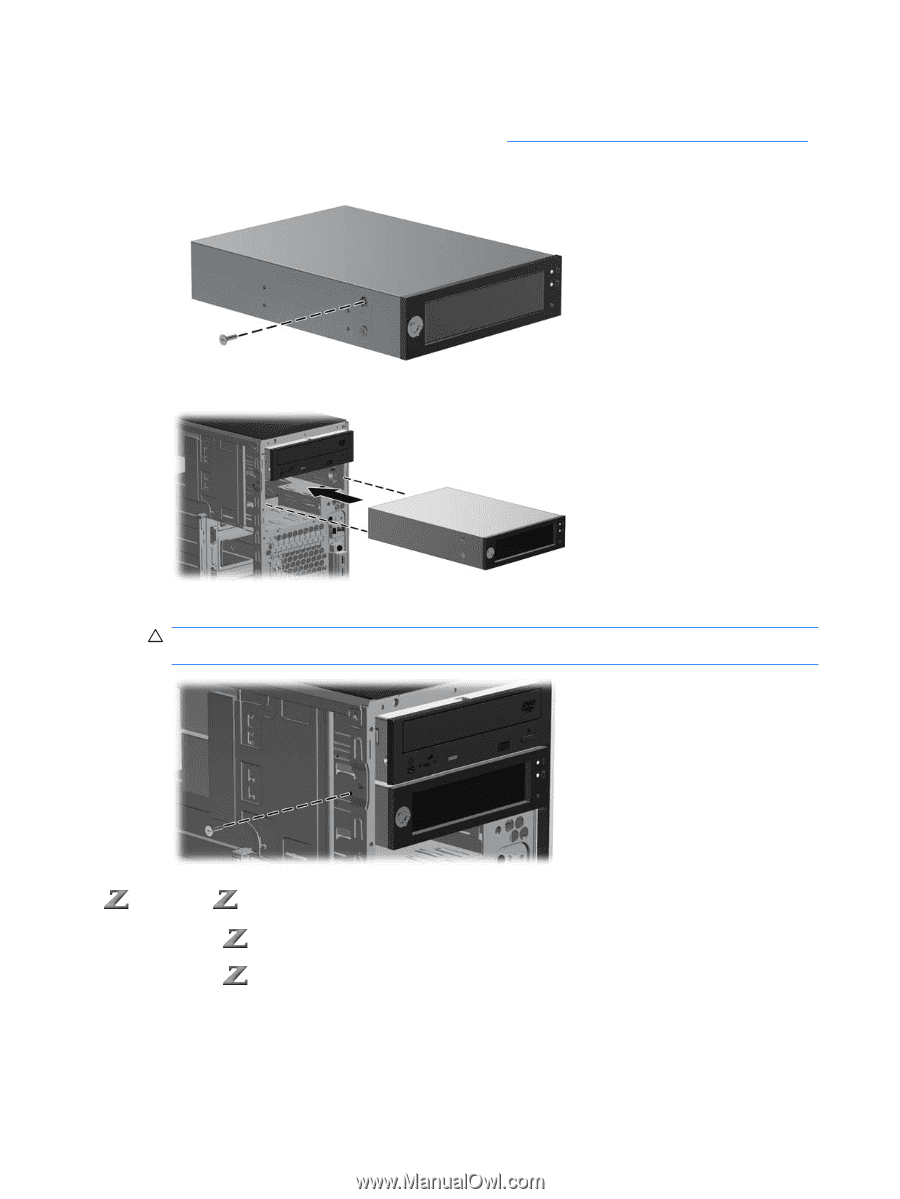
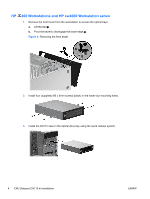
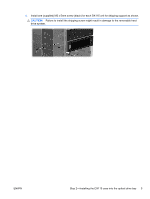
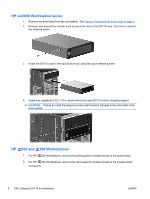
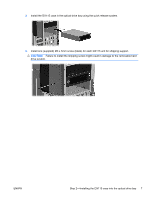
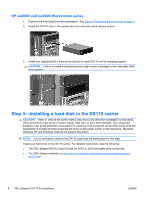
HP xw6000 Workstation series 1. Remove the front bezel from the workstation. See Figure 2 Removing the front bezel on page 4. 2. Remove and discard the counter-sunk screw at the side of the DX115 case. This hole is used for the shipping screw. 3. Install the DX115 case in the optical drive bay using the quick release system. 4. Install one (supplied) 6-32 x 1/4 in. screw (silver) for each DX115 unit for shipping support. CAUTION: Failure to install the shipping screw might result in damage to the removable hard drive system. HP 600 and 800 Workstations 1. For HP 800 Workstations, remove the airflow guide to enable access to the optical bays. 2. For HP 800 Workstations, remove the card support to enable access to the system board connectors. 6 CRU Dataport DX115 kit installation ENWW
-
 1
1 -
 2
2 -
 3
3 -
 4
4 -
 5
5 -
 6
6 -
 7
7 -
 8
8 -
 9
9 -
 10
10
 |
 |