HP dx2200 Hardware Reference Guide - dx 2200MT - Page 16
Replacing or Upgrading a Drive, The computer supports up to five drives that may be installed - restore
 |
View all HP dx2200 manuals
Add to My Manuals
Save this manual to your list of manuals |
Page 16 highlights
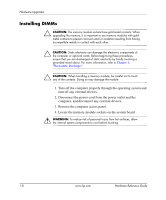
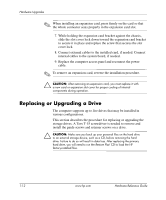
Hardware Upgrades ✎ When installing an expansion card, press firmly on the card so that the whole connector seats properly in the expansion card slot. 7. While holding the expansion card bracket against the chassis, slide the slot cover lock down toward the expansion card bracket to secure it in place and replace the screw that secures the slot cover lock. 8. Connect external cables to the installed card, if needed. Connect internal cables to the system board, if needed. 9. Replace the computer access panel and reconnect the power cable. ✎ To remove an expansion card, reverse the installation procedure. Ä CAUTION: After removing an expansion card, you must replace it with a new card or expansion slot cover for proper cooling of internal components during operation. Replacing or Upgrading a Drive The computer supports up to five drives that may be installed in various configurations. This section describes the procedure for replacing or upgrading the storage drives. A Torx T-15 screwdriver is needed to remove and install the guide screws and retainer screws on a drive. Ä CAUTION: Make sure you back up your personal files on the hard drive to an external storage device, such as a CD, before removing the hard drive. Failure to do so will result in data loss. After replacing the primary hard drive, you will need to run the Restore Plus! CD to load the HP factory-installed files. 1-12 www.hp.com Hardware Reference Guide
-
 1
1 -
2
-
3
-
4
-
5
-
6
-
7
-
8
-
9
-
10
-
 11
11 -
 12
12 -
 13
13 -
 14
14 -
 15
15 -
 16
16 -
 17
17 -
 18
18 -
 19
19 -
 20
20 -
 21
21 -
22
-
23
-
24
-
25
-
26
-
27
-
28
-
29
-
30
-
31
 |
 |
