HP s500 HP s500 Digital Camera - User Manual - Page 29
Using the Flash Features, To activate Flash
 |
View all HP s500 manuals
Add to My Manuals
Save this manual to your list of manuals |
Page 29 highlights
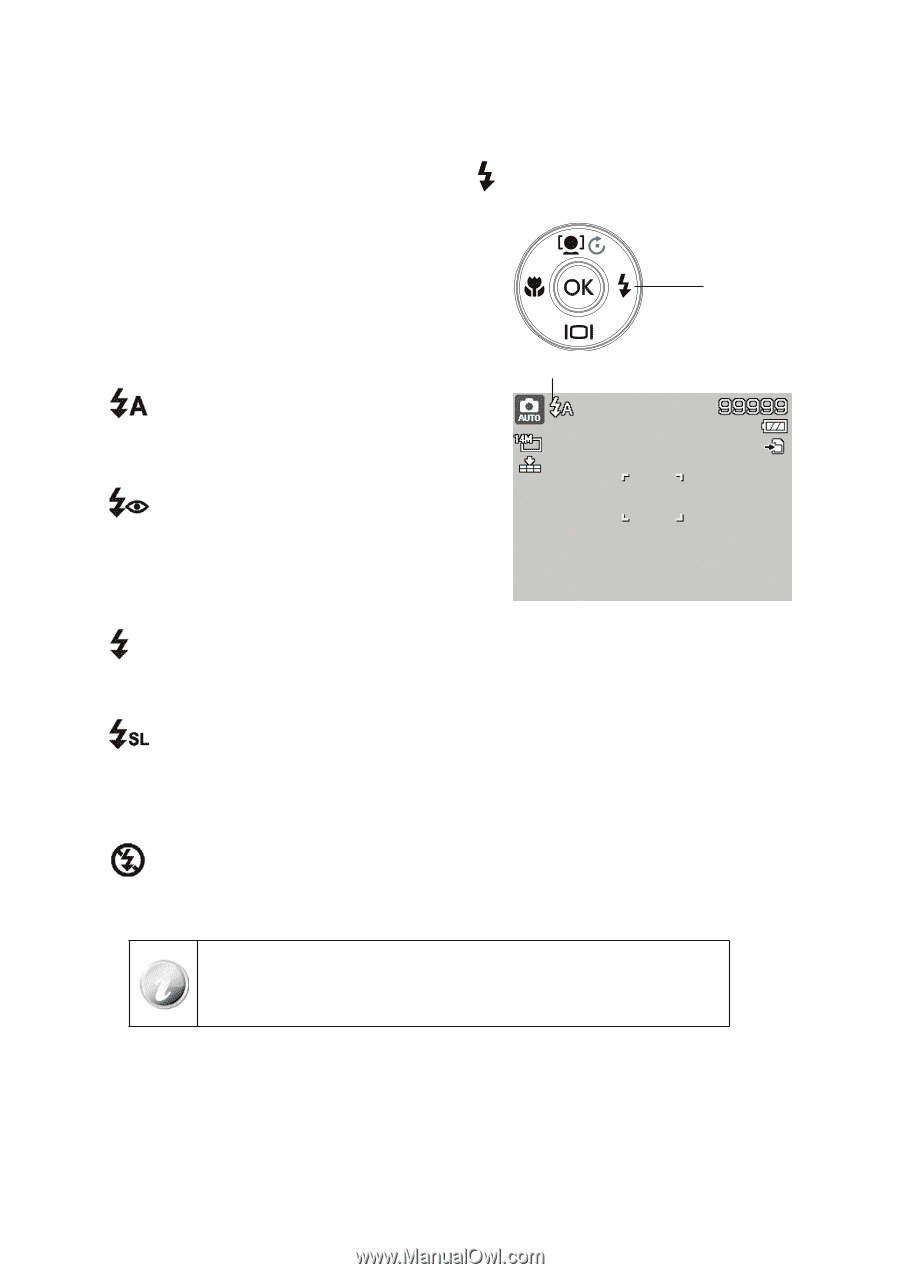
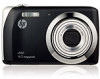
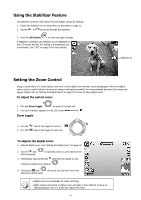
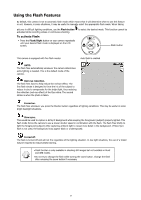
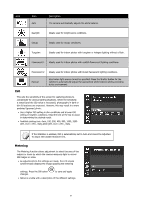
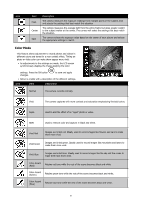
Using the Flash Features By default, this camera is set to automatic flash mode which means that it will determine when to use this feature or not. However, is some situations, it may be useful to manually select the appropriate flash mode. When taking pictures in difficult lighting conditions, use the Flash button activated while recording videos or continuous shooting. To activate Flash: • Press the Flash/Right button on your camera repeatedly until your desired flash mode is displayed on the LCD screen. to select the desired mode. This function cannot be Flash button This camera is equipped with five flash modes: Auto flash is enabled AUTO. The flash fires automatically whenever the camera determines extra lighting is needed. This is the default mode of the camera. Red-eye reduction. The flash fires twice to help reduce the red-eye effect. The first flash strobe is designed to force the iris of the subject to reduce in size to compensate for the bright light, thus reducing the reflection (red eye effect) of the Eye retina. The second strobe is when the photo is taken. Forced on. The flash fires whenever you press the Shutter button regardless of lighting conditions. This may be useful in some bright backlight situations. Slow sync. This would be used to capture a dimly lit background while keeping the foreground (subject) properly lighted. This flash mode forces the camera to use a slower shutter speed in combination with the flash. The flash fires briefly to light the foreground (subject) while capturing ambient light to reveal more detail in the background. If Slow Sync flash is not used, the background may appear black or underexposed. Forced off. The flash is turned off and will not fire regardless of the lighting situation. In low light situations, the use of a tripod may be required to reduce photo blurring. • Flash function is only available in shooting still images but not available in Burst and AEB modes. • Do not try to change the flash while turning the zoom button. Change the flash after releasing the zoom button if necessary. 25
-
 1
1 -
2
-
3
-
4
-
5
-
6
-
7
-
8
-
9
-
10
-
11
-
12
-
13
-
14
-
15
-
16
-
17
-
18
-
19
-
20
-
21
-
22
-
23
-
 24
24 -
 25
25 -
 26
26 -
 27
27 -
 28
28 -
 29
29 -
 30
30 -
 31
31 -
 32
32 -
 33
33 -
 34
34 -
35
-
36
-
37
-
38
-
39
-
40
-
41
-
42
-
43
-
44
-
45
-
46
-
47
-
48
-
49
-
50
-
51
-
52
-
53
-
54
-
55
-
56
-
57
-
58
-
59
-
60
-
61
-
62
-
63
-
64
-
65
-
66
-
67
-
68
-
69
-
70
-
71
-
72
-
73
-
74
-
75
-
76
-
77
-
78
-
79
-
80
-
81
-
82
-
83
 |
 |