HoMedics DWS-110 User Manual - Page 3
Setting Alarm Time
 |
View all HoMedics DWS-110 manuals
Add to My Manuals
Save this manual to your list of manuals |
Page 3 highlights
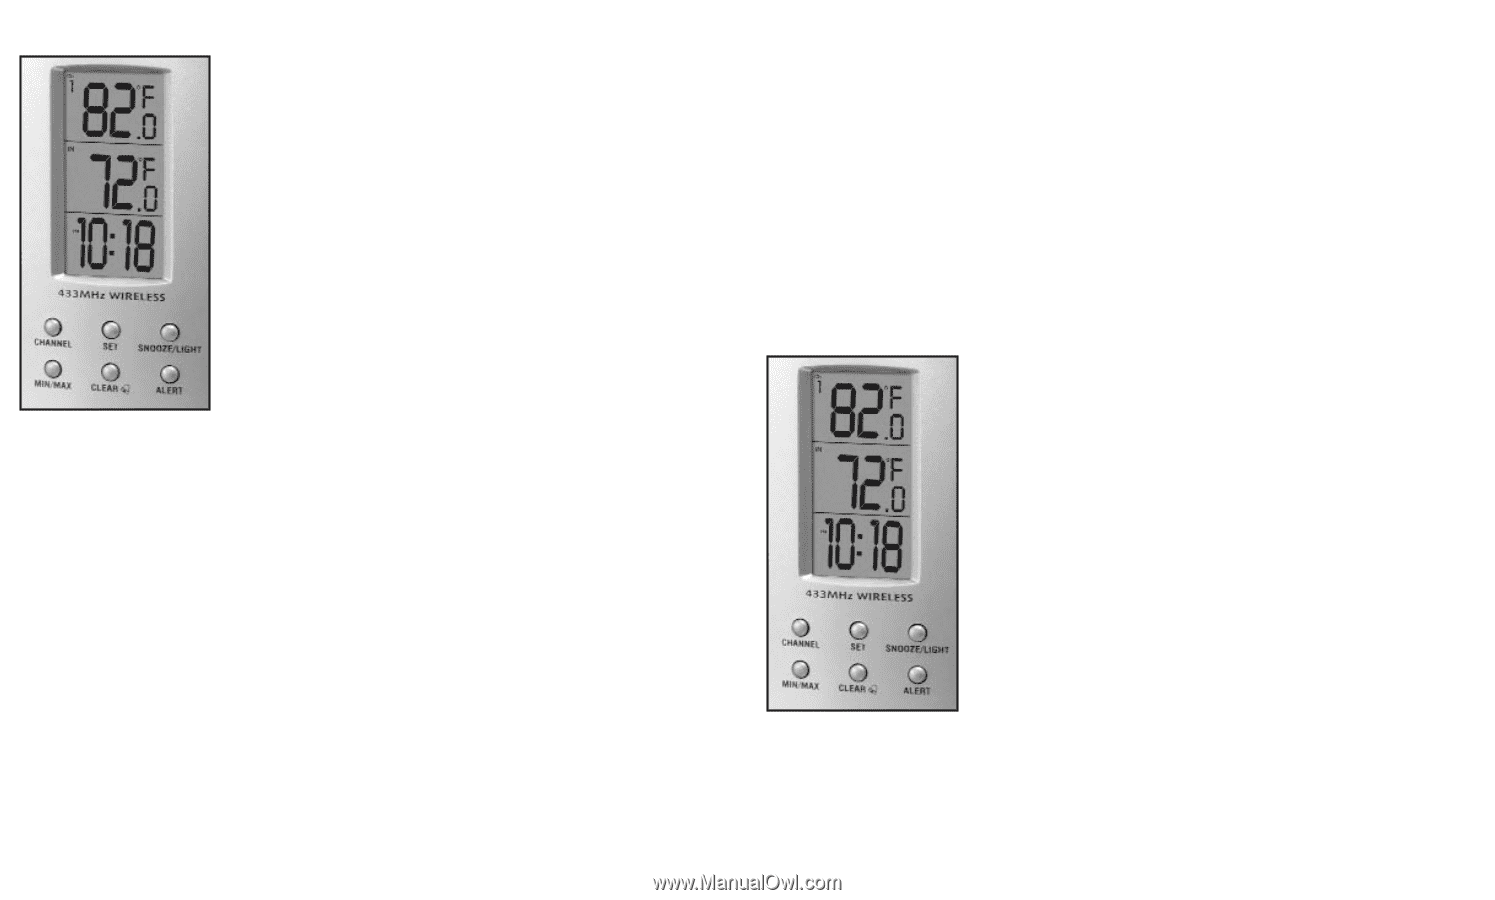
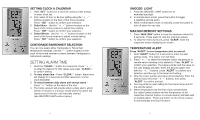
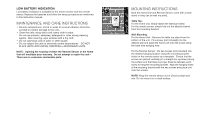
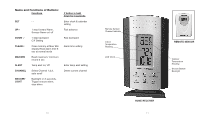
SETTING CLOCK & CALENDAR 1. Hold "SET " button for 3 seconds until you hear a beep to enter clock set. 2. First, select 12 hour or 24 hour setting using the " + , - " buttons located on the back of the home receiver. Press " SET " button to confirm your selection. 3. Select Hour - Use the " + , - " buttons located on the back of the home receiver to adjust hour setting. Press " SET " button to confirm your selection. 4. Select Minute - Use the " + , - " buttons located on the back of the home receiver to adjust minute setting. Press " SET " button to confirm your selection. CENTIGRADE/FAHRENHEIT SELECTION You can now select either Centigrade or Fahrenheit temperature readings. Use the " - " button located on the back of the home receiver to select between Centigrade or Fahrenheit readings. SETTING ALARM TIME 1. Hold the "CLEAR " button for 3 seconds. Press " + , - " to enter the desired Hr/ Min values and press "CLEAR " to confirm setting. 2. To view alarm time - Press "CLEAR " button. Alarm time will display for 5 seconds and then resume to normal clock thereafter. 3. To select between daily alarm and snooze alarm Press " + " button on the back of the unit. 4. The home receiver will provide either a daily alarm, which last for 2 minutes or a snooze mode where the alarm will repeat every 8 minutes until manually cleared (see SNOOZE/LIGHT section below.) 4 SNOOZE/ LIGHT 1. Press the SNOOZE/ LIGHT button for an extended backlight. 2. In snooze alarm mode, press this button to trigger a repetitive snooze alarm. 3. When normal alarm mode is selected, press the button to turn off alarm for one day. MAX/MIN MEMORY SETTINGS 1. Press "MAX/ MIN" button to view the maximum values for 5 seconds. Press again to view the minimum values. 2. To clear the memory record, press "CLEAR" while the respective values displaying on screen. TEMPERATURE ALERT Press "ALERT" to turn temperature alert on and off. 1. Hold "ALERT" button for 3 seconds to enter the alert setting mode. The indoor icon will flash. 2. Press " +, - " to select the between indoor temperature or remote sensor reading to be alerted to. Press "ALERT" to confirm your selection. The Upper pointer and the value on the LCD display will flash. Enter the desired upper limit with the " +, - " buttons, press "ALERT" to confirm your selection and then go to the lower limit setting. 3. Now the Lower pointer and value will be flashing. Enter the desired lower limit with " +, - " buttons, then press "ALERT" to confirm and exit. 4. You may enter an alert setting for the indoor temp and for the remote sensor. 5. When temperature hits the limit of your preset levels, the Upper/Lower pointers and the temperature of the respective channel (indoor or remote sensor) will flash with an audible alarm. Press any button on the home receiver to acknowledge and stop the alarm. 5
-
 1
1 -
 2
2 -
 3
3 -
 4
4 -
 5
5 -
 6
6 -
 7
7 -
 8
8 -
 9
9 -
10
-
11
-
12
 |
 |