Honeywell HCM-2051 Owner's Manual - Page 4
Set Up, Filling - filters
 |
View all Honeywell HCM-2051 manuals
Add to My Manuals
Save this manual to your list of manuals |
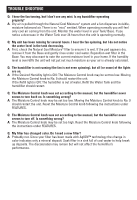
Page 4 highlights
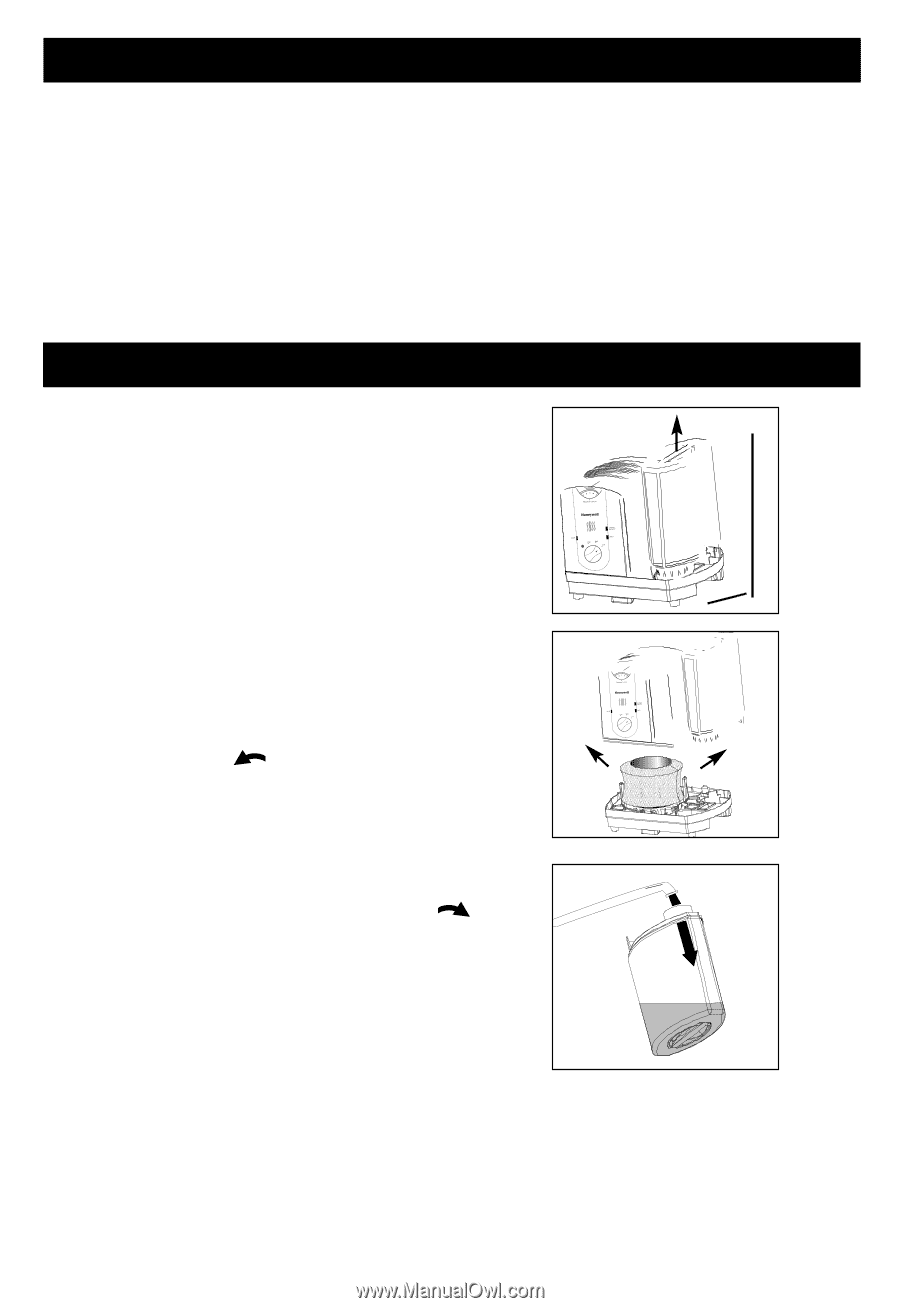
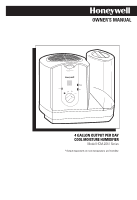
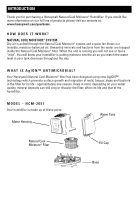
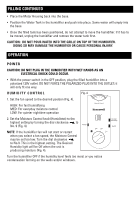
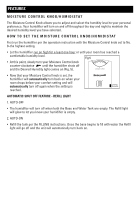
SET UP NOTE: We recommend that the humidifier be disinfected prior to first use. Please see CLEANING instructions. • Select a firm, level, flat location - at least six inches from any wall for proper air flow (Fig. 1). Place the humidifier on a water-resistant surface, as water can damage furniture and some flooring. The manufacturer will not accept responsibility for property damage caused by water spillage WALL FILLING • Remove the water tank by grasping handle and Fig. 1 pulling straight up (Fig. 1). Set aside. • Lift up on the motor housing to remove and set aside (Fig. 2). Remove the Natural Cool Moisture® filter from the base before filling the unit with water. Soak filter in a sink full of cool water to help reduce mineral build up and place back in the humidifier 6" while wet. DO NOT SQUEEZE OR WRING OUT THE NATURAL COOL MOISTURE® FILTER. To help extend the life of your filter repeat this step each time you Fig. 2 fill your humidifier. • Turn the Water Tank upside down so that the Fill Cap is facing up; unscrew the Fill Cap by turning it counter-clockwise and set aside. • Fill the Water Tank with COOL tap water (Fig. 3). Distilled water is not necessary as the water is filtered by the Natural Cool Moisture® filter. DO NOT USE HOT WATER. Doing so may damage the humidifier. Fig. 3 • Replace the fill cap by turning it clockwise . DO NOT OVER TIGHTEN. Turn the Water Tank right-side up. NOTE: WHEN CARRYING THE FILLED WATER TANK PLEASE USE THE HANDLE AND PLACE YOUR OTHER HAND UNDER THE TANK FOR ADDITIONAL SUPPORT.
-
 1
1 -
 2
2 -
 3
3 -
 4
4 -
 5
5 -
 6
6 -
 7
7 -
 8
8 -
 9
9 -
 10
10 -
11
-
12
 |
 |