Hoover F5871 Manual - Page 12
Cleaning carpeted, stairs
 |
View all Hoover F5871 manuals
Add to My Manuals
Save this manual to your list of manuals |
Page 12 highlights
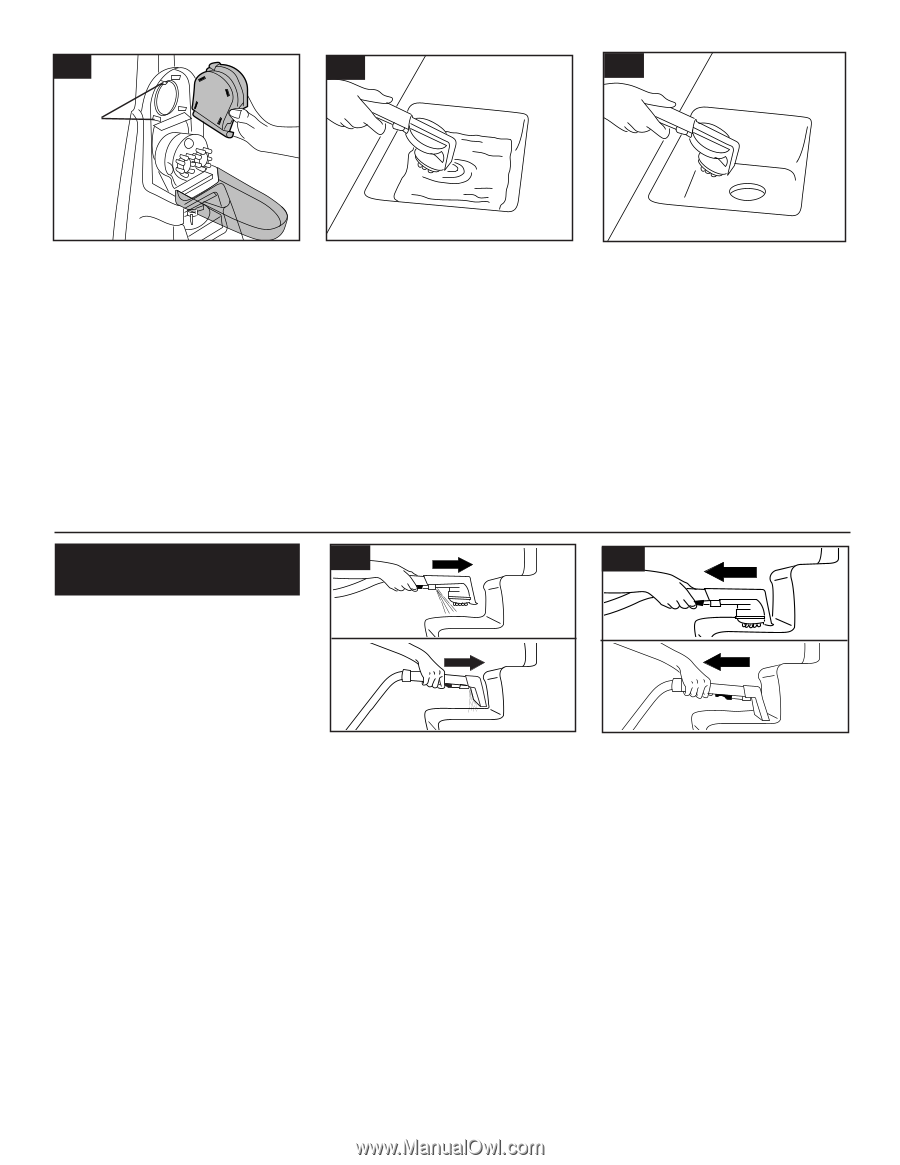
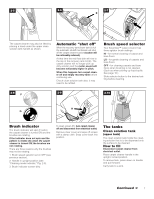
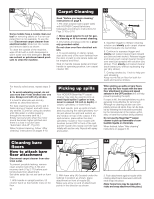
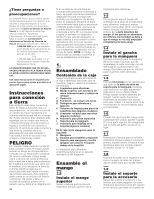
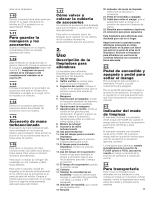
3-10 H 3-11 3-12 After using scrub tool To clean scrub pad, pull it off module. Wash it in water with mild detergent. Rinse and let air dry. Pad must be completely dry before reattaching to module and storing on carpet cleaner. Replacement pads may also be purchased. Ask for HOOVER part no. 40308001. To store scrub module, remove scrub module from tool in same manner as removing the brush module. Align openings on back of module with tabs in storage area (H). Push module into position. After using tool 1. Follow steps a and b for "After cleaning" on page 9. 2. Rinse tool and hose by filling sink with a small amount of water. Turn carpet cleaner ON and pickup the water with the tool. 3. Drain hose by turning carpet cleaner ON and holding end of hose up for several seconds. Do not press trigger. 4. Disconnect carpet cleaner from electrical outlet. 5. Drain solution tube (located inside hose) by pointing end of hose in sink and pressing trigger. 6. Proceed with steps c, d, and e, for "After cleaning" on page 9. Cleaning carpeted stairs Read "Before you begin cleaning" Instructions on page 9. 1. Place handle in upright position. Agitator brushes will not rotate while handle Is in upright position. 2. Fill clean solution tank with HOOVER Carpet/Upholstery Detergent according to instructions for Figs. 2-10 to 2-16. 3. Attach tool to end of hose. 4. Hose length may require that machine be placed at the top of the stairs to clean upper half of stairway and at bottom of stairs to clean lower half. To prevent machine from falling, use extra caution when cleaning on stairs. Do not place carpet cleaner on stairs. Do not point tools toward people or pets. 5. Dry hands and plug carpet cleaner into a properly grounded outlet. 6. Turn carpet cleaner ON. If necessary, refer to "Before using tool" section to remove air from the system. 12 3-13 A B 7. Pre-spray the carpeted stair by holding the tool (A) or (B) about one inch above the carpet and push it forward while pressing the trigger (equals one wet stroke). 8. Position tool against the riser and slightly press it into carpet pile. Press the trigger and pull the tool slowly over the carpet (second wet stroke). Release trigger at end of stroke. 3-14 9. Lift tool, and position it against riser. Pull tool slowly over carpet without pressing trigger (dry stroke). It is best to alternate wet and dry strokes as described above. End with more dry strokes to aid in faster drying of carpet. 10. Overlap strokes by 1/2 inch to help prevent streaking. To avoid saturating carpet, do not use more than 4 wet strokes over any one area. Always end with dry strokes. If additional cleaning is necessary, wait until the carpet is completely dry before using the tool again. 11. Empty recovery tank when the motor sound becomes higher pitched and there is a loss in suction (see "Automatic shut-off", Fig. 2-6) When finished cleaning, follow "After cleaning" instructions on page 9 and "After using tool" instructions on page 12.
-
 1
1 -
2
-
3
-
4
-
5
-
6
-
 7
7 -
 8
8 -
 9
9 -
 10
10 -
 11
11 -
 12
12 -
 13
13 -
 14
14 -
 15
15 -
 16
16 -
 17
17 -
18
-
19
-
20
-
21
-
22
-
23
-
24
-
25
-
26
-
27
-
28
-
29
-
30
-
31
-
32
-
33
-
34
-
35
-
36
-
37
-
38
-
39
-
40
 |
 |