Hoover S1120 Manual - Page 4
Charging cleaner - charger
 |
UPC - 073502028056
View all Hoover S1120 manuals
Add to My Manuals
Save this manual to your list of manuals |
Page 4 highlights
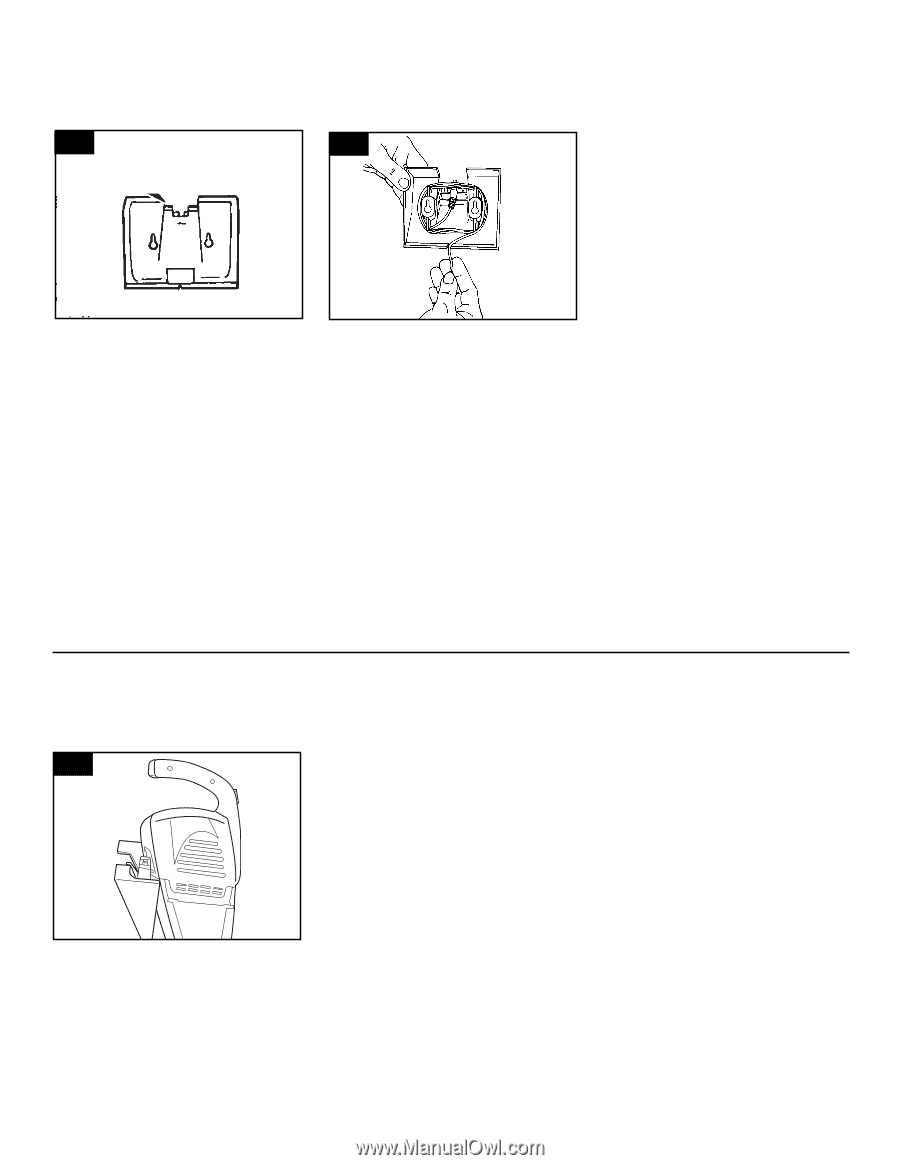
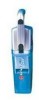
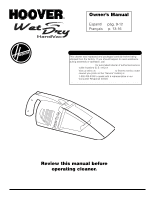
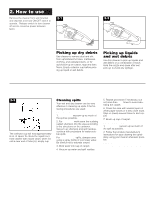
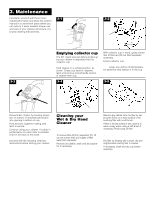
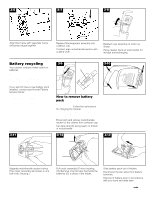
Mounting wall bracket 1-3 1-4 A The wall bracket, included with your cleaner, is designed for both storing and recharging the cleaner. Choose a convenient place where the bracket can be mounted in a vertical position (with hook pointing up) and within six feet of an electrical outlet. Do not use an outlet which is controlled with a wall switch for charging your cleaner. If bracket will be mounted closer to an outlet, wrap excess cord around projections on back of wall bracket. Press end of cord into notch on bottom of bracket. Hold bracket against wall in desired location and mark center of each hole. Drill a 1/8" diameter starter hole in center of each mark. If wall bracket is being mounted onto dry wall, plaster, or thin paneling backed by dry wall or plaster*, enlarge starter holes to 13/64" diameter. Push plastic anchors fully into holes. Place bracket on wall over anchors. Begin driving screws into anchors. Tighten screws securely. *Do not attempt to mount wall bracket onto thin paneling without a dry wall or plaster backing. If wall bracket is being mounted onto a wall stud, solid wood or thick paneling, drill only the starter holes. Place bracket onto the wall and drive screws into holes without plastic anchors. Charging cleaner Plug charger into 110/120 volt electrical outlet. 1-5 The batteries will be fully charged in 16 hours. At this time, the cleaner will have 7 minutes of useful operating time. If performance drops to an unacceptable level during this time, check problem chart in "Maintenance" section. NOTE: It is normal for the charger to feel warm when the battery is charging. Never charge batteries in temperatures above 1000F or below 320F. Hold cleaner with nozzle pointing down and opening in handle section aligned with hook in wall bracket. Slide cleaner straight down onto hook. Press firmly on handle to ensure that end of cord is fully connected to cleaner. Your cleaner will begin charging. It is designed to be stored on charge and ready for use at all times. 4
-
 1
1 -
 2
2 -
 3
3 -
 4
4 -
 5
5 -
 6
6 -
 7
7 -
 8
8
 |
 |