Hoover U64019RM Product Manual - Page 4
Assembling, cleaner, eAopeAKIse, aleiquiesu3
 |
View all Hoover U64019RM manuals
Add to My Manuals
Save this manual to your list of manuals |
Page 4 highlights
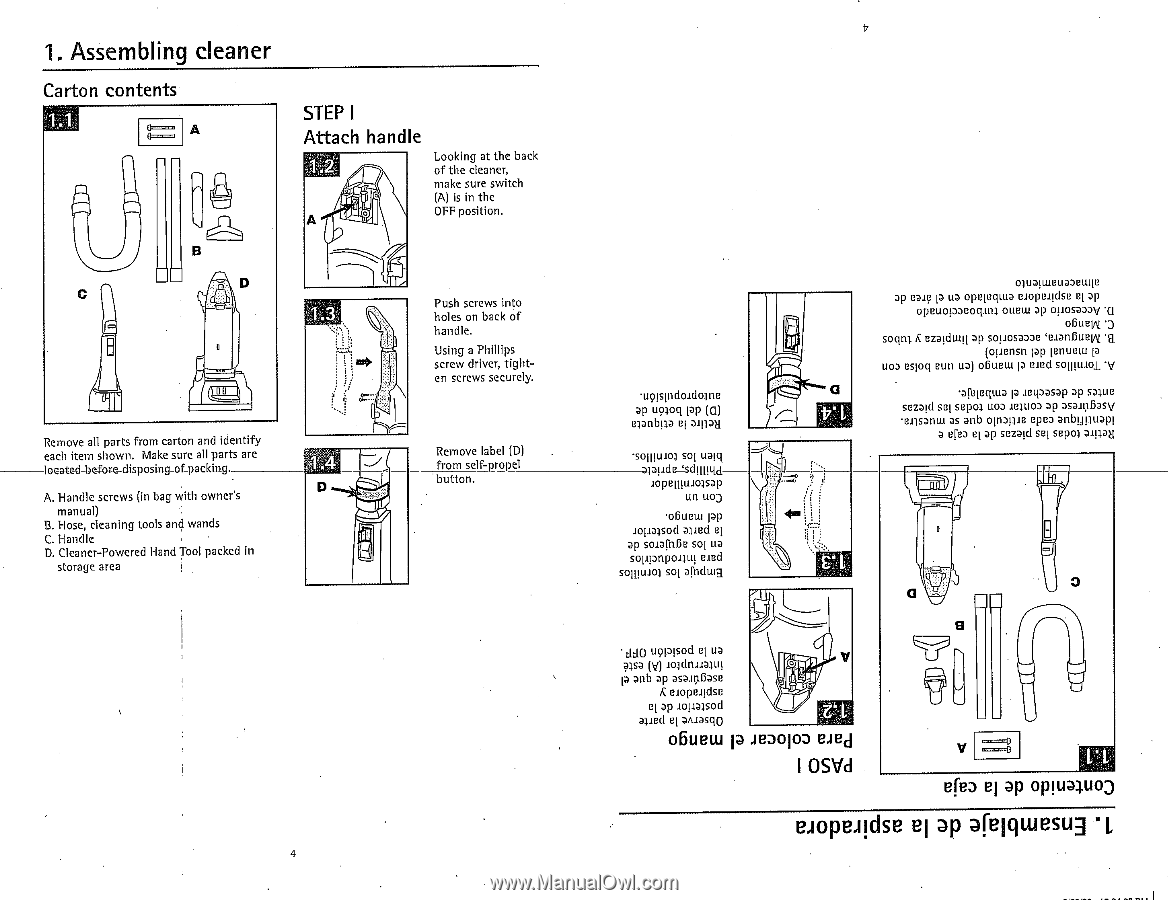
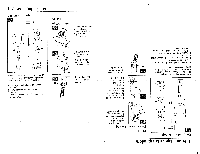
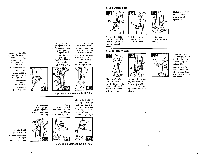
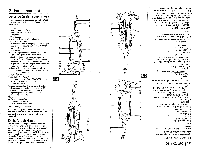
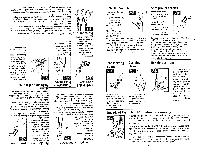
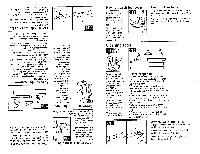
1. Assembling cleaner Carton contents (1== (1==a A STEP I Attach handle 1.2 Looking at the back of the cleaner, make sure switch (A) is in the OFF position. Remove all parts from carton and identify each item shown. Make sure all parts are located-before-disposing_of_packing. A. Handle screws (in bag with owner's manual) B. Hose, cleaning tools and wands C. Handle D. Cleaner-Powered Band Tool packed in storage area 1.4 Push screws into holes on back of handle. Using a Phillips screw driver, tighten screws securely. Remove label (0) from self-props1 button. •uolspidoldome ap uplog [ap (G) emnblm el aulDN •sogutloi 501 itaui alawle=sdggild lopeguLtolsap tut uoj .06ueui lap lopalsocl ailed el ap sonfnfie sol ua sot.nanpo.aul eked solguni sot afridwa 011.131111BUD301111C ap ealg 13 U3 opetemuD empelidse el ap opeuol3DeoginT oueto ap ouosassy o6ueoi •D sogni C eza[cluui ap SOHOSD550 `e.tanBuelm (opensn tap Latium [a UO3 esioci sun ua) o6uetu ID end solim.tol, 'V .413[eqiuD la ulipasap ap talus sozaid set sepol 1105 winos ap DSDIUBDSV •erisanto as Drib °mann epes anbotiam a ern el ap sezald sel sepol DIRDa LI I • ddo uolalsod el ua DISD (y) 101(1U-11D:1U! p anb ap asa.ig6ase elopeudse et ap lopalsod alled el atuasqo o6uew la AEDOIOD B.1ed I OSVd ms==4) V Fr===l) eleD pi ap op!uaimoD eAopeAKIse el pp aleiquiesu3
-
 1
1 -
 2
2 -
 3
3 -
 4
4 -
 5
5 -
 6
6 -
 7
7 -
 8
8 -
 9
9 -
 10
10 -
11
-
12
-
13
-
14
-
15
-
16
-
17
-
18
-
19
-
20
 |
 |