IC Realtime ICIP-D4001IR-I Product Manual - Page 13
Login WEB Interface
 |
View all IC Realtime ICIP-D4001IR-I manuals
Add to My Manuals
Save this manual to your list of manuals |
Page 13 highlights
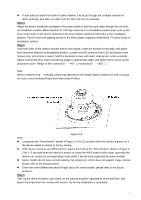
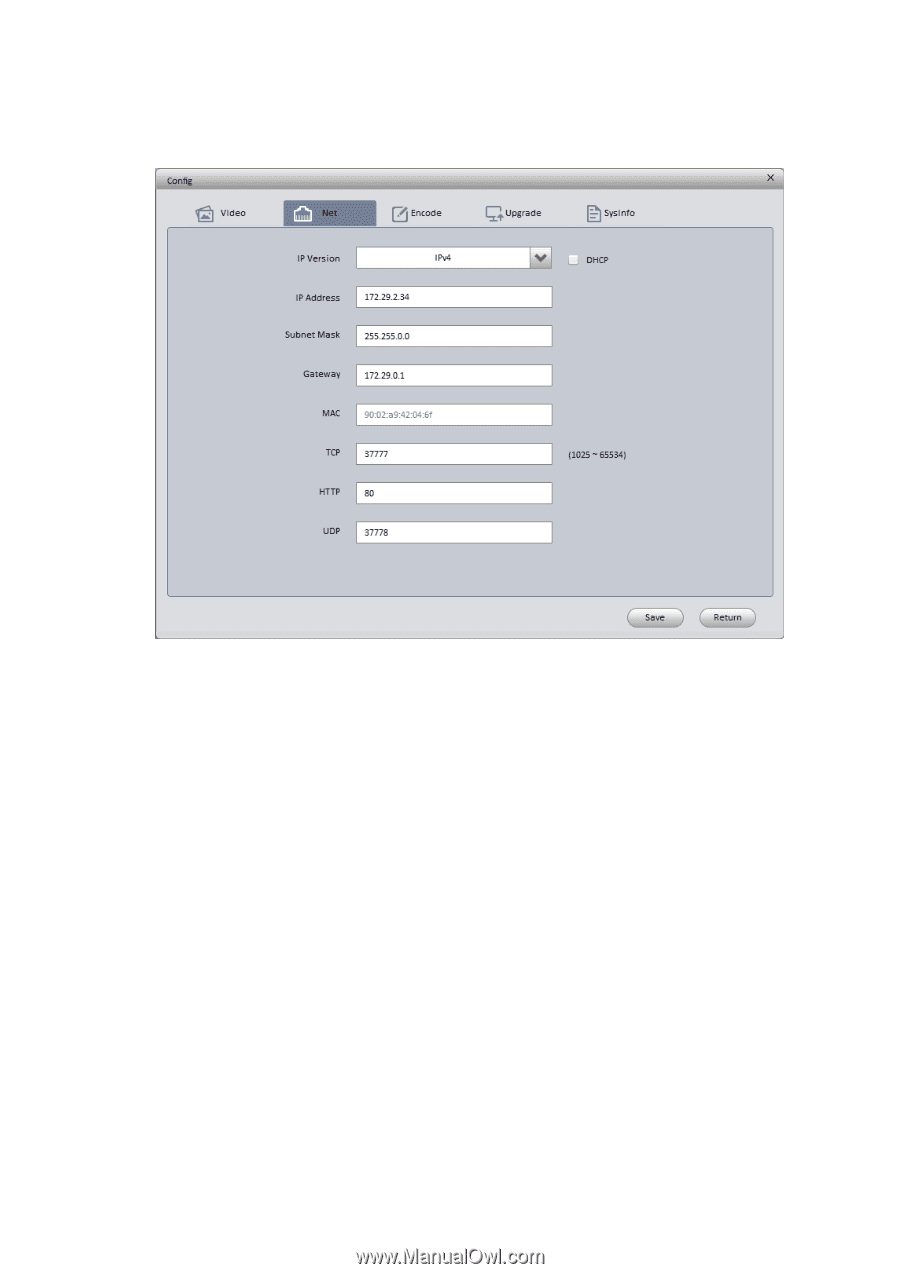
Figure 3-1 Step 3 Modify the camera IP address on the "Net" interface, click "Save" to finish modification. See Figure 3-2 for more details. Figure 3-2 3.2 Login WEB Interface Note: Different devices may have different WEB interfaces, the figures below are just for reference, please refer to the document in the disk and the actual interface for more details Step 1 Open IE and input the modified camera IP address in the address bar. Step 2 The login interface is shown below, please input your user name and password (Default user name is admin and password is admin respectively), click "login". See Figure 3-3 for more details. 8
-
 1
1 -
2
-
3
-
4
-
5
-
6
-
7
-
 8
8 -
 9
9 -
 10
10 -
 11
11 -
 12
12 -
 13
13 -
 14
14 -
 15
15
 |
 |
8
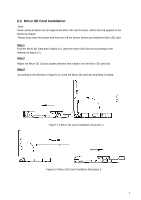
Figure 3-1
Step 3 Modify the camera IP address on the
“
Net
”
interface, click
“
Save
”
to finish modification.
See Figure 3-2 for more details.
Figure 3-2
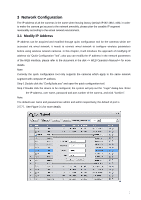
3.2 Login WEB Interface
Note:
Different devices may have different WEB interfaces, the figures below are just for reference, please
refer to the document <<WEB Operation Manual>> in the disk and the actual interface for more details
Step 1 Open IE and input the modified camera IP address in the address bar.
Step 2 The login interface is shown below, please input your user name and password (Default user
name is admin and password is admin respectively), click
“
login
”
.
See Figure 3-3 for more details.