Insignia NS-IMC44S3 User Guide - Page 7
Setting up your ice maker
 |
View all Insignia NS-IMC44S3 manuals
Add to My Manuals
Save this manual to your list of manuals |
Page 7 highlights
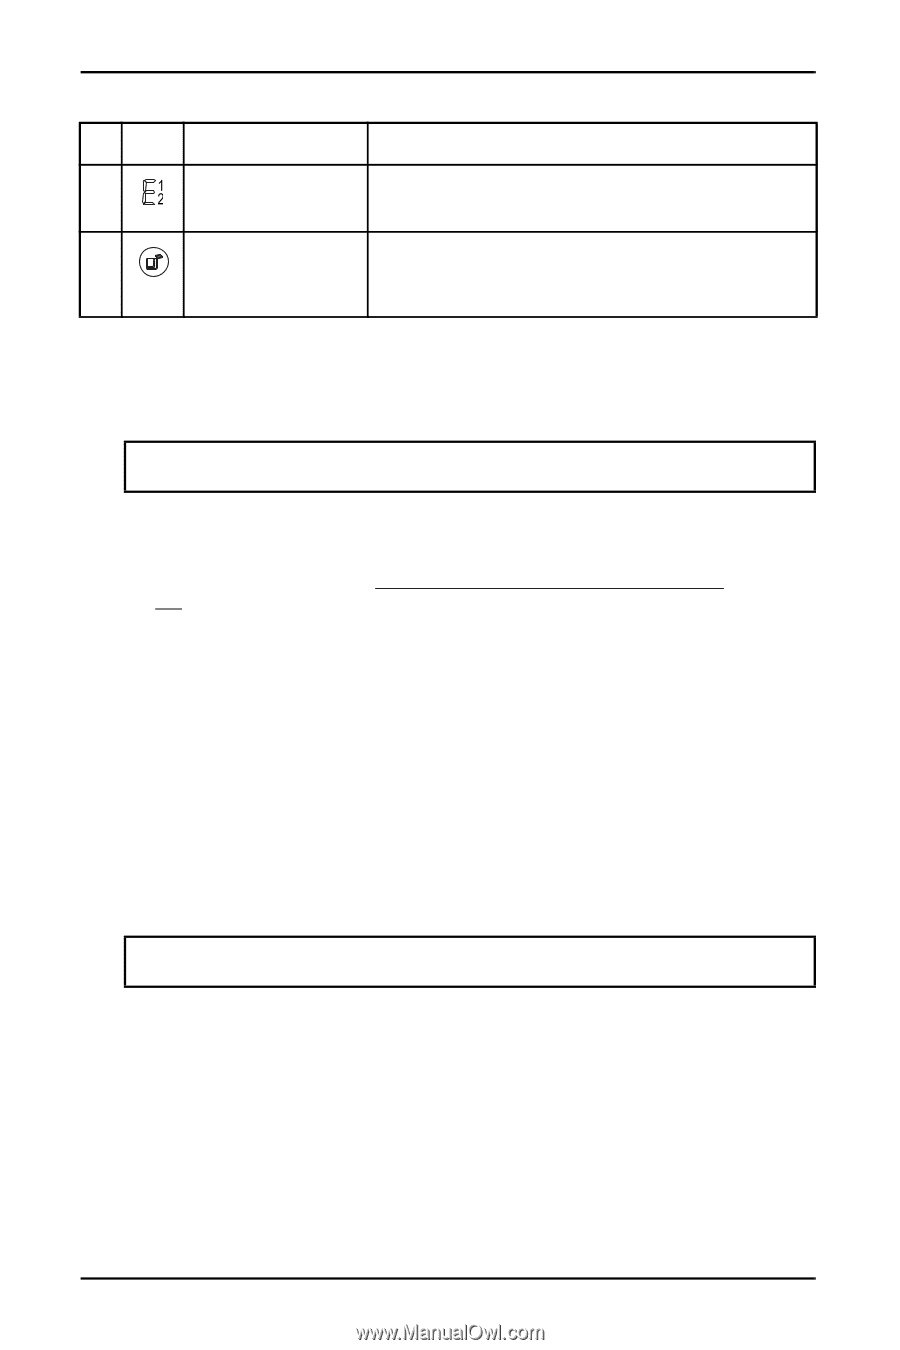
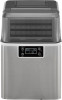
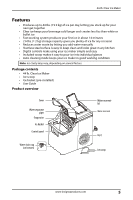
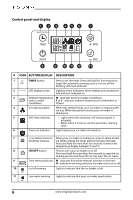
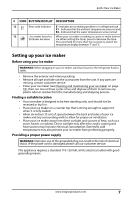
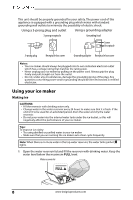
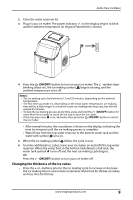
44-lb. Clear Ice Maker # ICON BUTTON/DISPLAY DESCRIPTION 12 Error code indicator E - Indicates an ice making problem or a refrigerant leak. E1 - Indicates that the ambient temperature sensor is bad. E2 - Indicates that the water temperature sensor is bad. 13 -/ice maker timer/ice When your ice maker is making ice, press to make thinner thickness decrease ice. When setting the timer, press to decrease the time. Press and hold for more than five seconds to switch the temperature display between °F and °C. Setting up your ice maker Before using your ice maker WARNINGS: Before plugging in your ice maker, wait four hours for the refrigerant fluid to settle. • Remove the exterior and interior packing. • Remove all tape and take out the accessories from the unit. If any parts are missing, contact customer service. • Clean your ice maker (see Cleaning and maintaining your ice maker on page 10), then run two or three cycles of ice and dispose of them to remove any plastic odor or residue from the manufacturing and shipping process. Finding a suitable location • Your ice maker is designed to be free standing only, and should not be recessed or built-in. • Place your ice maker on a counter top that is strong enough to support it when it is fully loaded. • Allow six inches (15 cm) of space between the back and sides of your ice maker and any surrounding walls to allow for proper air ventilation. • Place your ice maker away from direct sunlight and sources of heat, such as a stove, heater, or radiator. Direct sunlight may affect the acrylic coating and heat sources may increase electrical consumption. Extremely cold temperatures may also prevent your ice maker from performing properly. Providing a proper power supply WARNINGS: Improper use of the grounded plug can result in the risk of electrical shock. If the power cord is damaged please call our customer service. This appliance requires a standard 110-120 Volt, 60 Hz electrical outlet with good grounding means. www.insigniaproducts.com 7
-
 1
1 -
 2
2 -
 3
3 -
 4
4 -
 5
5 -
 6
6 -
 7
7 -
 8
8 -
 9
9 -
 10
10 -
 11
11 -
 12
12 -
13
-
14
-
15
-
16
-
17
-
18
-
19
-
20
-
21
-
22
-
23
-
24
-
25
-
26
-
27
-
28
-
29
-
30
-
31
-
32
-
33
-
34
-
35
-
36
 |
 |