Insignia NS-RTM10WH7 User Manual - Page 10
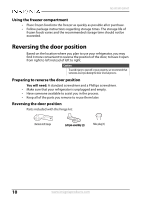
Reversing the door position - parts
 |
View all Insignia NS-RTM10WH7 manuals
Add to My Manuals
Save this manual to your list of manuals |
Page 10 highlights
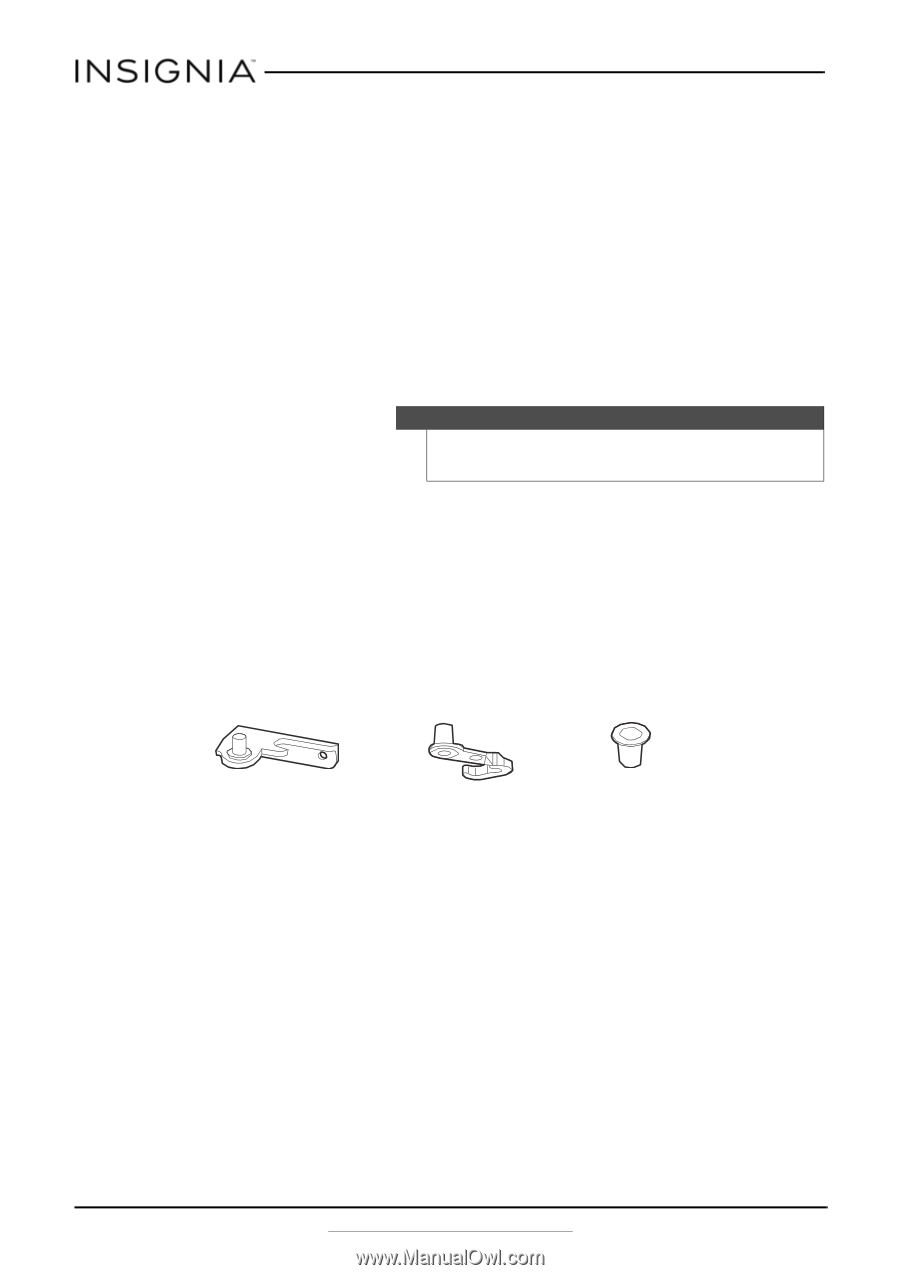
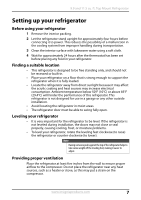
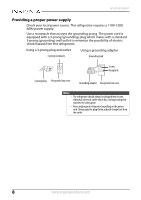
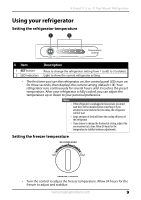
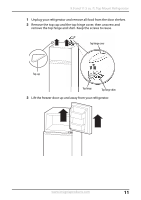
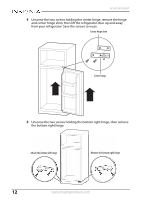
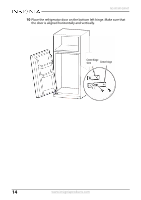
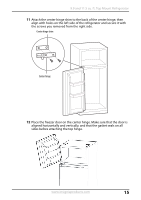
NS-RTM10WH7 Using the freezer compartment • Place frozen food into the freezer as quickly as possible after purchase. • Follow package instructions regarding storage times. The storage life of frozen foods varies and the recommended storage time should not be exceeded. Reversing the door position Based on the location where you plan to use your refrigerator, you may find it more convenient to reverse the position of the door, to have it open from right to left instead of left to right. Caution To avoid injury to yourself or your property, we recommend that someone assist you during the door reversal process. Preparing to reverse the door position You will need: A standard screwdriver and a Phillips screwdriver. • Make sure that your refrigerator is unplugged and empty. • Have someone available to assist you in the process. • Keep all of the parts you remove to reuse them later. Reversing the door position Parts included with the hinge kit: Bottom left hinge Left pin assembly (2) Hole plug (3) 10 www.insigniaproducts.com
-
 1
1 -
2
-
3
-
4
-
 5
5 -
 6
6 -
 7
7 -
 8
8 -
 9
9 -
 10
10 -
 11
11 -
 12
12 -
 13
13 -
 14
14 -
 15
15 -
16
-
17
-
18
-
19
-
20
-
21
-
22
-
23
-
24
 |
 |