Kenmore 4413 Use and Care Guide - Page 7
Interior, Spill Proof Slide-out, Glass, Shelving
 |
View all Kenmore 4413 manuals
Add to My Manuals
Save this manual to your list of manuals |
Page 7 highlights
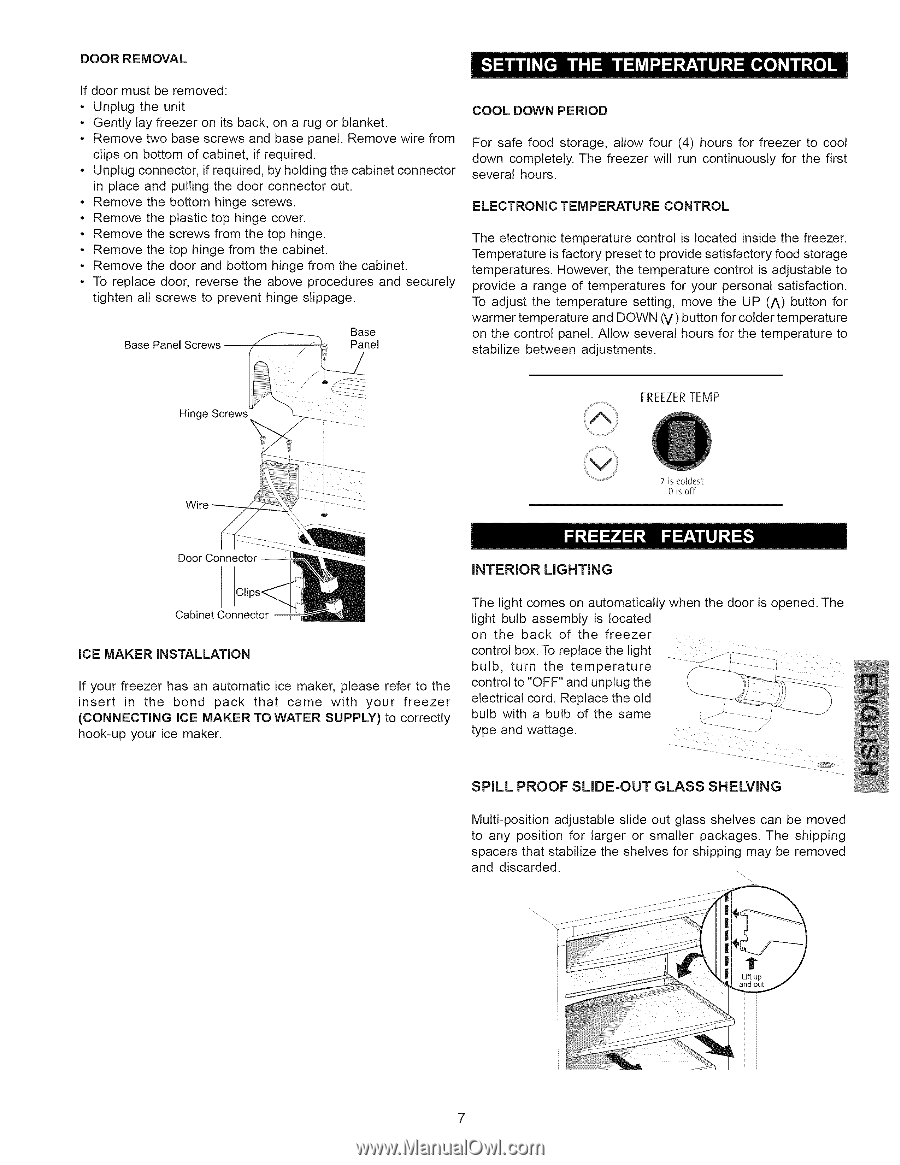
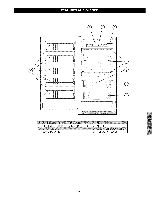
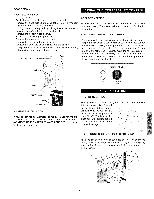
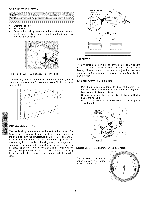
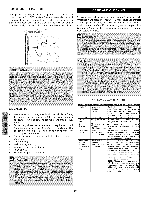
DOOR REMOVAL If door must be removed: * Unplug the unit * Gently lay freezer on its back, on a rug or blanket. * Remove two base screws and base panel. Remove wire from clips on bottom of cabinet, if required. * Unplug connector, if required, by holding the cabinet connector in place and pulling the door connector out. * Remove the bottom hinge screws. * Remove the plastic top hinge cover. * Remove the screws from the top hinge. * Remove the top hinge from the cabinet. * Remove the door and bottom hinge from the cabinet. * To replace door, reverse the above procedures and securely tighten all screws to prevent hinge slippage. Base Panel Screws -- COOL DOWN PERIOD For safe food storage, allow four (4) hours for freezer to cool down completely. The freezer wilt run continuously for the first several hours. ELECTRONIC TEMPERATURE CONTROL The electronic temperature control is located inside the freezer. Temperature is factory preset to provide satisfactory food storage temperatures. However, the temperature control is adjustable to provide a range of temperatures for your personal satisfaction. To adjust the temperature setting, move the UP (A) button for warmer temperature and DOWN (V) button for colder temperature on the control panel. Allow several hours for the temperature to stabilize between adjustments. Hinge Screws FREEZERTEMP Wire 7 is coUdest 0 is off Door Connector INTERIOR LIGHTING Cabinet Connector ICE MAKER INSTALLATION If your freezer has an automatic ice maker, please refer to the insert in the bond pack that came with your freezer (CONNECTING ICE MAKER TO WATER SUPPLY) to correctly hook-up your ice maker. The light comes on automatically when the door is opened. The light bulb assembly is located on the back of the freezer bulb,c°ntturr°nl b°TXOthereplacetemlipgehrtatur:e_t:h_e:_ control to "OFF" and unplug the electrical cord. Replace the old i bulb with a bulb of the same type and wattage. :::i SPILL PROOF SLIDE-OUT GLASS SHELVING Multi-position adjustable slide out glass shelves can be moved to any position for larger or smaller packages. The shipping spacers that stabilize the shelves for shipping may be removed and discarded ........
-
 1
1 -
 2
2 -
 3
3 -
 4
4 -
 5
5 -
 6
6 -
 7
7 -
 8
8 -
 9
9 -
 10
10 -
 11
11 -
 12
12 -
13
 |
 |