KitchenAid KRFC302ESS Owners Manual - Page 18
DOOR AND HANDLE INSTRUCTIONS, Door and Drawers, Remove and Replace Handles
 |
View all KitchenAid KRFC302ESS manuals
Add to My Manuals
Save this manual to your list of manuals |
Page 18 highlights
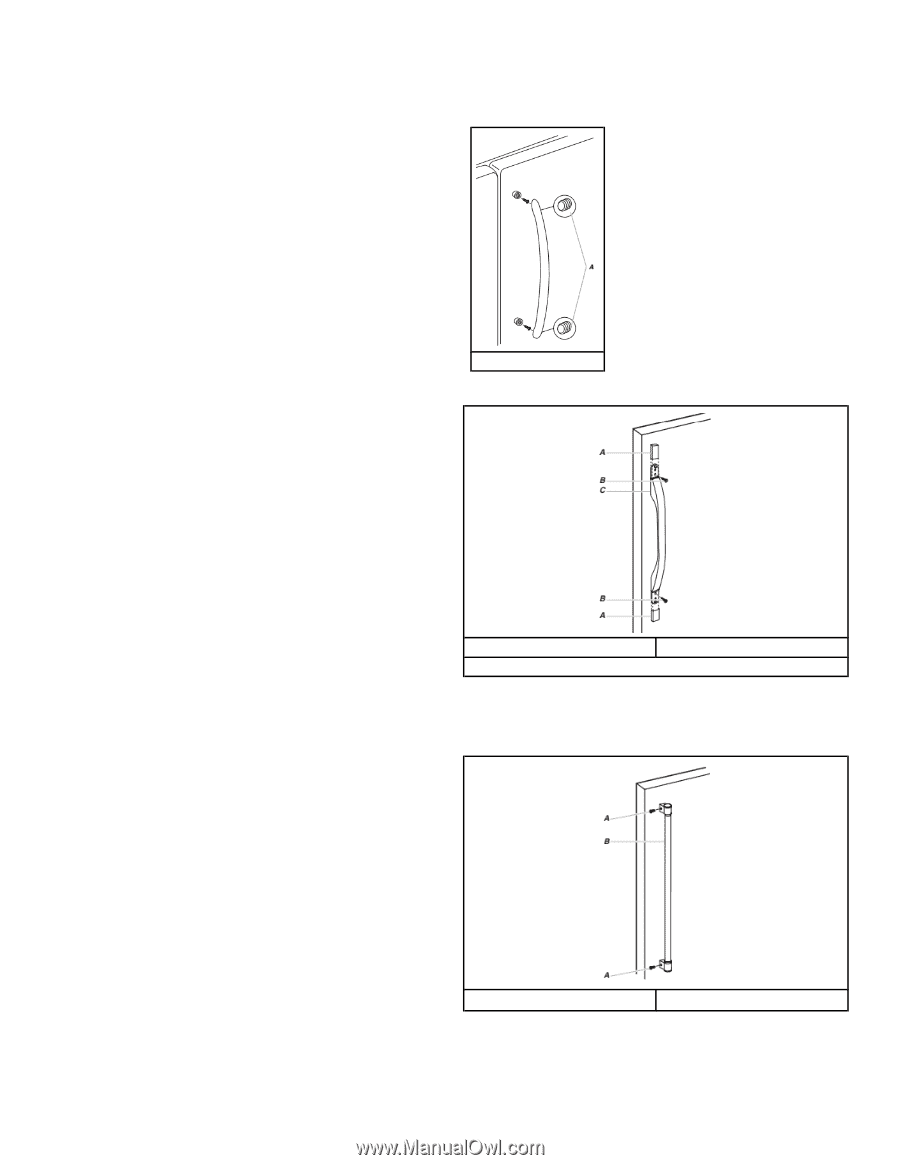
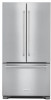
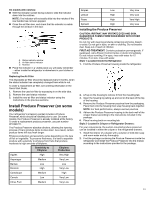
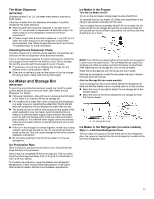
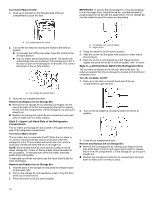
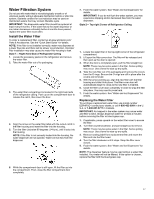
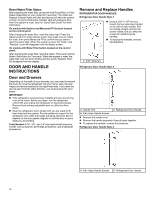
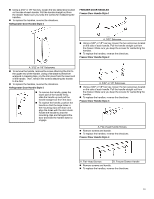
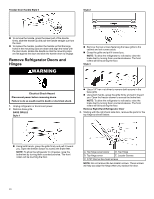
Reset Water Filter Status After replacing the water filter, press and hold Reset Filter or Filter Reset (depending on your model) for 3 seconds. The Order and Replace indicator lights will blink and then go off when the system is reset. On some models the indicator light will change to blue when the system is reset. See the "Quick Start Guide" for more information. On models with Options and Measured Fill buttons located on the control panel: After changing the water filter, reset the status light. Press the Options button to enter Options mode, then press Lock to initiate the reset, then press Measured Fill to confirm that you want to reset the status light. When the system is reset, the "Order" and "Replace" icons will disappear from the display screen. On models with Water Filter button located on the control panel: After changing the water filter, reset the status. Press and hold the Water Filter button for 3 seconds. When the system is reset, the water filter icon will return to Blue and the words "Replace Filter" will disappear from the display. DOOR AND HANDLE INSTRUCTIONS Door and Drawers Depending on the width of your doorway, you may need to remove the doors to move the refrigerator into your home. Also, the door hinges are factory installed on the right-hand side. If you want the door to open from the other direction, you must reverse the door swing. IMPORTANT: � If the refrigerator was previously installed and you are moving it out of the home, before you begin, turn the refrigerator control Off, and unplug the refrigerator or disconnect power. Remove food and any adjustable door or utility bins from doors. � Keep the refrigerator doors closed until you are ready to lift them free from the cabinet. Provide additional support for the refrigerator door while the hinges are being removed. Do not depend on the door gasket magnets to hold the door in place while you are working. Tools Needed: 5/16", 3/8", and 1/4" hex head socket wrenches, Torx®† T25 screwdriver, #2 Phillips screwdriver, and a flat-blade screwdriver. Remove and Replace Handles REFRIGERATOR DOOR HANDLES Refrigerator Door Handle Style 1 � Using a 3⁄32" or 1⁄8" hex key, loosen the two setscrews located on the side of each handle. Pull the handle straight out from the drawer. Make sure you keep the screws for reattaching the handles. � To replace the handles, reverse the directions. A. 3/32" Setscrew Refrigerator Door Handle Style 2 A. Handle Trim C. Refrigerator Door Handle B. Flat-Head Handle Screws � Remove the screw cover. � Remove the handle assembly. Keep all parts together. � To replace the handles, reverse the directions. Refrigerator Door Handle Style 3 A. Flat-Head Handle Screws B. Refrigerator Door Handle 18
-
 1
1 -
2
-
3
-
4
-
5
-
6
-
7
-
8
-
9
-
10
-
11
-
12
-
 13
13 -
 14
14 -
 15
15 -
 16
16 -
 17
17 -
 18
18 -
 19
19 -
 20
20 -
 21
21 -
 22
22 -
 23
23 -
24
-
25
-
26
-
27
-
28
-
29
-
30
-
31
-
32
-
33
-
34
-
35
-
36
-
37
-
38
-
39
-
40
-
41
-
42
-
43
-
44
-
45
-
46
-
47
-
48
-
49
-
50
-
51
-
52
-
53
-
54
-
55
-
56
-
57
-
58
-
59
-
60
 |
 |