Kodak I1120 User Guide - Page 25
Troubleshooting, Contents, Problem solving - support
 |
UPC - 041778456927
View all Kodak I1120 manuals
Add to My Manuals
Save this manual to your list of manuals |
Page 25 highlights
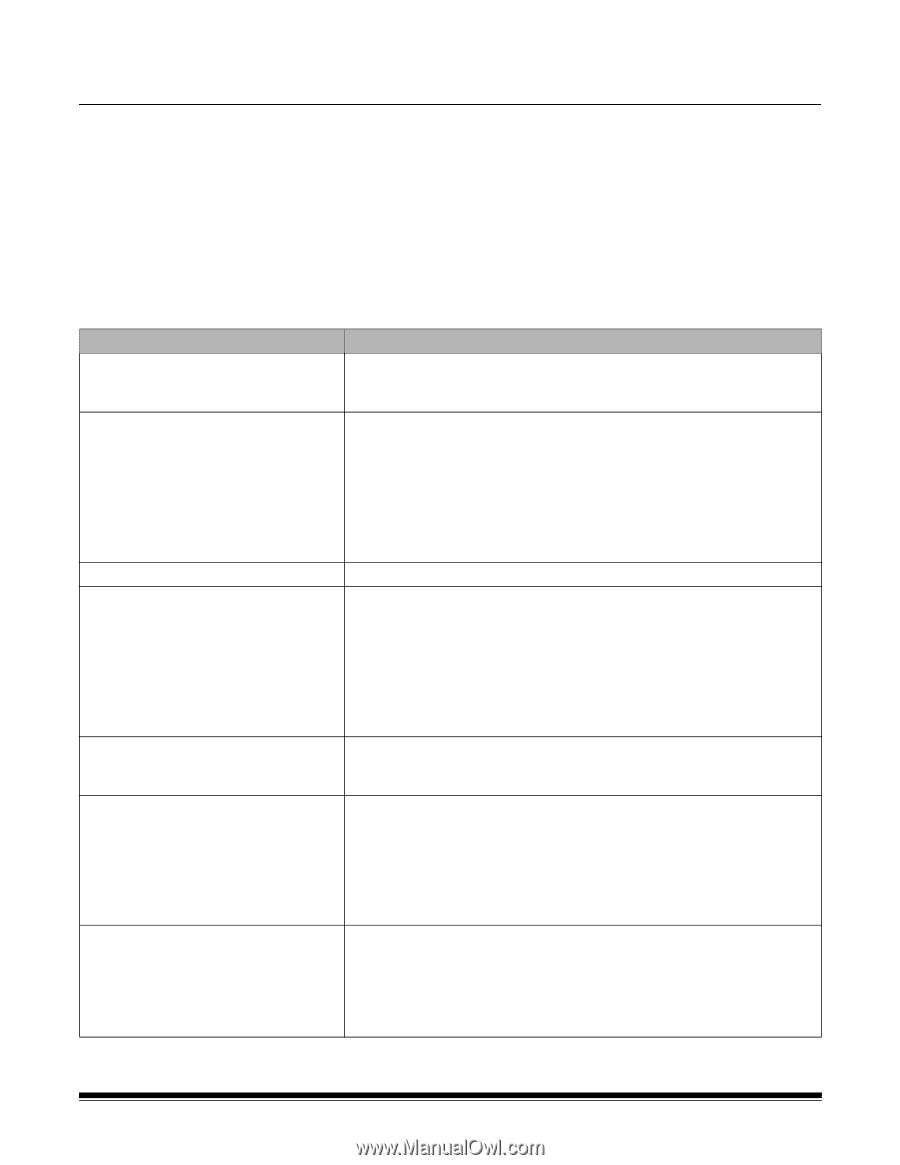
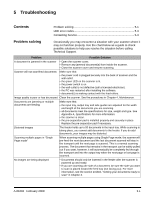
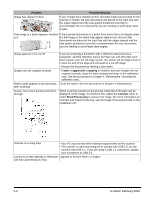
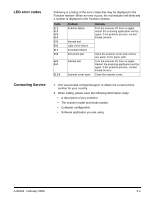
5 Troubleshooting Contents Problem solving 5-1 LED error codes 5-3 Contacting Service 5-3 Problem solving Occasionally you may encounter a situation with your scanner where it may not function properly. Use the chart below as a guide to check possible solutions to help you resolve the situation before calling Technical Support. Problem Possible Solution A document is jammed in the scanner • Open the scanner cover. • Remove any jammed document(s) from inside the scanner. • Close the scanner cover and resume scanning. Scanner will not scan/feed documents Make sure that: • the power cord is plugged securely into the back of scanner and the wall outlet. • the green LED on the scanner is lit. • the power switch is on. • the wall outlet is not defective (call a licensed electrician). • the PC was restarted after installing the software. • document(s) is making contact with the feed rollers. Image quality is poor or has decreased Clean the scanner. See the procedures in Chapter 4, Maintenance. Documents are jamming or multiple documents are feeding Make sure that: • the input tray, output tray and side guides are adjusted for the width and length of the documents you are scanning. • all documents meet the specifications for size, weight and type. See Appendix A, Specifications for more information. • the scanner is clean. • the pre-separation pad is installed properly and securely in place. Replace the pre-separation pad if necessary. Distorted images The feeder holds up to 50 documents in the input tray. While scanning is taking place, you cannot add documents to the feeder. If you do add documents, your images may be distorted. Scanning multiple pages in "Single Page mode" When scanning multiple pages using Single Page mode, the scanner will pre-feed the next document and the last document scanned will stay in the transport until the next page is scanned. This is a normal scanning process. The document that remains in the transport can be safely pulled out if you want, however, it will automatically be completely fed through the transport and into the output tray when the next page or last page is scanned. No images are being displayed • Documents should only be inserted in the feeder after the scanner is powered up and ready. • If you are scanning one side of a document, be sure the side you want to scan is placed toward the feed tray (not facing you). For more information, see the section entitled, "Getting your documents ready to scan" in Chapter 3. A-61602 February 2009 5-1
-
 1
1 -
2
-
3
-
4
-
5
-
6
-
7
-
8
-
9
-
10
-
11
-
12
-
13
-
14
-
15
-
16
-
17
-
18
-
19
-
 20
20 -
 21
21 -
 22
22 -
 23
23 -
 24
24 -
 25
25 -
 26
26 -
 27
27 -
 28
28 -
 29
29 -
 30
30 -
31
-
32
-
33
-
34
 |
 |