Konica Minolta ProJet 460Plus Cube3 User Guide - Page 16
Initial Setup Of The Cube
 |
View all Konica Minolta ProJet 460Plus manuals
Add to My Manuals
Save this manual to your list of manuals |
Page 16 highlights
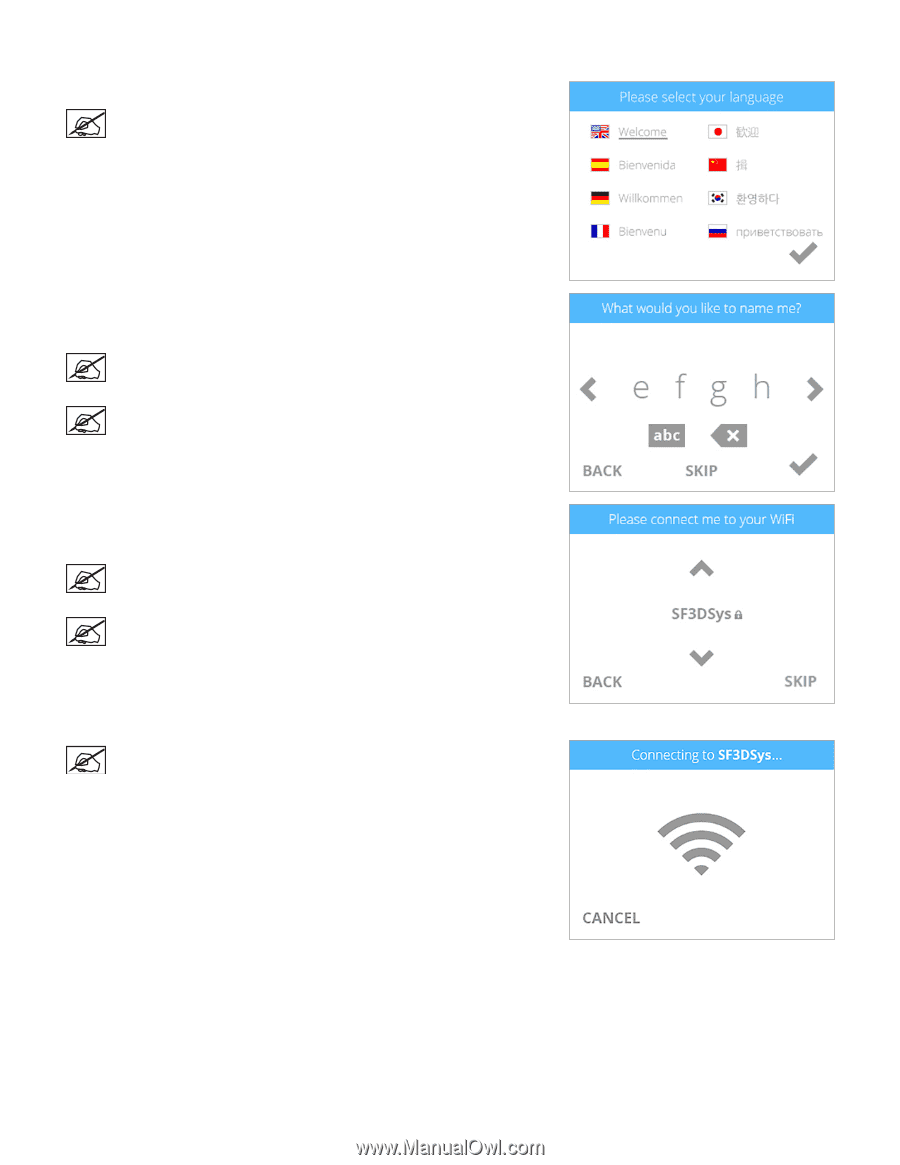
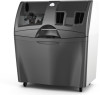
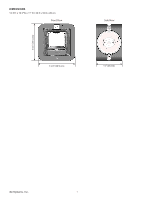
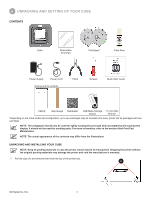
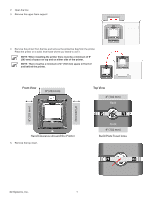
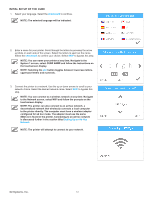
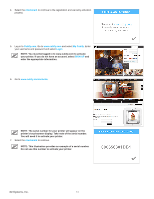
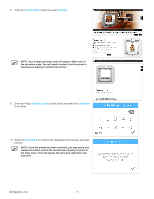
INITIAL SETUP OF THE CUBE 1. Select your language. Select the checkmark to continue. NOTE: The selected language will be indicated. 2. Enter a name for your printer. Scroll through the letters by pressing the arrow symbols on each side of the screen. Select the letters to spell out the name. Select the checkmark to confirm your choice. Select SKIP to bypass this step. NOTE: You can name your printer at any time. Navigate to the System 1 screen, select CUBE NAME and follow the instructions on the touchscreen display. NOTE: Selecting the abc button toggles between lowercase letters, uppercase letters and numerals. 3. Connect the printer to a network. Use the up or down arrows to scroll to your network choice. Select the desired network name. Select SKIP to bypass this step. NOTE: You can connect to a wireless network at any time. Navigate to the Network screen, select WIFI and follow the prompts on the touchscreen display. NOTE: The printer can also connect to an ad hoc network, a decentralized network that wirelessly connects a local computer to the printer directly. The computer must have a wireless adapter configured for ad hoc mode. The adapter must use the same SSID as is found in the printer. Connecting to an ad hoc network is discussed further in the section titled Setting Up an Ad Hoc Network. NOTE: The printer will attempt to connect to your network. 3D Systems, Inc. 12
-
 1
1 -
2
-
3
-
4
-
5
-
6
-
7
-
8
-
9
-
10
-
 11
11 -
 12
12 -
 13
13 -
 14
14 -
 15
15 -
 16
16 -
 17
17 -
 18
18 -
 19
19 -
 20
20 -
 21
21 -
22
-
23
-
24
-
25
-
26
-
27
-
28
-
29
-
30
-
31
-
32
-
33
-
34
-
35
-
36
-
37
-
38
-
39
-
40
-
41
-
42
-
43
-
44
-
45
-
46
-
47
-
48
-
49
-
50
-
51
-
52
-
53
-
54
-
55
-
56
-
57
-
58
-
59
-
60
-
61
-
62
-
63
-
64
-
65
-
66
-
67
-
68
-
69
-
70
-
71
-
72
-
73
-
74
-
75
-
76
-
77
-
78
-
79
-
80
-
81
-
82
-
83
-
84
-
85
-
86
-
87
-
88
-
89
-
90
-
91
-
92
-
93
-
94
-
95
-
96
-
97
-
98
-
99
-
100
-
101
-
102
 |
 |