Konica Minolta ProJet 460Plus Cube3 User Guide - Page 24
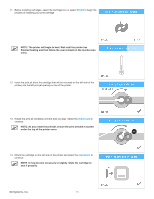
NOTE: The value presented on the touchscreen display is
 |
View all Konica Minolta ProJet 460Plus manuals
Add to My Manuals
Save this manual to your list of manuals |
Page 24 highlights
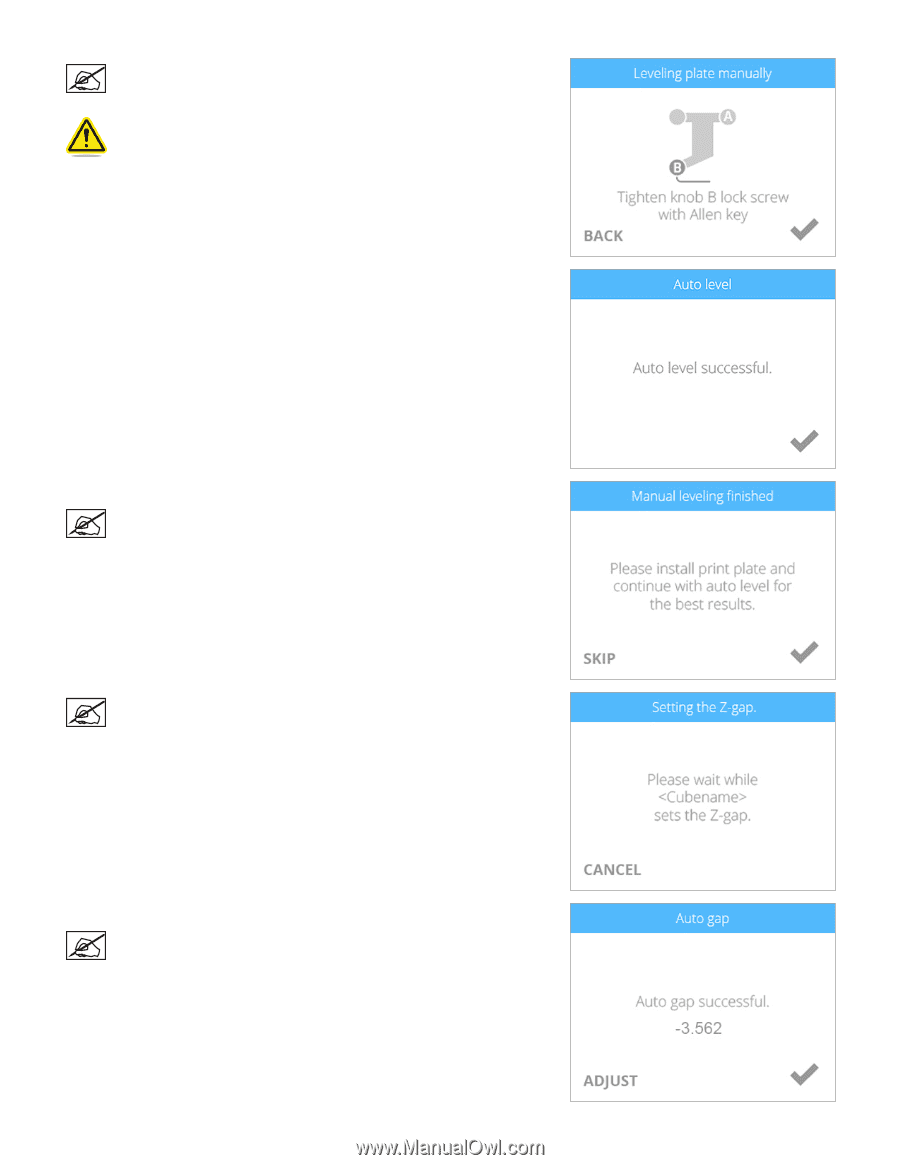
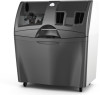
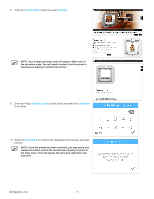
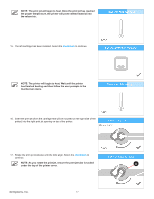
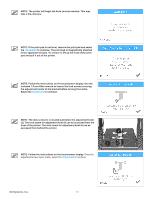
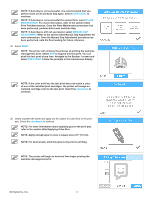
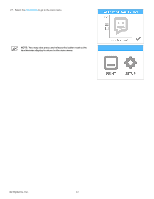
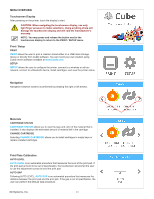
NOTE: When prompted, tighten the lock screw enough to ensure the adjustment knob does not easily turn. Select the checkmark to perform Auto Level again. Caution: Do not over-tighten the lock screw. This can damage the adjustment knob and void the manufacturer's warranty. 22. Select the checkmark to continue. 23. Install the print pad and select the checkmark to perform Auto Gap. NOTE: To install the print pad, place it on top of the adjustment knobs. When the print pad is centered properly, magnets will secure the print pad to the adjustment knobs. NOTE: The printer will perform an automated gap measurement. 24. Select the checkmark to continue. NOTE: The value presented on the touchscreen display is the absolute print pad position. Note and refer to this value when performing the Manual Level procedure. Your number may differ from the illustration. 3D Systems, Inc. 20
-
 1
1 -
2
-
3
-
4
-
5
-
6
-
7
-
8
-
9
-
10
-
11
-
12
-
13
-
14
-
15
-
16
-
17
-
18
-
 19
19 -
 20
20 -
 21
21 -
 22
22 -
 23
23 -
 24
24 -
 25
25 -
 26
26 -
 27
27 -
 28
28 -
 29
29 -
30
-
31
-
32
-
33
-
34
-
35
-
36
-
37
-
38
-
39
-
40
-
41
-
42
-
43
-
44
-
45
-
46
-
47
-
48
-
49
-
50
-
51
-
52
-
53
-
54
-
55
-
56
-
57
-
58
-
59
-
60
-
61
-
62
-
63
-
64
-
65
-
66
-
67
-
68
-
69
-
70
-
71
-
72
-
73
-
74
-
75
-
76
-
77
-
78
-
79
-
80
-
81
-
82
-
83
-
84
-
85
-
86
-
87
-
88
-
89
-
90
-
91
-
92
-
93
-
94
-
95
-
96
-
97
-
98
-
99
-
100
-
101
-
102
 |
 |