Konica Minolta bizhub 501 bizhub 361/421/501 Advanced Function Operations User - Page 47
Send
 |
View all Konica Minolta bizhub 501 manuals
Add to My Manuals
Save this manual to your list of manuals |
Page 47 highlights
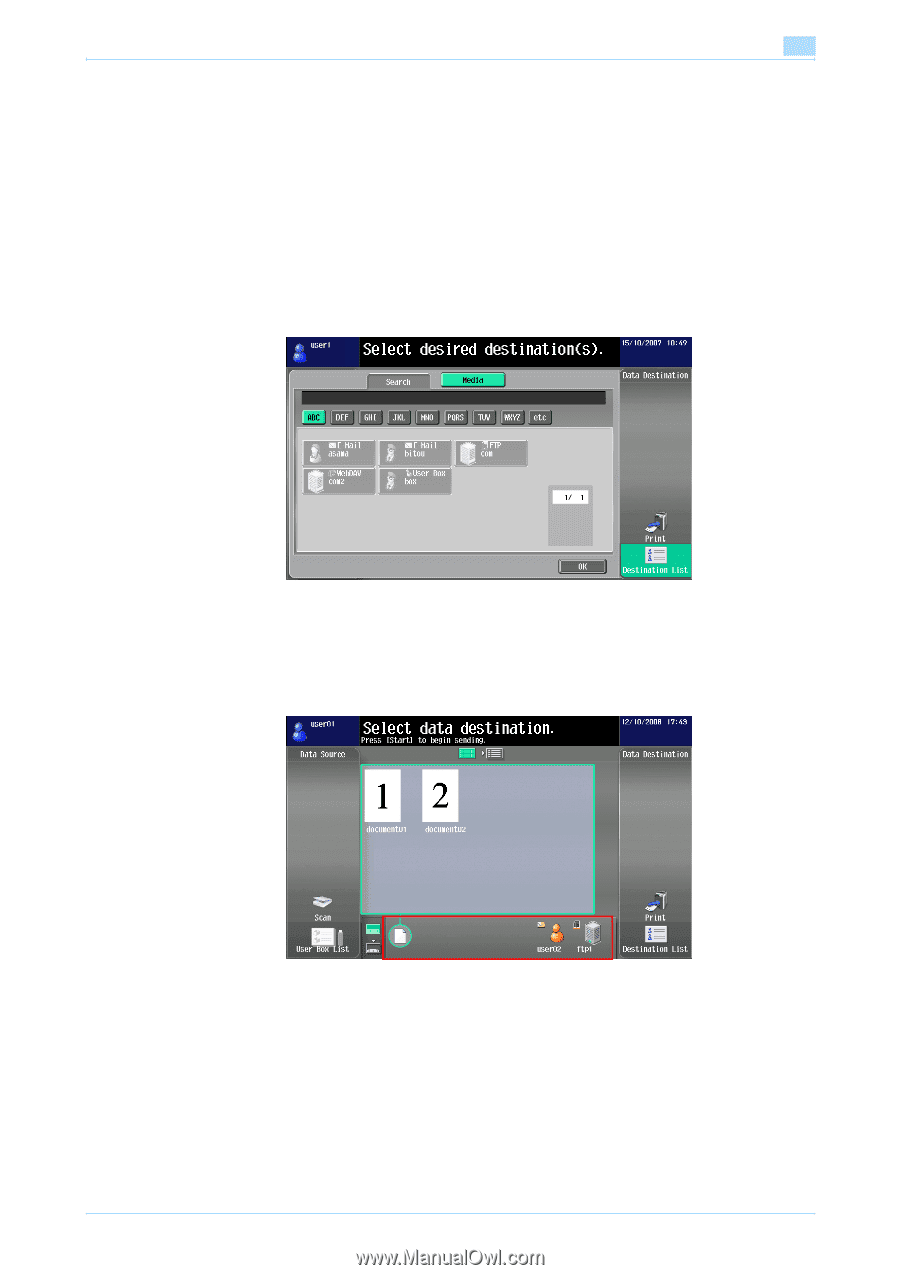
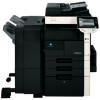
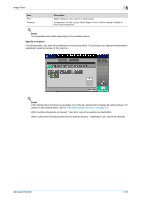
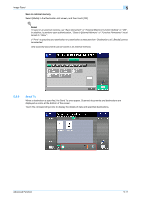
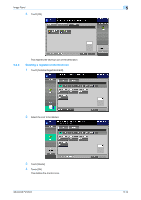
Image Panel 5 Save in external memory Select [Media] in the Destination List screen, and then touch [OK]. ! Detail To save in an external memory, set "Save Document" of "External Memory Function Setting" to "ON". In addition, to perform user authentication, "Save to External Memory" of "Function Permission" must be set to "Allow". If "Print" is specified as a destination or a destination is selected from "Destination List", [Media] cannot be selected. Only scanned documents can be saved in an external memory. 5.3.6 Send To When a destination is specified, the Send To area appear. Scanned documents and destinations are displayed as icons at the bottom of the screen. Touch the corresponding icons to display the details of data and specified destinations. Advanced Function 5-11
-
 1
1 -
2
-
3
-
4
-
5
-
6
-
7
-
8
-
9
-
10
-
11
-
12
-
13
-
14
-
15
-
16
-
17
-
18
-
19
-
20
-
21
-
22
-
23
-
24
-
25
-
26
-
27
-
28
-
29
-
30
-
31
-
32
-
33
-
34
-
35
-
36
-
37
-
38
-
39
-
40
-
41
-
 42
42 -
 43
43 -
 44
44 -
 45
45 -
 46
46 -
 47
47 -
 48
48 -
 49
49 -
 50
50 -
 51
51 -
 52
52 -
53
-
54
-
55
-
56
-
57
-
58
-
59
-
60
-
61
-
62
-
63
-
64
-
65
-
66
-
67
-
68
-
69
-
70
-
71
-
72
-
73
-
74
-
75
-
76
-
77
-
78
-
79
-
80
-
81
-
82
-
83
-
84
 |
 |