Konica Minolta bizhub C550 bizhub C203/C253/C353/C451/C550/C650, bizhub 361/42 - Page 13
Enabling HDD Lock Password
 |
View all Konica Minolta bizhub C550 manuals
Add to My Manuals
Save this manual to your list of manuals |
Page 13 highlights
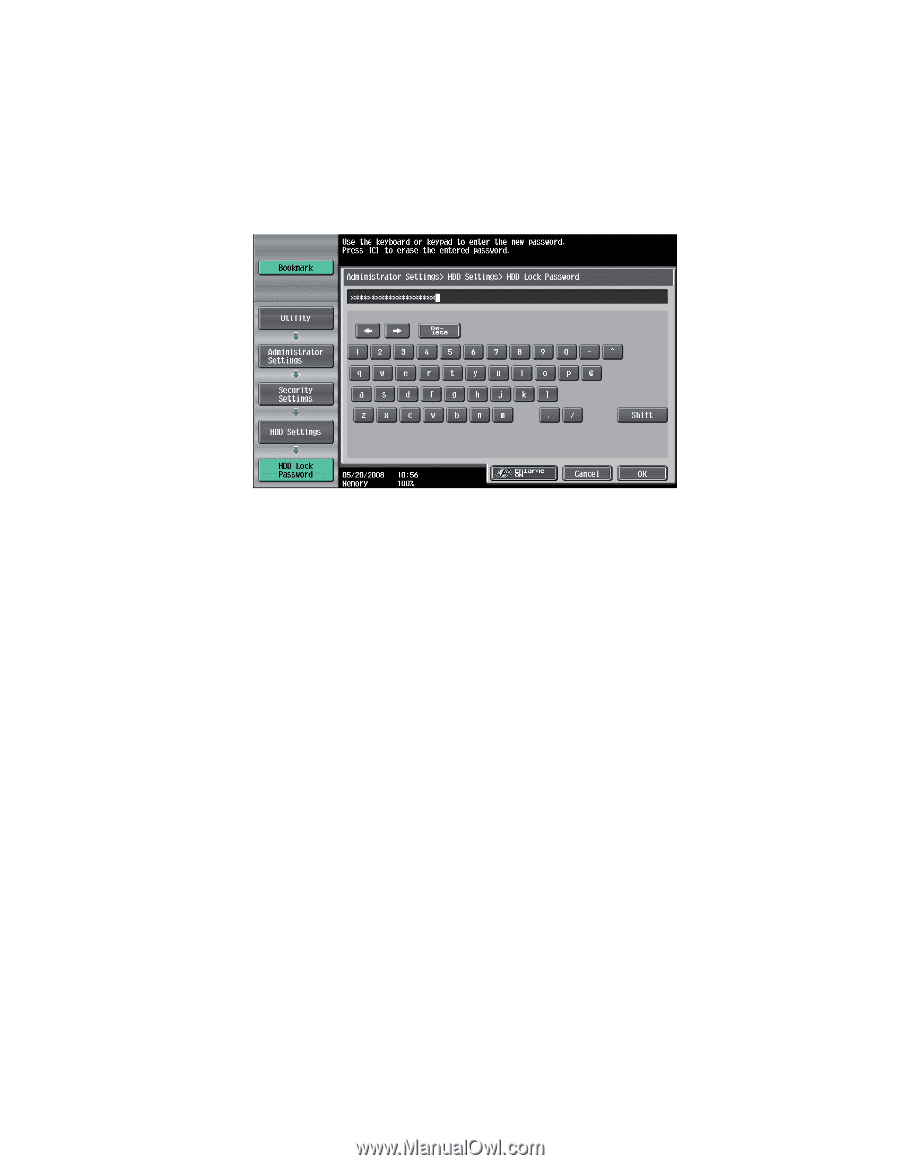
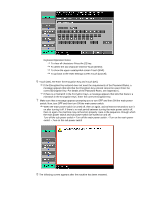
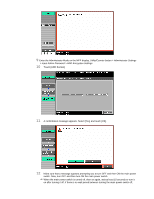
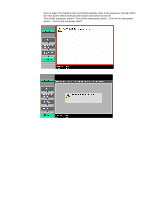
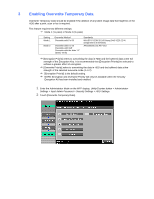
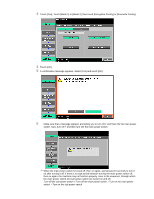
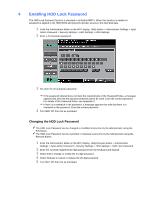
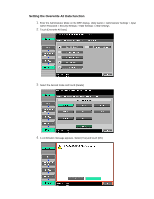
4 Enabling HDD Lock Password The HDD Lock Password function is standard in all bizhub MFP's. When this function is enabled a password is applied to the HDD BIOS and prevents intruder access to the hard disk data. 1 Enter the Administrator Mode on the MFP display, Utility button > Administrator Settings > Input Admin Password > Security Settings > HDD Settings > HDD Settings 2 Enter a 20 character password. 3 Re-enter the 20 character password. If the password entered does not meet the requirements of the Password Rules, a message appears that tells that the password entered cannot be used. Enter the correct password. For details of the Password Rules, see Appendix C. If there is a mismatch in the password, a message appears that tells that there is a mismatch in the password. Enter the correct password. 4 Turn MFP Off, then On as prompted. Changing the HDD Lock Password The HDD Lock Password can be changed or modified at any time by the Administrator using the Edit Button. The HDD Lock Password can be cancelled or released at any time by the Administrator using the Release Button. 1 Enter the Administrator Mode on the MFP display, Utility/Counter button > Administrator Settings > Input Admin Password > Security Settings > HDD Settings > HDD Lock Password 2 Enter the currently registered 20-digit password from the keyboard and keypad. 3 Select Edit to change or modify the 20-digit password. 4 Select Release to cancel or release the 20-digit password. 5 Turn MFP Off, then On as prompted.
-
 1
1 -
2
-
3
-
4
-
5
-
6
-
7
-
 8
8 -
 9
9 -
 10
10 -
 11
11 -
 12
12 -
 13
13 -
 14
14 -
 15
15 -
 16
16 -
 17
17 -
 18
18 -
19
-
20
-
21
-
22
-
23
-
24
-
25
-
26
-
27
-
28
 |
 |