Konica Minolta bizhub PRO C1060L bizhub PRESS C1070/C1070P/C1060/bizhub PRO C1 - Page 19
Let's Make Prints, 2.1 Printing Flow, Step 1: Prepare the printer driver and applications - pdf
 |
View all Konica Minolta bizhub PRO C1060L manuals
Add to My Manuals
Save this manual to your list of manuals |
Page 19 highlights
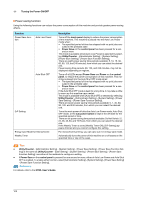
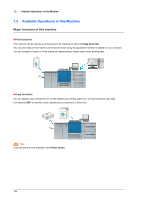
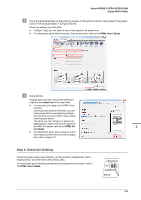
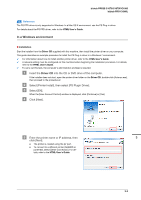
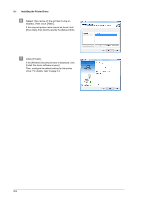
bizhub PRESS C1070/C1070P/C1060 bizhub PRO C1060L 2 Let's Make Prints This chapter describes a basic print workflow using this machine. First confirm the basic flow to print data, then add detailed settings and adjustment to meet your requirements. Reference For information about application settings of this machine and adjustment procedures, refer to the HTML User's Guide. 2.1 Printing Flow First check that your original data is printed in the following flow. The detailed operations or setting procedures are described in the reference page for each step. Tips Tips The User's Guide CD supplied with this machine includes a sample PDF file for printing. This file is helpful if you have no original data. Step 1: Prepare the printer driver and applications Install the printer driver and applications in your computer. After installation is completed, configure information of the mounted devices using the printer driver in order to use optional functions. For details, refer to the following pages. - To install the printer driver: Refer to page 3-1. - To install applications: Refer to page 3-9. Step 2: Load paper into a tray Load paper into the Main Body Trays or an optional paper tray. 2 For details, refer to the following pages. - To load paper into the Main Body Trays: Refer to page 4-1. - To load paper into Paper Feeder Unit: page 4-3 - To load paper into another optional device: Refer to page 4-4. 2-1
-
 1
1 -
2
-
3
-
4
-
5
-
6
-
7
-
8
-
9
-
10
-
11
-
12
-
13
-
 14
14 -
 15
15 -
 16
16 -
 17
17 -
 18
18 -
 19
19 -
 20
20 -
 21
21 -
 22
22 -
 23
23 -
 24
24 -
25
-
26
-
27
-
28
-
29
-
30
-
31
-
32
-
33
-
34
-
35
-
36
-
37
-
38
-
39
-
40
-
41
-
42
-
43
-
44
-
45
-
46
-
47
-
48
-
49
-
50
-
51
-
52
-
53
-
54
-
55
-
56
-
57
-
58
-
59
-
60
-
61
-
62
-
63
-
64
-
65
-
66
-
67
-
68
-
69
-
70
-
71
-
72
-
73
-
74
-
75
-
76
-
77
-
78
-
79
-
80
-
81
-
82
-
83
-
84
-
85
-
86
-
87
-
88
-
89
-
90
-
91
-
92
-
93
-
94
-
95
-
96
-
97
-
98
-
99
-
100
-
101
-
102
-
103
-
104
-
105
-
106
-
107
-
108
-
109
-
110
-
111
-
112
-
113
-
114
-
115
-
116
-
117
-
118
-
119
-
120
-
121
-
122
-
123
-
124
-
125
-
126
-
127
-
128
-
129
-
130
-
131
-
132
-
133
-
134
-
135
-
136
-
137
-
138
-
139
 |
 |