Kyocera ECOSYS P2135dn ECOSYS P2135dn Operation Guide (Basic) - Page 52
Custom Install, View License Agreement, Accept, Products to Install
 |
View all Kyocera ECOSYS P2135dn manuals
Add to My Manuals
Save this manual to your list of manuals |
Page 52 highlights
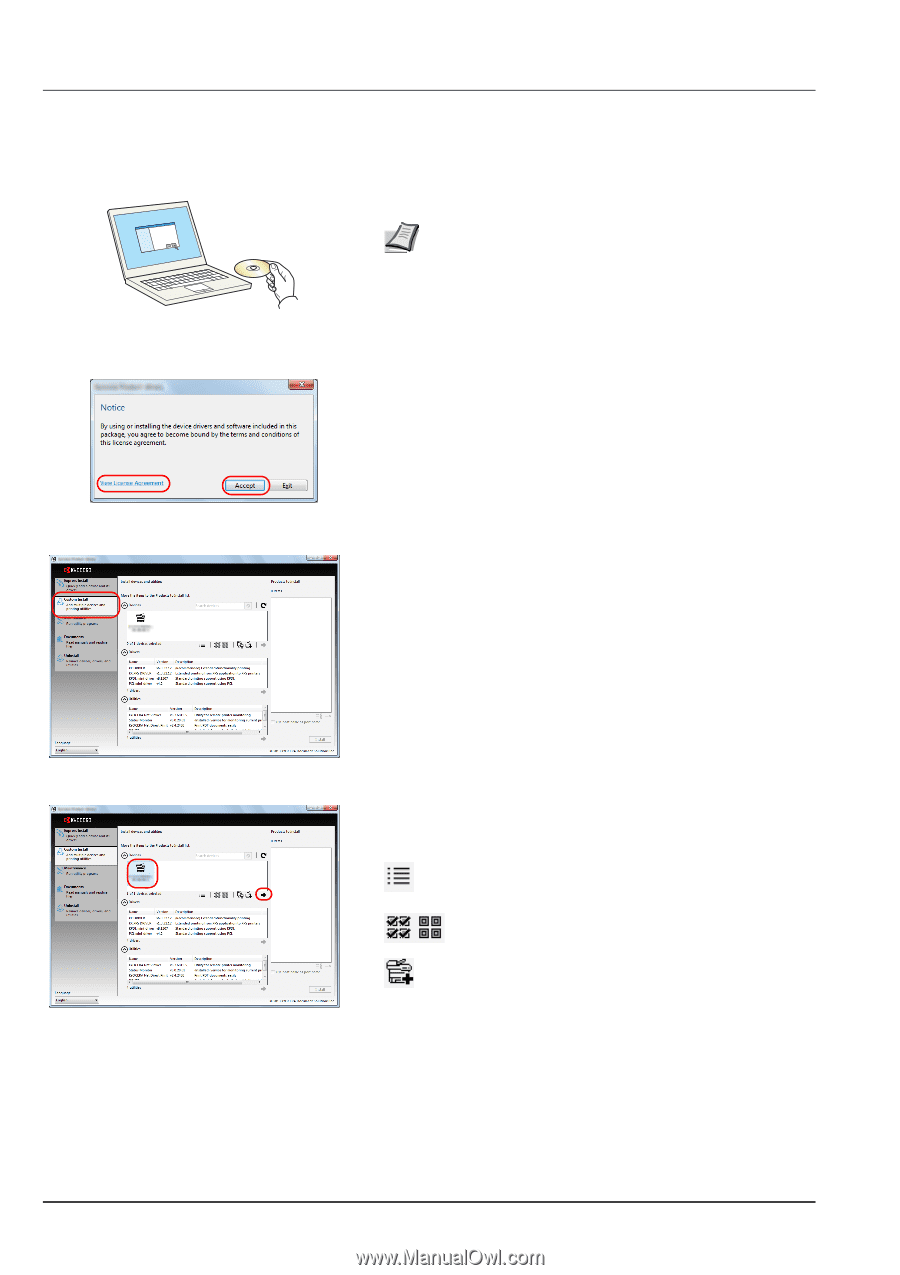
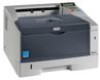
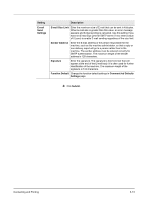
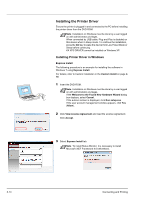
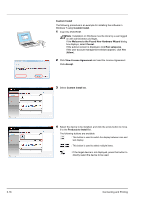
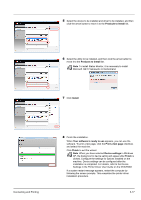
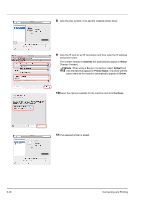
3-16 Custom Install The following procedure is an example for installing the software in Windows 7 using Custom Install. 1 Insert the DVD-ROM. Note Installation on Windows must be done by a user logged on with administrator privileges. If the Welcome to the Found New Hardware Wizard dialog box displays, select Cancel. If the autorun screen is displayed, click Run setup.exe. If the user account management window appears, click Yes (Allow). 2 Click View License Agreement and read the License Agreement. Click Accept. 3 Select Custom Install tab. 4 Select the device to be installed, and click the arrow button to move it to the Products to Install list. The following buttons are available. : This button is used to switch the display between icon and text display. : This button is used to select multiple items. : If the target device is not displayed, press this button to directly select the device to be used. Connecting and Printing
-
 1
1 -
2
-
3
-
4
-
5
-
6
-
7
-
8
-
9
-
10
-
11
-
12
-
13
-
14
-
15
-
16
-
17
-
18
-
19
-
20
-
21
-
22
-
23
-
24
-
25
-
26
-
27
-
28
-
29
-
30
-
31
-
32
-
33
-
34
-
35
-
36
-
37
-
38
-
39
-
40
-
41
-
42
-
43
-
44
-
45
-
46
-
 47
47 -
 48
48 -
 49
49 -
 50
50 -
 51
51 -
 52
52 -
 53
53 -
 54
54 -
 55
55 -
 56
56 -
 57
57 -
58
-
59
-
60
-
61
-
62
-
63
-
64
-
65
-
66
-
67
-
68
-
69
-
70
-
71
-
72
-
73
-
74
-
75
-
76
-
77
-
78
-
79
-
80
-
81
-
82
-
83
-
84
-
85
-
86
-
87
-
88
-
89
-
90
-
91
-
92
-
93
-
94
-
95
-
96
-
97
-
98
-
99
-
100
-
101
-
102
-
103
-
104
 |
 |