Lenovo ThinkPad G50 Microsoft Windows XP Conversion Kit - Page 6
Ctrl+Alt+Delete
 |
View all Lenovo ThinkPad G50 manuals
Add to My Manuals
Save this manual to your list of manuals |
Page 6 highlights
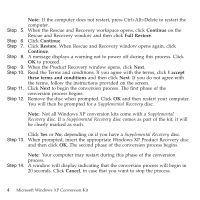
Note: If the computer does not restart, press Ctrl+Alt+Delete to restart the computer. Step 5. When the Rescue and Recovery workspace opens, click Continue on the Rescue and Recovery window and then click Full Restore. Step 6. Click Continue. Step 7. Click Restore. When Rescue and Recovery window opens again, click Continue. Step 8. A message displays a warning not to power off during this process. Click OK to proceed. Step 9. When the Product Recovery window opens, click Next. Step 10. Read the Terms and conditions. If you agree with the terms, click I accept these terms and conditions and then click Next. If you do not agree with the terms, follow the instructions provided on the screen. Step 11. Click Next to begin the conversion process. The first phase of the conversion process begins. Step 12. Remove the disc when prompted. Click OK and then restart your computer. You will then be prompted for a Supplemental Recovery disc. Note: Not all Windows XP conversion kits come with a Supplemental Recovery disc. If a Supplemental Recovery disc comes as part of the kit, it will be clearly marked as such. Click Yes or No, depending on if you have a Supplemental Recovery disc. Step 13. When prompted, insert the appropriate Windows XP Product Recovery disc and then click OK. The second phase of the conversion process begins. Note: Your computer may restart during this phase of the conversion process. Step 14. A window will display indicating that the conversion process will begin in 20 seconds. Click Cancel, in case that you want to stop the process. 4 Microsoft Windows XP Conversion Kit
-
 1
1 -
 2
2 -
 3
3 -
 4
4 -
 5
5 -
 6
6 -
 7
7 -
 8
8 -
 9
9 -
 10
10 -
 11
11 -
 12
12
 |
 |