LevelOne GSW-2457 Manual - Page 8
Installation
 |
View all LevelOne GSW-2457 manuals
Add to My Manuals
Save this manual to your list of manuals |
Page 8 highlights
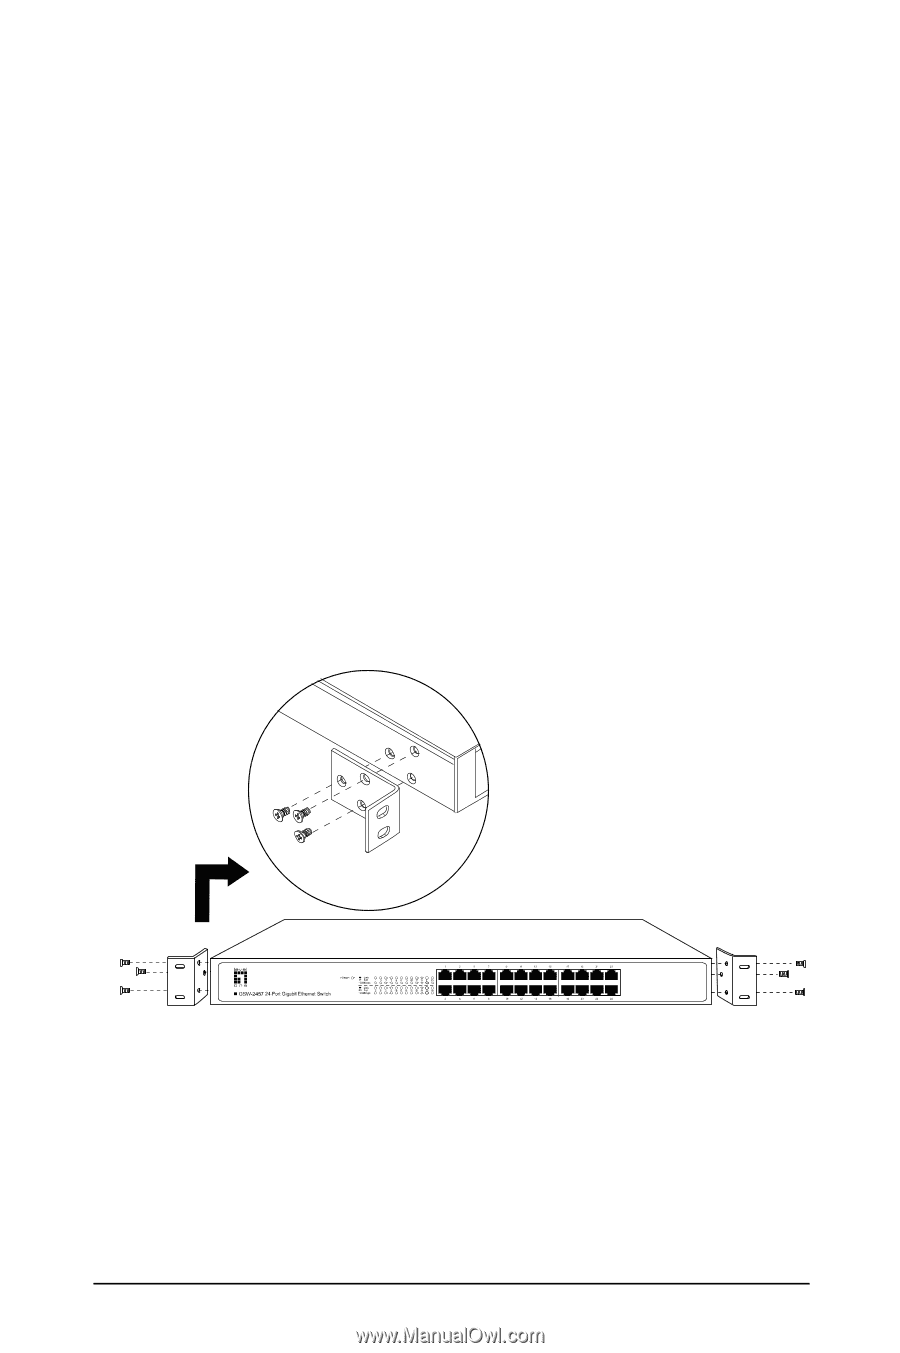
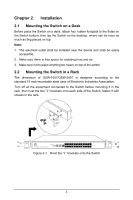
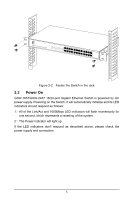
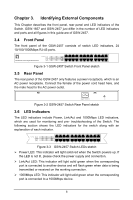
Chapter 2. Installation 2.1 Mounting the Switch on a Desk Before place the Switch on a desk, attach four rubber footpads to the flutes on the Switch bottom, then lay the Switch on the desktop, where can be have as much as 5kg placed on top. Note: 1. The electrical outlet shall be installed near the device and shall be easily accessible. 2. Make sure there is free space for radiating heat and air. 3. Make sure not to place anything too heavy on top of the switch. 2.2 Mounting the Switch in a Rack The dimension of GSW-1657/GSW-2457 is designed according to the standard 19 rack-mountable steel case of Electronic Industries Association. Turn off all the equipment connected to the Switch before mounting it in the rack, then rivet the two "L" brackets onto each side of the Switch, fasten it with screws in the rack. Figure 2-1 Rivet the "L" brackets onto the Switch 4
-
 1
1 -
2
-
 3
3 -
 4
4 -
 5
5 -
 6
6 -
 7
7 -
 8
8 -
 9
9 -
 10
10 -
 11
11 -
 12
12
 |
 |