Lexmark 1200 Setup Guide - Page 65
Step 8: Verify setup
 |
UPC - 734646167000
View all Lexmark 1200 manuals
Add to My Manuals
Save this manual to your list of manuals |
Page 65 highlights
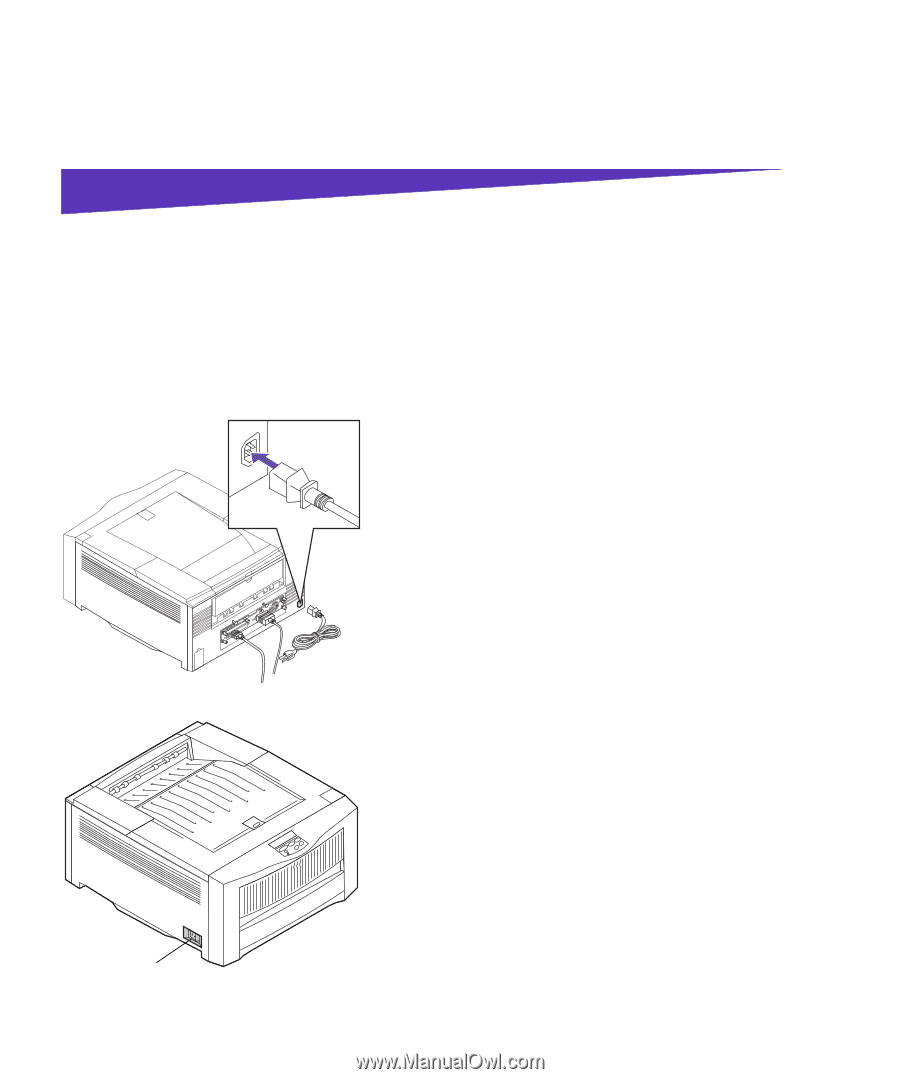
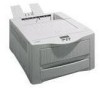
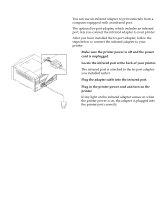
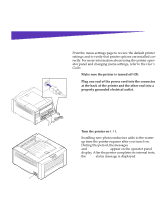
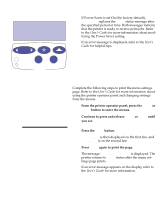
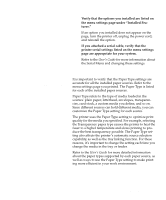
Step 8: Verify setup Print the menu settings page to review the default printer settings and to verify that printer options are installed correctly. For more information about using the printer operator panel and changing menu settings, refer to the User's Guide. 1 Make sure the printer is turned off (O). 2 Plug one end of the power cord into the connector at the back of the printer and the other end into a properly grounded electrical outlet. Power switch 3 Turn the printer on ( | ). Installing new photoconductors adds to the warmup time the printer requires after you turn it on. During this period, the messages Performing Self Test and Engine Warming appear on the operator panel display. After the printer completes its internal tests, the Ready status message is displayed. Verify setup 59
-
 1
1 -
2
-
3
-
4
-
5
-
6
-
7
-
8
-
9
-
10
-
11
-
12
-
13
-
14
-
15
-
16
-
17
-
18
-
19
-
20
-
21
-
22
-
23
-
24
-
25
-
26
-
27
-
28
-
29
-
30
-
31
-
32
-
33
-
34
-
35
-
36
-
37
-
38
-
39
-
40
-
41
-
42
-
43
-
44
-
45
-
46
-
47
-
48
-
49
-
50
-
51
-
52
-
53
-
54
-
55
-
56
-
57
-
58
-
59
-
 60
60 -
 61
61 -
 62
62 -
 63
63 -
 64
64 -
 65
65 -
 66
66 -
 67
67 -
 68
68 -
 69
69 -
 70
70 -
71
-
72
-
73
-
74
-
75
-
76
-
77
-
78
 |
 |