Lexmark C532N User's Guide - Page 69
Maintaining the printer, Storing supplies, Checking the status of supplies, Conserving supplies - toner cartridge
 |
UPC - 734646258500
View all Lexmark C532N manuals
Add to My Manuals
Save this manual to your list of manuals |
Page 69 highlights
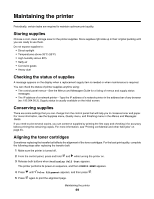
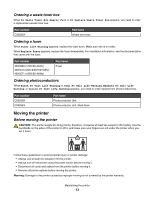
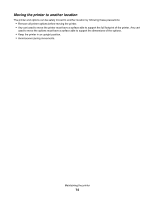
Maintaining the printer Periodically, certain tasks are required to maintain optimum print quality. Storing supplies Choose a cool, clean storage area for the printer supplies. Store supplies right side up in their original packing until you are ready to use them. Do not expose supplies to: • Direct sunlight • Temperatures above 35°C (95°F) • High humidity above 80% • Salty air • Corrosive gases • Heavy dust Checking the status of supplies A message appears on the display when a replacement supply item is needed or when maintenance is required. You can check the status of printer supplies anytime using: • The control panel menus-See the Menus and Messages Guide for a listing of menus and supply status messages. • The IP address of a network printer-Type the IP address of a network printer in the address bar of any browser (ex: 192.264.26.3). Supply status is usually available on the initial screen. Conserving supplies There are some settings that you can change from the control panel that will help you to conserve toner and paper. For more information, see the Supplies menu, Quality menu, and Finishing menu in the Menus and Messages Guide. If you need to print several copies, you can conserve supplies by printing the first copy and checking it for accuracy before printing the remaining copies. For more information, see "Printing confidential and other held jobs" on page 45. Aligning the toner cartridges Sometimes replacing the transfer belt affects the alignment of the toner cartridges. For the best print quality, complete the following steps after replacing the transfer belt: 1 Make sure the printer is turned off. 2 From the control panel, press and hold and while turning the printer on. 3 Release both buttons when Performing Self Test appears. The printer performs its power-on sequence, and then CONFIG MENU appears. 4 Press until Color Alignment appears, and then press . 5 Press again to print the alignment page. Maintaining the printer 69
-
 1
1 -
2
-
3
-
4
-
5
-
6
-
7
-
8
-
9
-
10
-
11
-
12
-
13
-
14
-
15
-
16
-
17
-
18
-
19
-
20
-
21
-
22
-
23
-
24
-
25
-
26
-
27
-
28
-
29
-
30
-
31
-
32
-
33
-
34
-
35
-
36
-
37
-
38
-
39
-
40
-
41
-
42
-
43
-
44
-
45
-
46
-
47
-
48
-
49
-
50
-
51
-
52
-
53
-
54
-
55
-
56
-
57
-
58
-
59
-
60
-
61
-
62
-
63
-
 64
64 -
 65
65 -
 66
66 -
 67
67 -
 68
68 -
 69
69 -
 70
70 -
 71
71 -
 72
72 -
 73
73 -
 74
74 -
75
-
76
-
77
-
78
-
79
-
80
-
81
-
82
-
83
-
84
-
85
-
86
-
87
-
88
-
89
-
90
-
91
-
92
-
93
-
94
-
95
-
96
-
97
-
98
-
99
-
100
-
101
-
102
-
103
-
104
-
105
-
106
-
107
-
108
-
109
-
110
 |
 |
