Lexmark C912 Quick Reference - Page 1
Lexmark C912 Manual
 |
View all Lexmark C912 manuals
Add to My Manuals
Save this manual to your list of manuals |
Page 1 highlights
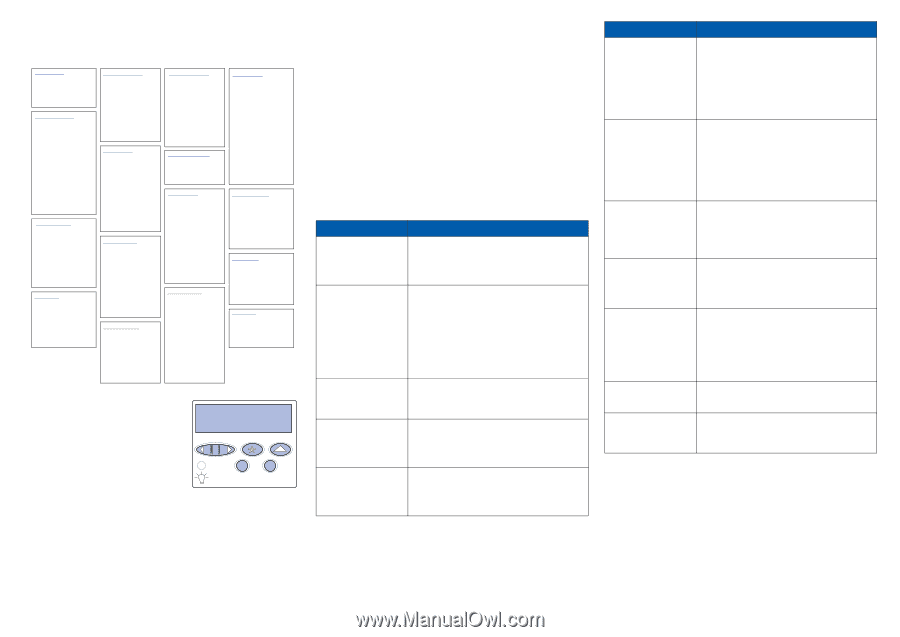
Quick Reference Printer menu overview Color Menu Print Mode Color Correction Toner Darkness Manual Color Finishing Menu Duplex Duplex Bind Copies Blank Pages Collation Separator Sheets Separator Source Multipage Print Multipage Order Multipage View Multipage Border Staple Job Staple Prime Src Hole Punch Offset Pages Infrared Menu Infrared Port PCL SmartSwitch PS SmartSwitch NPA Mode Infrared Buffer Job Buffering Window Size Transmit Delay Max Baud Rate Job Menu Cancel Job Confidential Job Held Jobs Reset Printer Reset Active Bin Prime Stapler Cancel Fax LocalTalk Menu LocalTalk Port PCL SmartSwitch PS SmartSwitch NPA Mode LocalTalk Buffer Job Buffering NPA Hosts LocalTalk Name LocalTalk Addr LocalTalk Zone Paper Menu Paper Source Paper Size Paper Type Custom Types Universal Setup Output Bin Configure Bins Assign Type/Bin Substitute Size Configure MP Paper Weight Paper Loading Parallel Menu PCL SmartSwitch PS SmartSwitch NPA Mode Parallel Buffer Job Buffering Advanced Status Protocol Honor Init Parallel Mode 1 Parallel Mode 2 MAC Binary PS Network Menu PCL SmartSwitch PS SmartSwitch NPA Mode Network Buffer Job Buffering MAC Binary PS Std Net Setup Network Setup PCL Emul Menu Font Source Font Name Point Size Pitch Symbol Set Orientation Lines per Page A4 Width Tray Renumber Auto CR after LF Auto LF after CR PostScript Menu Print PS Error Font Priority Image Smoothing Serial Menu PCL SmartSwitch PS SmartSwitch NPA Mode Serial Buffer Job Buffering RS-232/RS-422 RS-422 Polarity Serial Protocol Robust XON Baud Data Bits Parity Honor DSR Utilities Menu Print Menus Print Net Setup Print Fonts Print Directory Print Demo Color Samples Factory Defaults Remove Held Jobs Format Flash Defragment Flash Format Disk Job Acct Stat Print Alignment Hex Trace Setup Menu Printer Language Power Saver Resource Save Download Target Print Timeout Wait Timeout Auto Continue Jam Recovery Page Protect Display Language Alarm Control Printer Usage Staple Alarm Hole Punch Alarm Job Accounting Start Page Supplies Menu Toner Color Photo Devs Black Photo Dev Fuser Belt Supplies Life Replace Supplies USB Menu PCL SmartSwitch PS SmartSwitch NPA Mode USB Buffer Job Buffering MAC Binary PS Fax Menu Fax Setup Fax Logs Fax Send Fax Receive Using the operator panel Press Menu to: • Enter the menus from the Ready state. • Scroll through menus or values. • Increase or decrease a numerical value. • Display the Job Menu or the Supplies Menu while the printer is busy. 1 Menu 2 Select 3 Return 4 Go 5 Stop 6 Press Select to: • Select the item on the second line of the display. • Save the selection as a new default setting. Press Return to back up to the previous menu level. Press Go to: • Exit the menus and return to the Ready state. • Clear messages. Press Stop to temporarily stop all print activity without losing data. Canceling a print job To cancel a print job after it has started printing: 1 Press Menu until you see Job Menu, and then press Select. 2 Press Menu until you see Cancel Job, and then press Select. Printing a menu settings page To verify Paper Size and Paper Type settings, and check installed options and memory, print a menu settings page: 1 Press Menu until you see Utilities Menu, and then press Select. 2 Press Menu until you see Print Menus, and then press Select. The menu settings page prints. Understanding printer messages The following table lists some typical operator panel messages you may encounter and the action you can take to clear them. For more information on these or other printer messages, refer to the publications CD. Message Action 33 Tray x Config Error The optional Heavy Media Tray is incorrectly installed. • Remove the Heavy Media Tray and reinstall it or install the standard Tray 1. • Install the Heavy Media Tray into the Tray 1 location. Printing from the Heavy Media Tray is only supported from the Tray 1 location. 37 Insufficient Memory The printer memory is not sufficient and cannot continue processing print jobs, or there is not enough memory to restore jobs from the printer's hard disk. • Press Go to clear the message. The printer deletes held jobs until there is enough printer memory to process the current job. • Press Stop to clear the message without deleting any held jobs. The current job may not print correctly. • Press Menu to open the Job Menu, and then press Select to cancel the current job. Note: The messages 37 Insufficient Memory and Held Jobs may be lost or Held Jobs May Not Be Restored alternate on the display. 38 Memory Full The printer is processing data, but the memory used to store pages is full. • Press Go to clear the message and continue printing the job. The job may not print correctly. • Press Menu to open the Job Menu, and then press Select to cancel the current job. 39 Complex Page The page may not print correctly because the print information on the page is too complex. • Press Go to clear the message and continue printing the job. The job may not print correctly. • Press Menu to open the Job Menu, and then press Select to cancel the current job. 41 Open Bin 1 Exit Tray A print job was sent to the face-up (Bin 1) output tray on the left side of the machine, but the tray is closed. • Open Bin 1 to clear the message and continue printing. • Press Go to clear the message and continue printing. The paper is diverted to the Standard output bin. Message Action 80 Fuser Life Warning • Press Go to clear the message. It is time to replace the fuser. • Install a new fuser: Press Select and the Printer Ready for Maintenance message is displayed. Turn the printer off and replace the fuser. Note: When the fuser's life has expired, the display alternates between the 80 Fuser Exhausted (or 80 Fuser/Belt Exhausted) and Select = Replace messages. You must replace the fuser (after pressing Select) to continue printing. 80 Belt Life Warning It is time to replace the transfer belt. • Press Go to clear the message. • Install a new transfer belt: Press Select and the Printer Ready for Maintenance message is displayed. Turn the printer off and replace the belt. Note: When the transfer belt's life has expired, the display alternates between the 80 Belt Exhausted (or 80 Fuser/Belt Exhausted) and Select = Replace messages. You must replace the transfer belt (after pressing Select) to continue printing. 84 Photo Dev Life Warning It is time to replace one or more specified photodevelopers. 85 Coating Roll Life Warning It is time to replace the oil coating roll. 88 Toner Low It is time to replace one or more toner cartridges. 2 Paper Jam A paper jam is detected. • Press Go to clear the message. • Install a new photodeveloper(s). Note: When the photodeveloper's life has expired, the message 84 Photo Dev Exhausted or 84 All Photo Devs Exhausted appears. Press Go to clear this message or replace the indicated photodeveloper(s). • Press Go to clear the message. • Install a new oil coating roll Note: The message Replace Oil Coating Roll may be displayed if the black toner cartridge was replaced, but the oil coating roll was not replaced. • Press Go to clear the message. • Install a new toner cartridge. Note: When the toner cartridge is empty, the message 88 Toner Empty appears. The toner cartridge must be replaced to continue printing. If the black cartridge is empty, a second message, Replace Oil Coating Roll, is also displayed, where both the black cartridge and oil coating roll must be replaced. Clear the paper jam and then press Go. Refer to the Clearing Jams sheet or the publications CD for information about clearing paper jams. 900-999 Service Message Turn the printer off and check all cable connections. Turn Messages 900-999 relate to the printer back on. If the service message recurs, call for printer problems that may service and report the message number and description of require service. the problem. P/N 12N0573 E.C. 548073 12N0573 * 12N0573* © Lexmark International, Inc. Printed in U.S.A. 03/03 All rights reserved.
-
 1
1 -
 2
2
 |
 |