Lexmark Network Printer Device User's Guide for Macintosh - Page 7
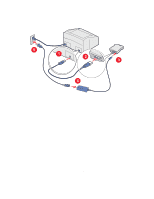
Understanding the print server ports, Unpacking your print server
 |
View all Lexmark Network Printer Device manuals
Add to My Manuals
Save this manual to your list of manuals |
Page 7 highlights
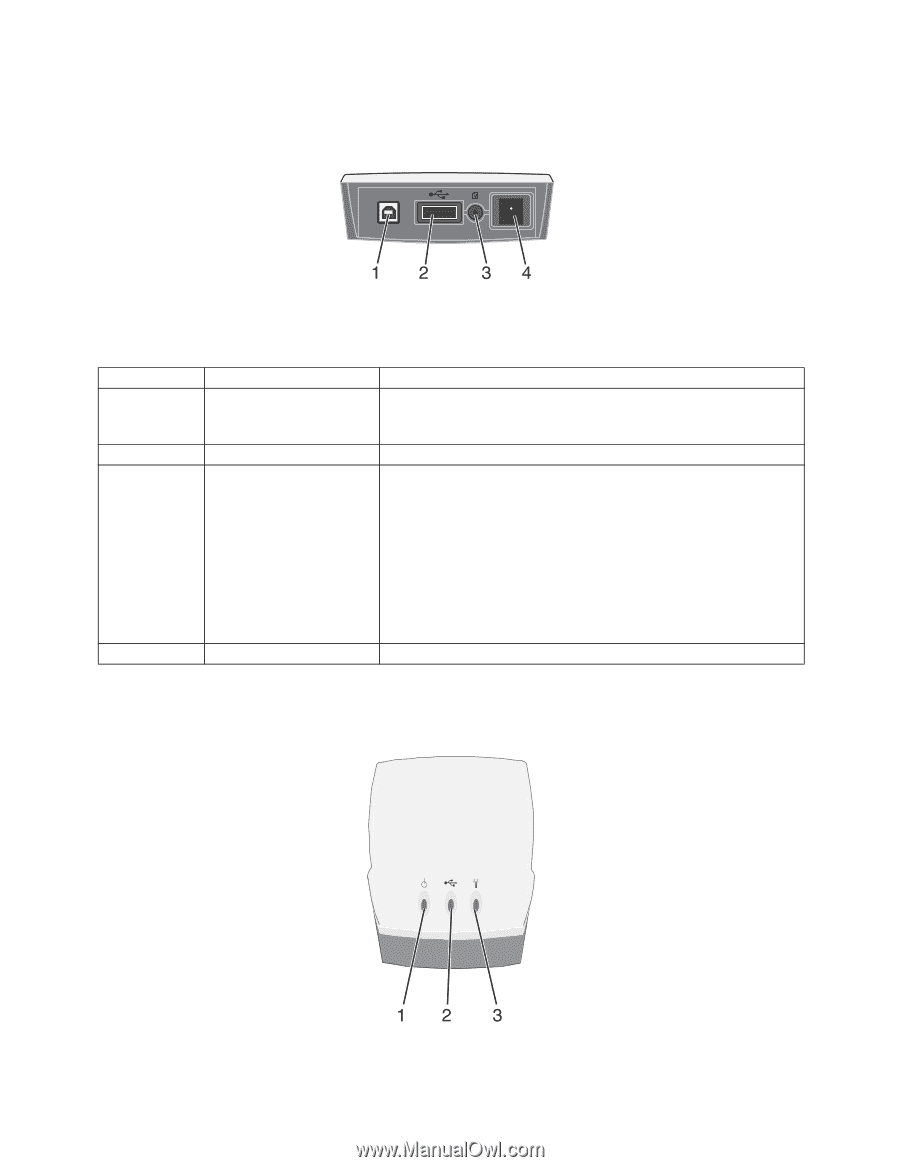
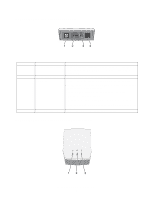
Understanding the print server ports Number 1 2 3 4 Part USB port (to computer) USB port (to printer) Test button Power cord connector Description Connects your print server to a computer for initial configuration and network setup. Use USB port 2 to connect your print server to your printer. Connects your print server to your printer. To print a test page, press and release the test button once. Note: Test pages are printed in ASCII. Your printer must support ASCII printing to print a test page. To reset the print server to the factory default settings: 1 Disconnect the power supply. 2 Reconnect the power supply while pressing the test button. 3 Continue holding the test button until only the power indicator light is lit. Connects the print server to the power supply. Understanding the print server indicator lights Unpacking your print server 2
-
 1
1 -
 2
2 -
 3
3 -
 4
4 -
 5
5 -
 6
6 -
 7
7 -
 8
8 -
 9
9 -
 10
10 -
 11
11 -
 12
12 -
13
-
14
-
15
-
16
-
17
-
18
 |
 |