Lexmark Pro715 Quick Reference - Page 23
Printing photos from a flash drive, Canceling print jobs, For Windows users, For Macintosh users - not printing
 |
View all Lexmark Pro715 manuals
Add to My Manuals
Save this manual to your list of manuals |
Page 23 highlights
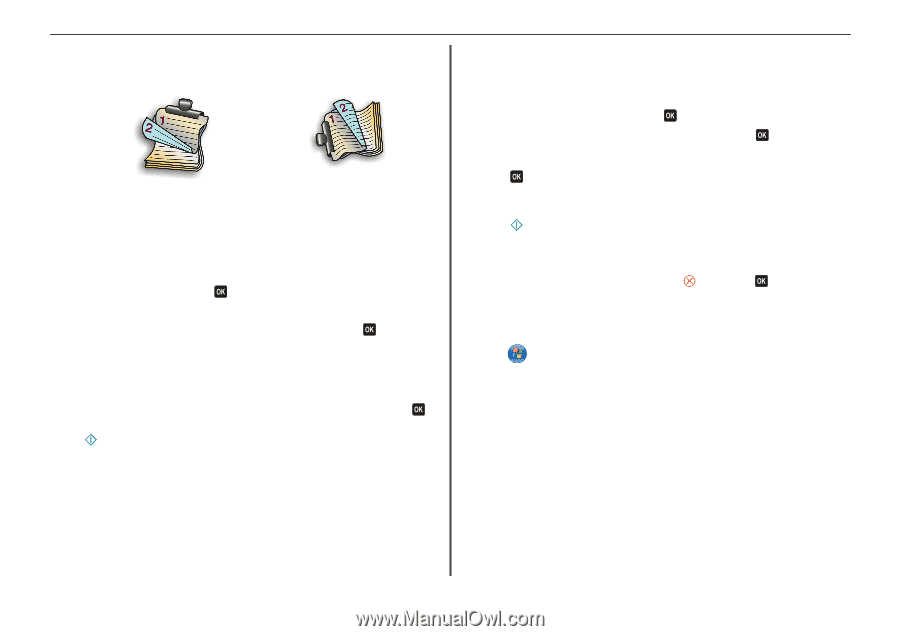
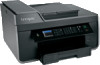
Printing • For Short‑Edge binding, pages are bound along the short edge of the page (top edge for portrait, left edge for landscape). Portrait Landscape 10 Click Print. Printing photos from a flash drive 1 Load photo paper. 2 Insert a flash drive or digital camera set to mass storage mode. If image files and document files are stored in the memory device, then press the left or right arrow button to select Photos, and then press . Note: Only files with supported file types will be shown. 3 Use the up or down arrow button to select a photo printing option, and then press . • Select and Print allows you to choose a layout, the number of photos per page, paper settings, photo size, photo quality, and to sharpen the quality of graphics. • Print Photos allows you to print all photos, selected photos by photo range, and print photos using predefined photo size templates. 4 To adjust the print settings, press the up or down arrow button to scroll to the option you want to set, and then press the left or right arrow button to scroll to the setting you want. If necessary, press to make a selection. 5 Press . Note: For best results, allow the prints to dry at least 24 hours before stacking, displaying, or storing. Printing documents from a flash drive Make sure the flash drive contains document files that are supported by the printer. For more information, see "Supported file types" on page 14. 1 Insert a flash drive. 23 When the printer detects the memory device, Storage Device Detected appears on the display. 2 If document files are stored on the memory device, then the printer automatically switches to File Print mode. If document files and image files are stored on the memory device, then press the left or right arrow button to scroll to Documents, and then press . 3 Press the up or down arrow button to scroll to the document, and then press to select the document for printing. 4 From the Print Options menu screen, use the arrow buttons to select your printing options, and then press , if necessary. Note: You may select the number of copies, color mode, print quality, paper source, and papersaving options. You can also enhance sharpness, and use separator sheets. 5 Press . Canceling print jobs To cancel a print job from the printer control panel, press printer returns to the home screen. To cancel a print job from the computer, do the following: , and then press . Printing stops and the For Windows users 1 Click , or click Start and then click Run. 2 In the Start Search or Run box, type control printers. 3 Press Enter, or click OK. The printers folder opens. 4 Right‑click the printer, and then select Open or See what's printing. 5 Cancel the print job: • If you want to cancel a particular print job, then right‑click the document name, and then select Cancel. • If you want to cancel all print jobs in the queue, then click Printer > Cancel All Documents. For Macintosh users 1 Click the printer icon on the Dock. The print queue dialog appears. 2 Choose the job you want to cancel, and then click Delete.
-
 1
1 -
2
-
3
-
4
-
5
-
6
-
7
-
8
-
9
-
10
-
11
-
12
-
13
-
14
-
15
-
16
-
17
-
 18
18 -
 19
19 -
 20
20 -
 21
21 -
 22
22 -
 23
23 -
 24
24 -
 25
25 -
 26
26 -
 27
27 -
 28
28 -
29
-
30
-
31
-
32
-
33
-
34
-
35
-
36
-
37
-
38
-
39
-
40
-
41
-
42
-
43
-
44
-
45
-
46
-
47
-
48
-
49
-
50
-
51
-
52
-
53
-
54
-
55
 |
 |