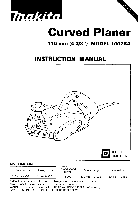
Makita 1002BA Owners Manual - Page 6
Adjusting depth of cut, Adjusting front base, Switch action
 |
View all Makita 1002BA manuals
Add to My Manuals
Save this manual to your list of manuals |
Page 6 highlights
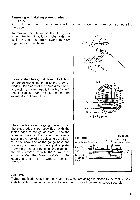
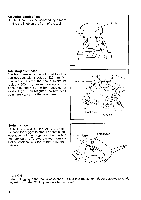
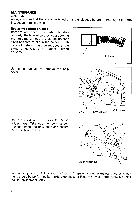
Adjusting depth of cut Depth of cut may be adjusted by simply turning the knob on the front of the tool. Knob Adjusting front base The front base is factory-adjusted to allow concave cuts with a radius of 320 mm. For concave cuts with the tool's minimum radius of 300 mm, loosen the wing bolt on either side and raise the front base as far as it will go. Then retighten the two wing bolts firmly to secure the front base. Switch action To start the tool, simply pull the trigger. Release the trigger to stop. For continuous operation, pull the trigger and then push in the lock button. To stop the tool from the locked position, pull the trigger fully, then release it. 1 Wing bolt CAUTION: Before plugging in the tool, always check to see that the switch trigger actuates properly and returns to the "OFF" position when released. 6
-
 1
1 -
 2
2 -
 3
3 -
 4
4 -
 5
5 -
 6
6 -
 7
7 -
 8
8 -
 9
9 -
 10
10 -
 11
11 -
 12
12
 |
 |
