Makita CT322W XDT11 Instruction Manual - Page 5
Indicating the remaining battery, capacity, Switch action, Lighting up the front lamp
 |
View all Makita CT322W manuals
Add to My Manuals
Save this manual to your list of manuals |
Page 5 highlights
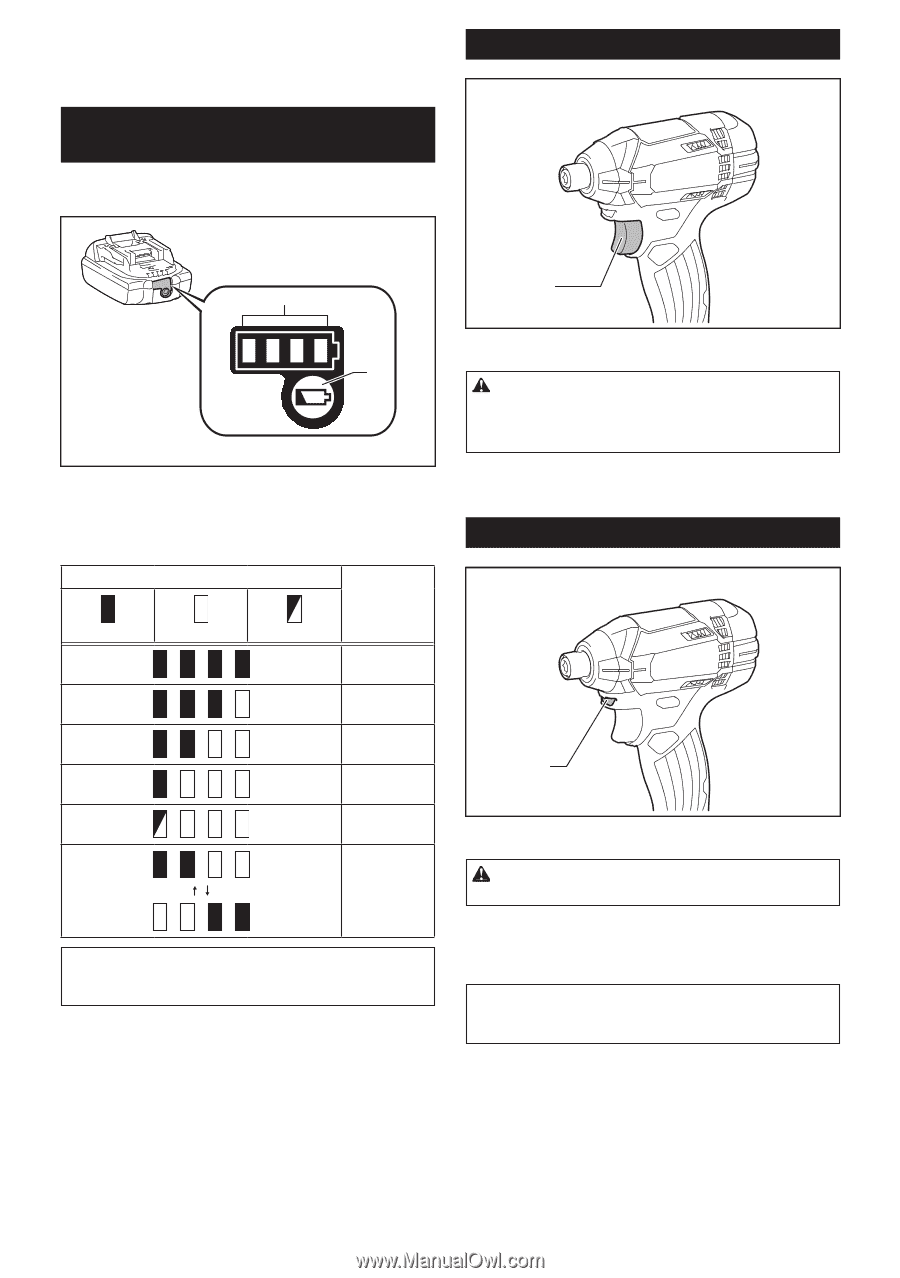
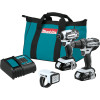
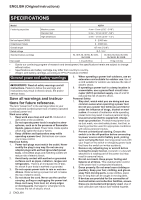
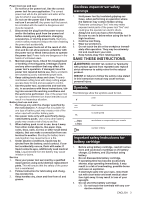
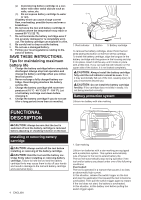
Low battery voltage: The remaining battery capacity is too low and the tool will not operate. In this situation, remove and recharge the battery. Indicating the remaining battery capacity Only for battery cartridges with "B" at the end of the model number Switch action 1 1 2 1. Indicator lamps 2. Check button Press the check button on the battery cartridge to indicate the remaining battery capacity. The indicator lamps light up for few seconds. Indicator lamps Remaining capacity 1. Switch trigger CAUTION: Before inserting the battery cartridge into the tool, always check to see that the switch trigger actuates properly and returns to the "OFF" position when released. To start the tool, simply pull the switch trigger. Tool speed is increased by increasing pressure on the switch trigger. Release the switch trigger to stop. Lighting up the front lamp Lighted Off Blinking 75% to 100% 50% to 75% 25% to 50% 1 0% to 25% Charge the battery. The battery may have malfunctioned. NOTE: Depending on the conditions of use and the ambient temperature, the indication may differ slightly from the actual capacity. 1. Lamp CAUTION: Do not look in the light or see the source of light directly. Pull the switch trigger to light up the lamp. The lamp keeps on lighting while the switch trigger is being pulled. The lamp goes out 10 -15 seconds after releasing the trigger. NOTE: Use a dry cloth to wipe the dirt off the lens of the lamp. Be careful not to scratch the lens of lamp, or it may lower the illumination. ENGLISH 5
-
 1
1 -
 2
2 -
 3
3 -
 4
4 -
 5
5 -
 6
6 -
 7
7 -
 8
8 -
 9
9 -
 10
10 -
 11
11 -
12
-
13
-
14
-
15
-
16
-
17
-
18
-
19
-
20
-
21
-
22
-
23
-
24
-
25
-
26
-
27
-
28
 |
 |